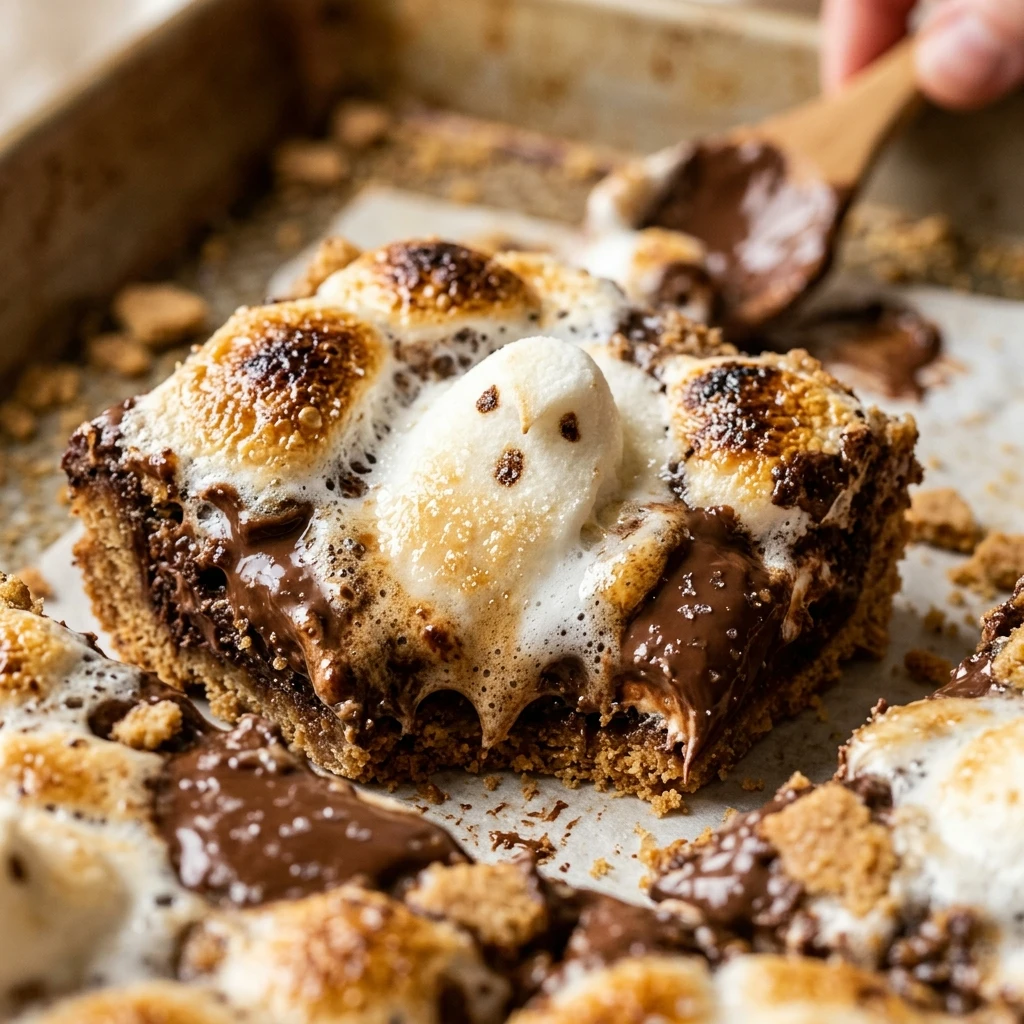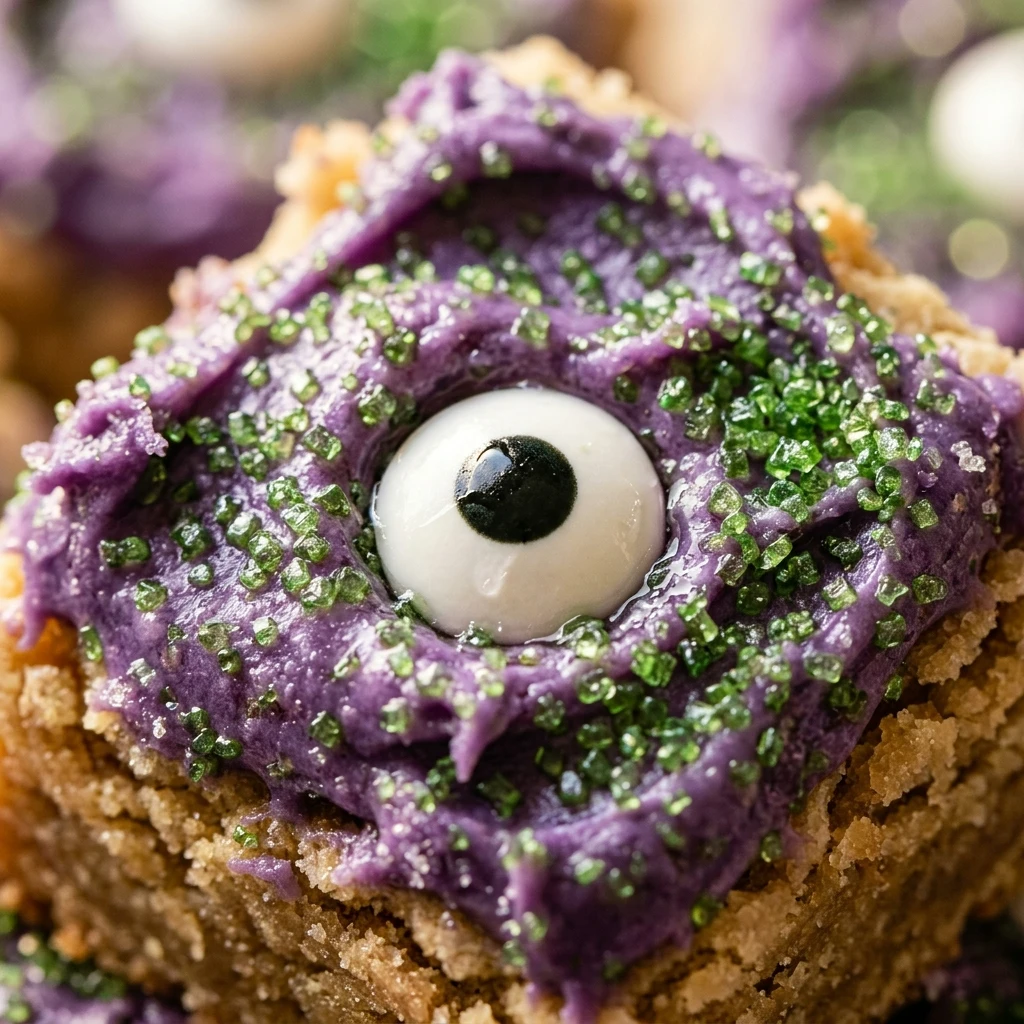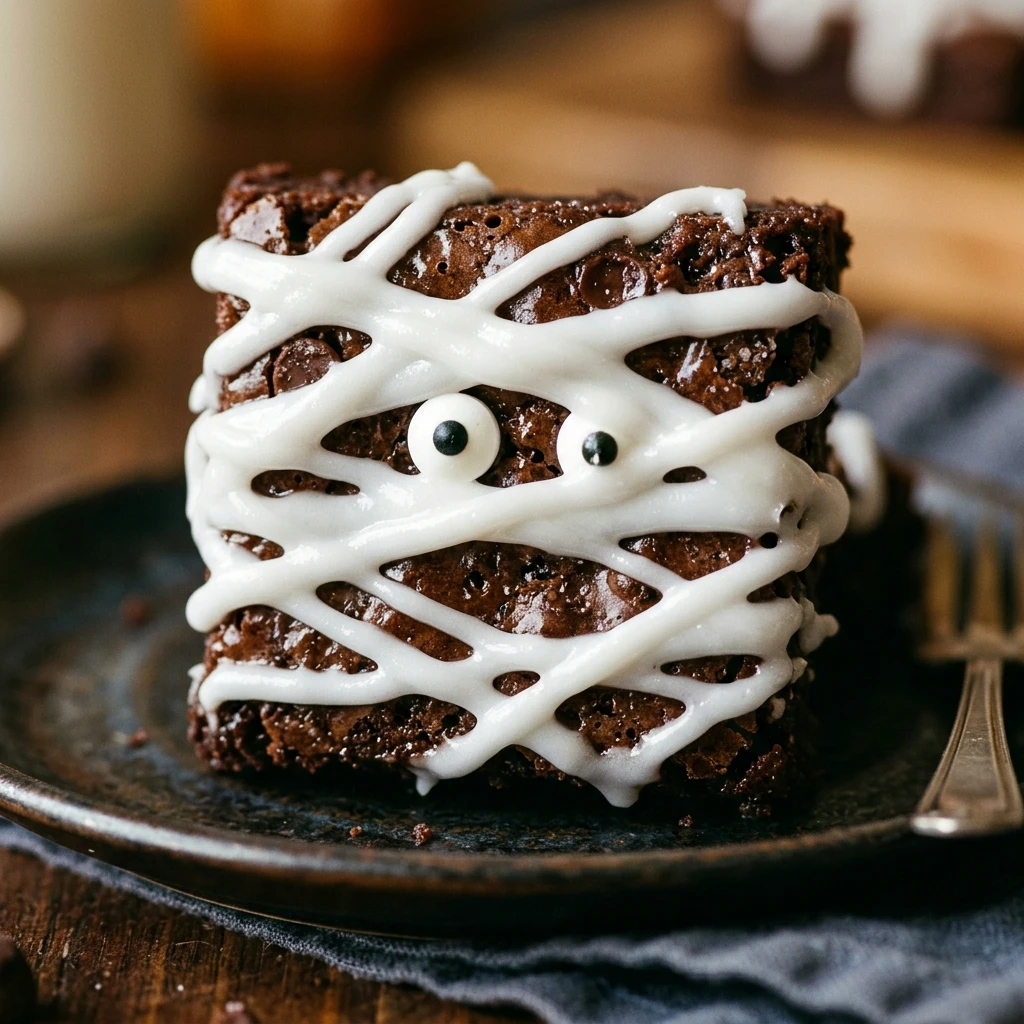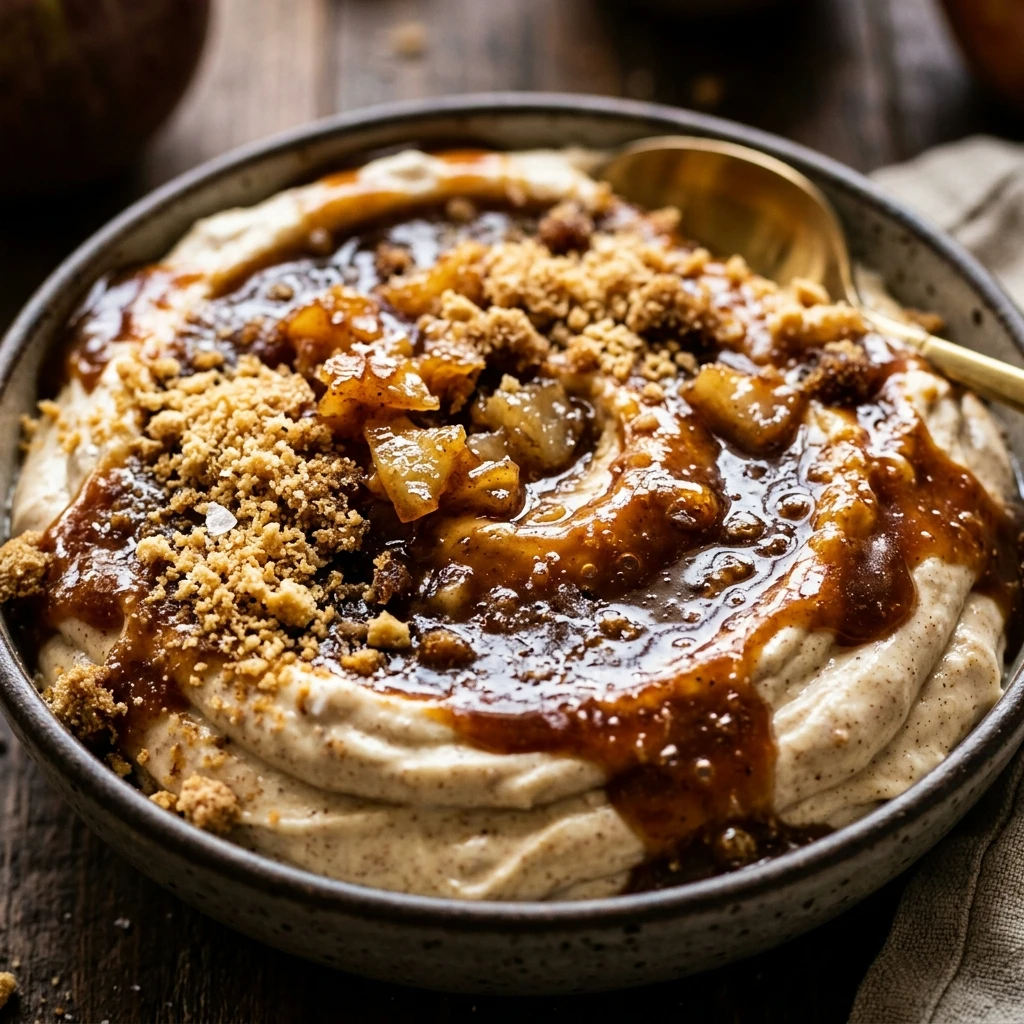
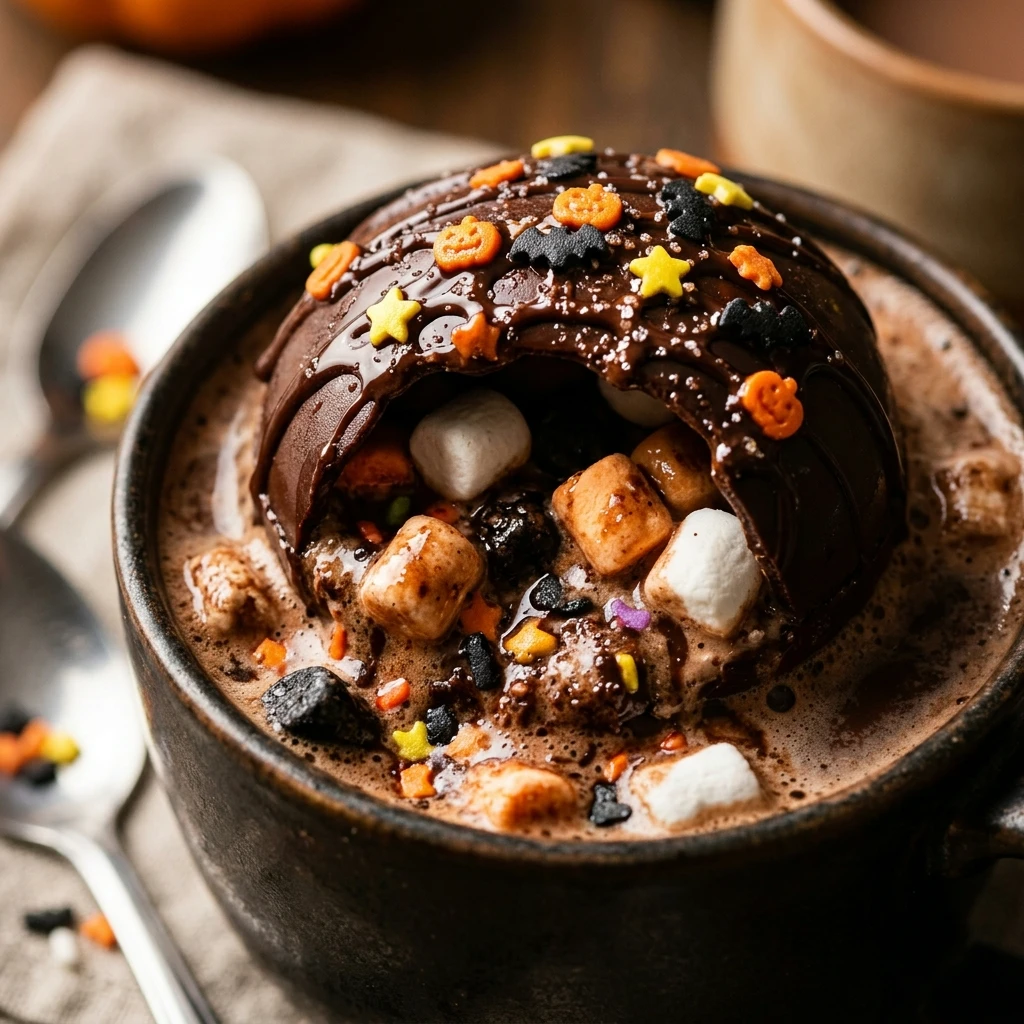
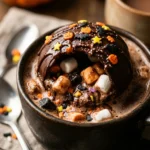
Spooky season is officially here, and nothing says cozy autumn nights like a steaming mug of cocoa with a ghostly twist. These Halloween Hot Cocoa Bombs are the ultimate festive treat that combines the magic of a science experiment with the indulgence of a gourmet dessert. Imagine dropping a shimmering, dark chocolate sphere into a mug, pouring over hot milk, and watching it “explode” into a flurry of mini marshmallows and spooky sprinkles. It is a show-stopping addition to any Halloween party or a perfect weekend activity for the kids. Get ready to cast a delicious spell on your taste buds with this easy-to-follow guide.
Recipe Information
- Prep Time: 40 minutes
- Cook Time: 10 minutes
- Total Time: 50 minutes
- Servings: 6 cocoa bombs
- Difficulty: Medium
Nutrition values
- Calories: 285 kcal
- Protein: 4g
- Carbs: 36g
Why Make This Halloween Hot Cocoa Bombs Recipe
Making your own hot cocoa bombs is far more rewarding than buying store-bought versions. You control the quality of the chocolate, the sweetness of the cocoa mix, and most importantly, the festive decorations. These bombs serve as a fantastic DIY gift for neighbors or a centerpiece for a Halloween dessert board. They are interactive, visually stunning, and deliver a much richer flavor than standard powdered mixes. Plus, customizing the “spooky” surprises inside—like edible eyes or orange-colored marshmallows—makes the experience truly unique.
Ingredients
- 12 oz high-quality semi-sweet chocolate melting wafers (or white chocolate with food coloring)
- 6 tablespoons premium hot cocoa mix
- 1/2 cup mini marshmallows
- 1/4 cup festive Halloween sprinkles (bats, pumpkins, or orange/black nonpareils)
- Edible candy eyeballs
- Optional: Purple and orange gel food coloring (if using white chocolate)
- Warm milk for serving
Directions
Step 1: Melt the Chocolate
Place your chocolate melting wafers in a microwave-safe bowl. Heat them in 30-second intervals, stirring thoroughly between each session. Stop heating once the chocolate is smooth and glossy. If you are using white chocolate to make “monsters,” stir in your gel food coloring at this stage until you reach your desired spooky hue.
Step 2: Coat the Molds
Drop about one tablespoon of melted chocolate into each cavity of a silicone sphere mold. Use the back of a spoon or a small pastry brush to spread the chocolate evenly up the sides, ensuring the edges are slightly thicker to prevent breakage. Place the mold in the freezer for 5 to 10 minutes until the chocolate completely sets.
Step 3: Remove the Shells
Carefully peel the silicone mold away from the chocolate spheres. Gently press the bottom of each cavity to pop the half-spheres out. Handle the shells as little as possible to avoid melting them with the warmth of your hands. Place them on a cold parchment-lined tray.
Step 4: Fill the Bombs
Take six of the half-spheres and fill each with one tablespoon of hot cocoa mix. Add a generous handful of mini marshmallows and a pinch of Halloween sprinkles. You can even hide a few candy eyeballs inside for a fun surprise when the bomb melts.
Step 5: Seal and Decorate
Heat a small plate in the microwave for 30 seconds. Take an empty chocolate half-sphere and press the rim against the warm plate for a few seconds until it starts to melt. Immediately press it onto a filled half-sphere to create a complete globe. Hold it for a moment to secure the seal. Drizzle extra chocolate over the top and add candy eyeballs or more sprinkles to finish your Halloween design.
Expert Tips for Perfect Halloween Hot Cocoa Bombs Recipe
To achieve a professional finish, use a pair of food-safe gloves while handling the chocolate; this prevents unsightly fingerprints on your shiny spheres. If the seam where the two halves meet looks messy, pipe a decorative border of chocolate around the center or roll the seam in sprinkles while it is still tacky. Always ensure your milk is steaming hot before pouring it over the bomb, as lukewarm milk will not cause the chocolate to melt quickly enough for the “explosion” effect.
Delicious Variations
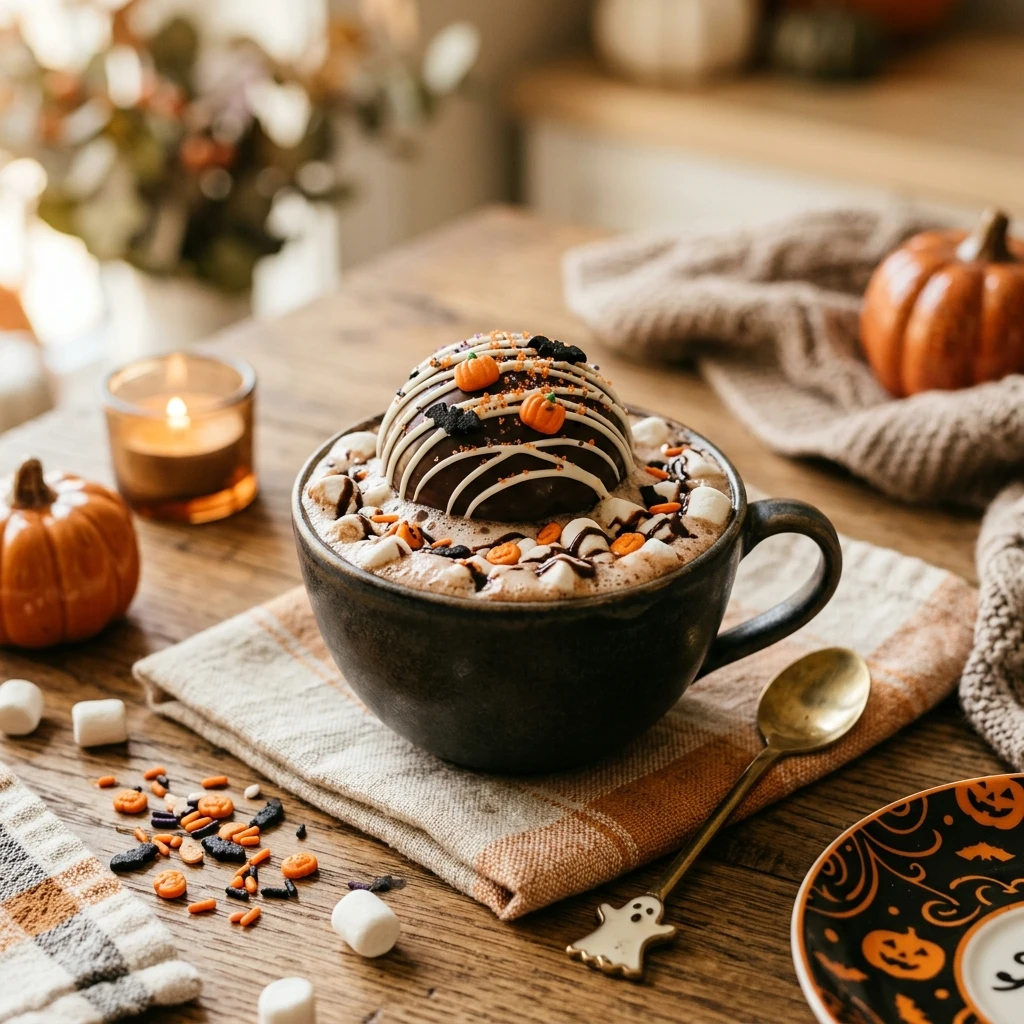
The possibilities for customization are endless. Create “Mummy Bombs” by using white chocolate for the shell and drizzling messy lines of white chocolate across the top, leaving a small gap for two candy eyes. For a “Pumpkin Spice” version, mix a half-teaspoon of pumpkin pie spice into the cocoa powder and use orange-dyed white chocolate for the shell. If you prefer a “Green Monster” theme, use bright green chocolate and cover the entire bomb in lime-colored sanding sugar for a fuzzy texture.
Frequently Asked Questions
Can I use regular chocolate bars instead of melting wafers?
You can use chocolate bars, but you must temper the chocolate properly to ensure it snaps and stays shiny. Melting wafers contain oils that help them set hard without the complex tempering process, making them much easier for beginners.
How do I store these hot cocoa bombs?
Store your finished bombs in a cool, dry place inside an airtight container. They will stay fresh for up to two weeks at room temperature. Avoid the refrigerator if possible, as the moisture can cause the chocolate to bloom or sweat.
What type of milk works best for melting the bombs?
Whole milk provides the richest, most indulgent flavor, but you can use any milk of your choice. Oat milk and almond milk also work well, provided they are heated to a near-boiling point before pouring.
Why did my chocolate shell crack when I took it out of the mold?
This usually happens if the chocolate layer is too thin. Ensure you coat the sides of the mold thoroughly, and consider doing a second coat of chocolate if your first layer looks translucent.
Can I make these in advance for a party?
Absolutely! These are perfect for making ahead of time. Just ensure they are stored in a cool spot so they don’t lose their shape or decorations before the party starts.
Conclusion
These Halloween Hot Cocoa Bombs are more than just a drink; they are a festive experience that brings joy to both kids and adults. With their glossy shells and hidden spooky treasures, they turn a simple cup of cocoa into a highlight of the season. Whether you are huddled around a bonfire or hosting a monster mash, these treats are sure to be the star of the show. Grab your molds and start brewing some magic today!
Halloween Hot Cocoa Bombs Recipe
- Total Time: 50 minutes
- Diet: Vegetarian
Ingredients
- 12 oz high-quality semi-sweet chocolate melting wafers (or white chocolate with food coloring)
- 6 tablespoons premium hot cocoa mix
- 1/2 cup mini marshmallows
- 1/4 cup festive Halloween sprinkles (bats, pumpkins, or orange/black nonpareils)
- Edible candy eyeballs
- Optional: Purple and orange gel food coloring (if using white chocolate)
- Warm milk for serving
Instructions
- Step 1: Melt the Chocolate
Place your chocolate melting wafers in a microwave-safe bowl. Heat them in 30-second intervals, stirring thoroughly between each session. Stop heating once the chocolate is smooth and glossy. If you are using white chocolate to make “monsters,” stir in your gel food coloring at this stage until you reach your desired spooky hue.
- Step 2: Coat the Molds
Drop about one tablespoon of melted chocolate into each cavity of a silicone sphere mold. Use the back of a spoon or a small pastry brush to spread the chocolate evenly up the sides, ensuring the edges are slightly thicker to prevent breakage. Place the mold in the freezer for 5 to 10 minutes until the chocolate completely sets.
- Step 3: Remove the Shells
Carefully peel the silicone mold away from the chocolate spheres. Gently press the bottom of each cavity to pop the half-spheres out. Handle the shells as little as possible to avoid melting them with the warmth of your hands. Place them on a cold parchment-lined tray.
- Step 4: Fill the Bombs
Take six of the half-spheres and fill each with one tablespoon of hot cocoa mix. Add a generous handful of mini marshmallows and a pinch of Halloween sprinkles. You can even hide a few candy eyeballs inside for a fun surprise when the bomb melts.
- Step 5: Seal and Decorate
Heat a small plate in the microwave for 30 seconds. Take an empty chocolate half-sphere and press the rim against the warm plate for a few seconds until it starts to melt. Immediately press it onto a filled half-sphere to create a complete globe. Hold it for a moment to secure the seal. Drizzle extra chocolate over the top and add candy eyeballs or more sprinkles to finish your Halloween design.
- Cook Time: 50 minutes