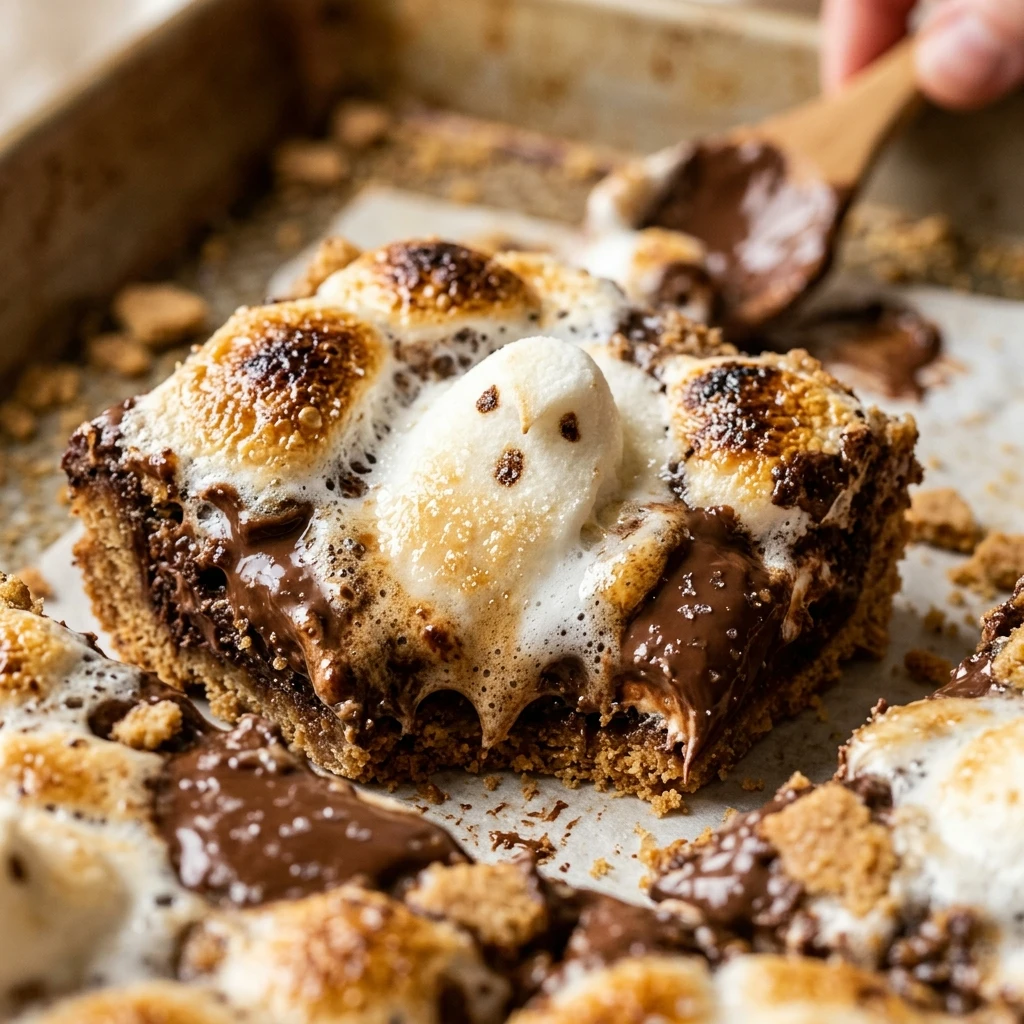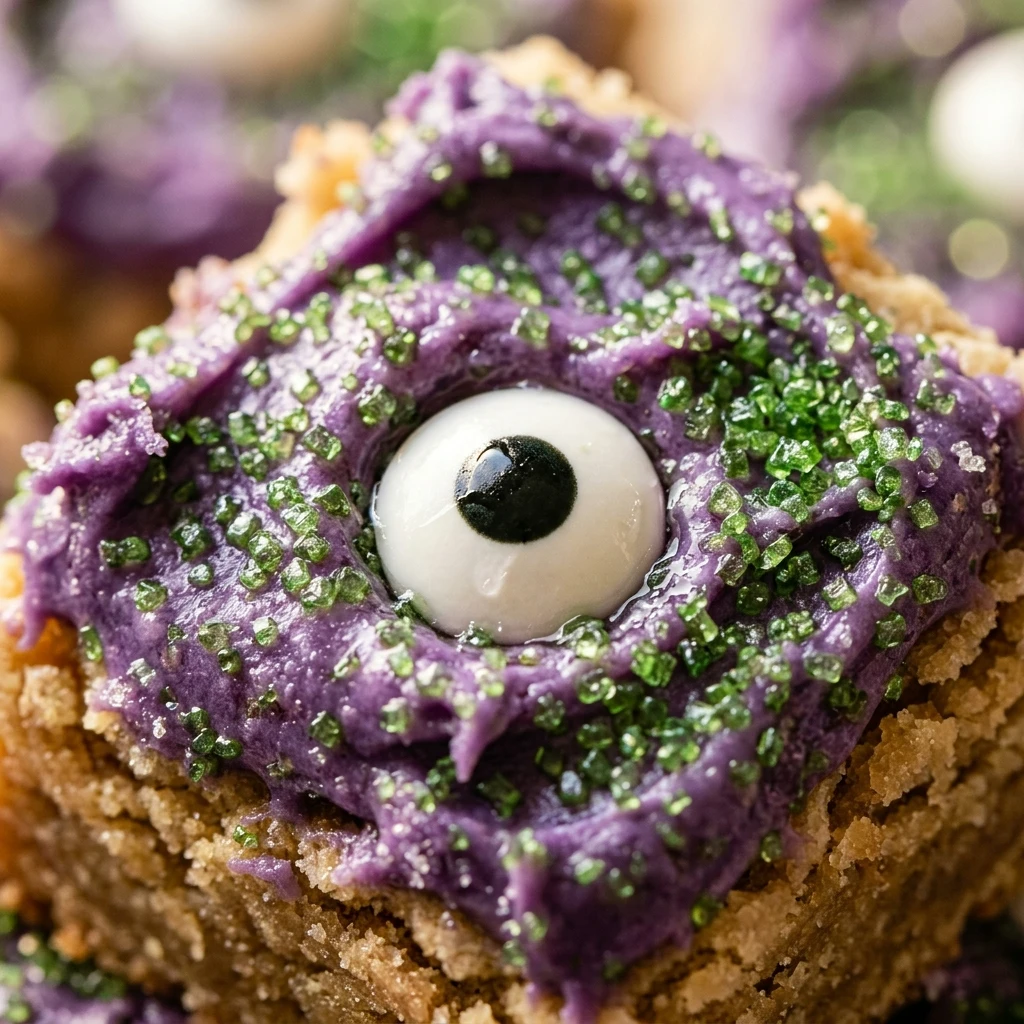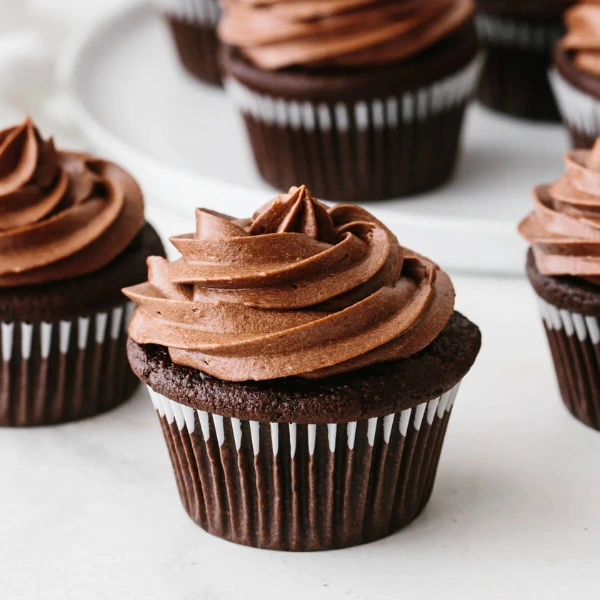
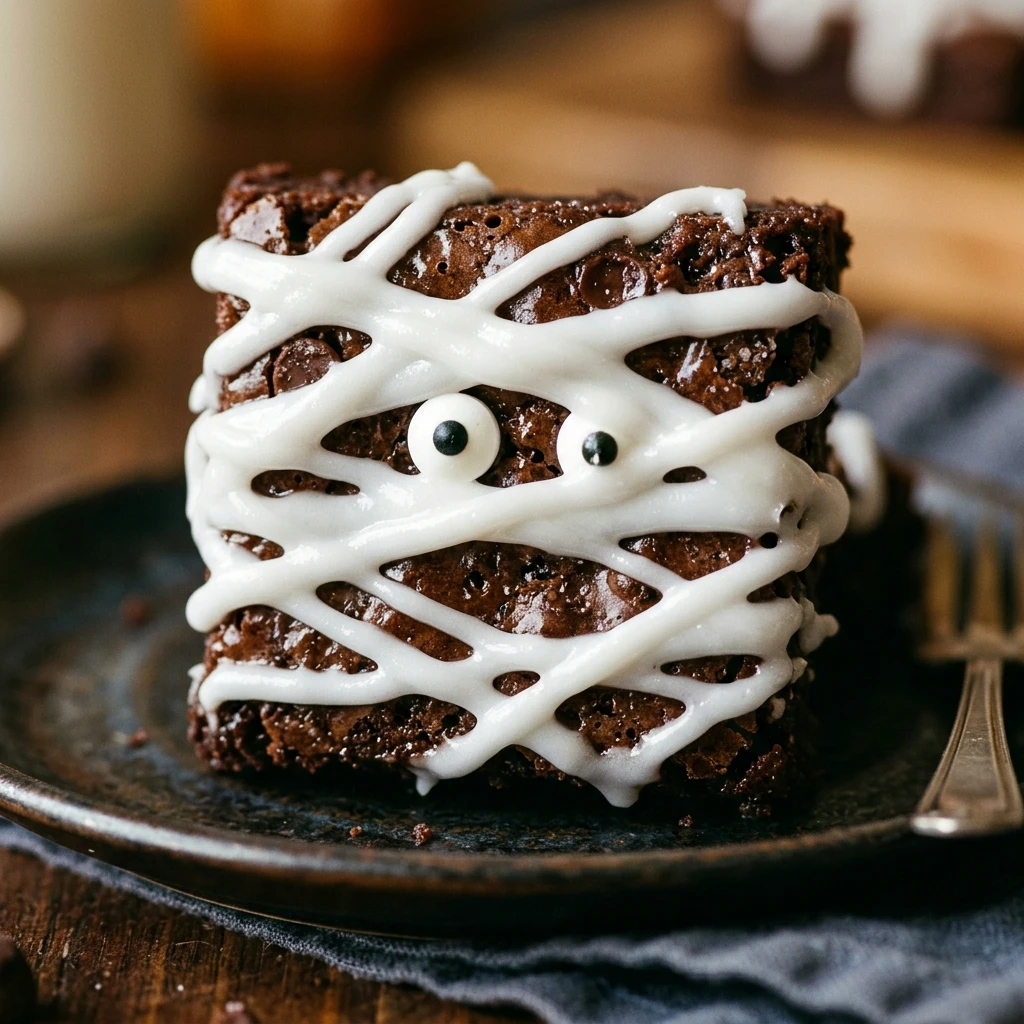
Spooky season is just around the corner, and nothing says Halloween like a treat that is both adorable and delicious. These Mummy Wrapped Brownie Bites are the perfect addition to any festive dessert spread. They combine rich, fudgy chocolate with a playful design that will have your guests reaching for seconds. Whether you are hosting a classroom party or just want to surprise the kids after school, these bite-sized treats are a guaranteed hit. They look impressive but are surprisingly simple to put together, making them the ultimate stress-free holiday snack. Get ready to bake some memories with these charming little chocolate mummies.
Recipe Information
- Prep Time: 20 minutes
- Cook Time: 25 minutes
- Total Time: 45 minutes
- Servings: 24 brownie bites
- Difficulty: Easy
Nutrition values
- Calories: 185 kcal
- Protein: 2g
- Carbs: 26g
Why Make This Mummy Wrapped Brownie Bites Recipe
This recipe is a must-have for your Halloween repertoire because it strikes the perfect balance between convenience and creativity. You don’t need professional decorating skills to make these look fantastic; the “messier” the bandages, the more authentic the mummy looks! It is an excellent activity for children who want to help in the kitchen, as they can easily pipe the chocolate or place the eyes. Plus, the combination of dense brownie and creamy white chocolate creates a flavor profile that appeals to chocolate lovers of all ages.
Ingredients
- 1 box (18.4 oz) of your favorite fudge brownie mix
- 1/2 cup vegetable oil
- 1/4 cup water
- 2 large eggs
- 1 cup white chocolate melting wafers or high-quality white chocolate chips
- 48 small candy eyes
- 1 teaspoon coconut oil (optional, for smoother melting)
Directions
Step 1: Bake the Brownie Base
Preheat your oven to 350°F (175°C) and grease an 8×8-inch square baking pan. In a large bowl, combine the brownie mix, vegetable oil, water, and eggs. Stir until just combined, ensuring you don’t overmix the batter. Pour the mixture into the prepared pan and bake for 20 to 25 minutes, or until a toothpick inserted into the center comes out with just a few moist crumbs. Allow the brownies to cool completely in the pan before proceeding.
Step 2: Cut into Bite-Sized Squares
Once the brownies are entirely cool, lift them out of the pan and place them on a cutting board. Use a sharp knife to cut the block into 24 even squares. For the cleanest cuts, wipe your knife with a warm, damp cloth between each slice. Arrange the brownie bites on a piece of parchment paper to prepare them for the “wrapping” process.
Step 3: Melt the Chocolate Bandages
Place the white chocolate melting wafers in a microwave-safe bowl. Microwave in 30-second intervals, stirring after each one, until the chocolate is smooth and fully melted. If the chocolate is too thick, stir in a teaspoon of coconut oil to thin it out. Transfer the melted chocolate into a piping bag or a small plastic zip-top bag with a tiny corner snipped off.
Step 4: Wrap the Mummies and Add Eyes
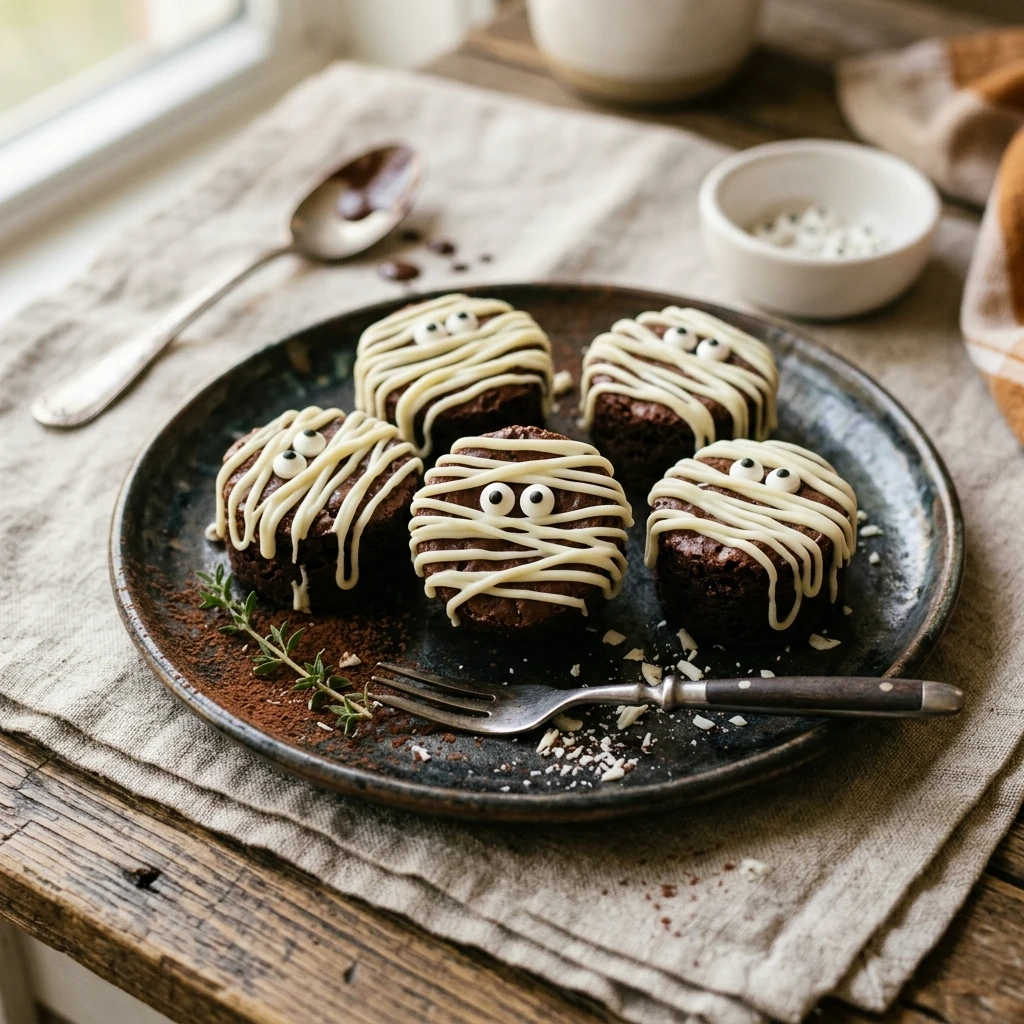
Drizzle the white chocolate in a back-and-forth zigzag motion across each brownie bite to create the appearance of mummy bandages. Leave a small gap near the top third of the brownie for the eyes. Immediately place two candy eyes in the gap before the chocolate sets. Let the brownies sit for about 15 minutes until the chocolate hardens completely.
Expert Tips for Perfect Mummy Wrapped Brownie Bites Recipe
To achieve the best results, ensure your brownies are completely cold before you start drizzling the chocolate. If the brownies are even slightly warm, the chocolate will melt and run off the sides rather than forming distinct “bandage” lines. Using a piping bag gives you much more control than a spoon. If you want a more gourmet flavor, add a pinch of espresso powder to the brownie batter to enhance the chocolate taste. Finally, if you are using white chocolate chips instead of melting wafers, be extra careful not to overheat them, as white chocolate can seize easily.
Delicious Variations
You can easily customize these treats to suit your preferences. For a “Bloody Mummy” version, add a few drops of red food coloring to some of the white chocolate and drizzle it sparingly over the bandages. If you prefer a salty-sweet combo, press a small pretzel piece into the brownie before decorating. You can also swap the brownie base for a blondie or a thick chocolate chip cookie bar. For those who enjoy different flavors, try using mint-flavored chocolate for the bandages or peanut butter chips for a different color scheme.
Frequently Asked Questions
Can I use store-bought pre-made brownies for this recipe?
Absolutely! If you are short on time, you can buy a tray of pre-made brownies from the bakery section of your grocery store. Simply cut them into squares and follow the decorating steps. This makes the project even faster for last-minute events.
How should I store these brownie bites?
Store the finished brownie bites in an airtight container at room temperature for up to 3 days. If your kitchen is very warm, you can keep them in the refrigerator to prevent the chocolate from softening, but let them come to room temperature before serving for the best texture.
Can I freeze these mummies?
Yes, you can freeze them for up to two months. Place them in a single layer in a freezer-safe container with parchment paper between layers. Note that the candy eyes may sometimes “sweat” or bleed slightly when thawing, so they are best when fresh.
What is the best way to melt white chocolate?
The microwave is fastest, but a double boiler is the safest method to prevent burning. If using a microwave, always use low power and stir frequently. White chocolate has a lower melting point than dark chocolate and can become grainy if it gets too hot.
Can I make these gluten-free?
Yes, simply replace the standard brownie mix with your favorite gluten-free brownie mix. Most candy eyes and white chocolate melting wafers are gluten-free, but always double-check the labels to be certain.
Conclusion
These Mummy Wrapped Brownie Bites are the ultimate Halloween hack for busy hosts and parents. They look like they took hours to decorate, but the process is quick and incredibly fun. With their rich chocolate base and festive appearance, they are sure to be the star of your holiday dessert table. Give this recipe a try this October and watch these little mummies disappear faster than you can say “trick or treat!”

Mummy Wrapped Brownie Bites Recipe
- Total Time: 45 minutes
- Diet: Vegetarian
Ingredients
- 1 box (18.4 oz) of your favorite fudge brownie mix
- 1/2 cup vegetable oil
- 1/4 cup water
- 2 large eggs
- 1 cup white chocolate melting wafers or high-quality white chocolate chips
- 48 small candy eyes
- 1 teaspoon coconut oil (optional, for smoother melting)
Instructions
- Step 1: Bake the Brownie Base: Preheat your oven to 350°F (175°C) and grease an 8×8-inch square baking pan. In a large bowl, combine the brownie mix, vegetable oil, water, and eggs. Stir until just combined, ensuring you don’t overmix the batter. Pour the mixture into the prepared pan and bake for 20 to 25 minutes, or until a toothpick inserted into the center comes out with just a few moist crumbs. Allow the brownies to cool completely in the pan before proceeding.
- Step 2: Cut into Bite-Sized Squares: Once the brownies are entirely cool, lift them out of the pan and place them on a cutting board. Use a sharp knife to cut the block into 24 even squares. For the cleanest cuts, wipe your knife with a warm, damp cloth between each slice. Arrange the brownie bites on a piece of parchment paper to prepare them for the “wrapping” process.
- Step 3: Melt the Chocolate Bandages: Place the white chocolate melting wafers in a microwave-safe bowl. Microwave in 30-second intervals, stirring after each one, until the chocolate is smooth and fully melted. If the chocolate is too thick, stir in a teaspoon of coconut oil to thin it out. Transfer the melted chocolate into a piping bag or a small plastic zip-top bag with a tiny corner snipped off.
- Step 4: Wrap the Mummies and Add Eyes: Drizzle the white chocolate in a back-and-forth zigzag motion across each brownie bite to create the appearance of mummy bandages. Leave a small gap near the top third of the brownie for the eyes. Immediately place two candy eyes in the gap before the chocolate sets. Let the brownies sit for about 15 minutes until the chocolate hardens completely.
- Cook Time: 45 minutes