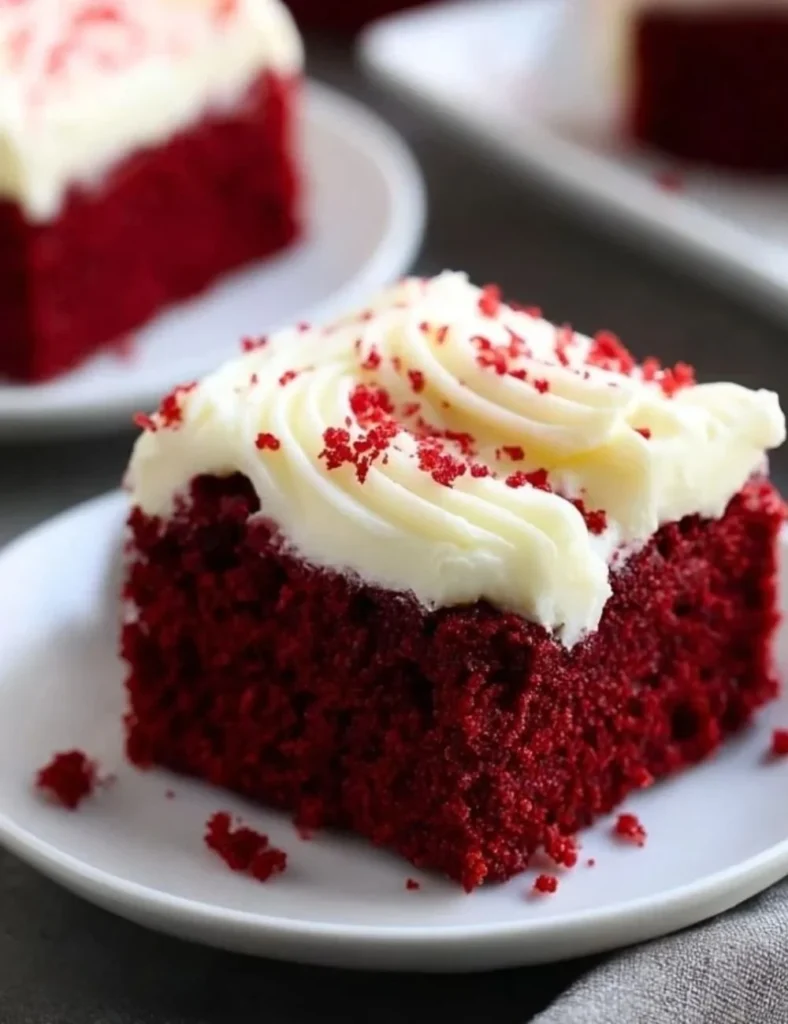
If you love a tender, slightly chocolatey snack with a tangy cream cheese finish, this Red Velvet Snack Cake is for you. It bakes up moist, ruby-red, and soft in a 9×13 pan — perfect for family gatherings or a sweet afternoon pick-me-up. If you want another red velvet breakfast idea, try these red velvet pancakes for Valentine’s breakfast for a fun twist on the flavor.
Recipe Information
- Prep Time: 15 minutes
- Cook Time: 30 minutes
- Total Time: 45 minutes
- Servings: 12
- Difficulty Level: Easy
Nutrition Information
(Approximate per serving)
- Calories per serving: 475 kcal
- Protein: 4.5 g
- Carbohydrates: 39 g
- Fat: 26 g
- Fiber: 1.5 g
- Sugar: 25 g
- Sodium: 250 mg
Why Make This The Best Red Velvet Snack Cake
This snack cake balances mild cocoa with the classic red velvet tang. It stays moist thanks to oil and buttermilk and finishes bright and creamy with a cream cheese frosting. The texture is soft and tender; the aroma is rich cocoa with a hint of vanilla; and the look — a warm red crumb topped with white frosting — is instantly inviting. It’s quick to make and slices easily for sharing.
How to Make The Best Red Velvet Snack Cake
Follow simple steps and you’ll have a tender, cocoa-scented cake with a creamy frosting. The batter mixes quickly, the bake time is short, and it cools in the pan for easy slicing.
Ingredients:
- 1 1/2 cups all-purpose flour
- 1 cup granulated sugar
- 1/2 cup unsweetened cocoa powder
- 1 tsp baking soda
- 1/2 tsp salt
- 1 cup vegetable oil
- 1 cup buttermilk, room temperature
- 2 large eggs
- 2 tbsp red food coloring
- 1 tsp vanilla extract
- 1 tsp white vinegar
- 1 cup cream cheese frosting (for topping)
Directions:
Step 1: Preparation
Preheat the oven to 350°F (175°C). Grease and flour a 9×13 inch baking pan, or line it with parchment for easier removal. Measure your ingredients so the baking process goes smoothly.
Step 2: Mixing
In a large bowl, whisk together the flour, sugar, cocoa powder, baking soda, and salt until evenly combined. In another bowl, whisk the vegetable oil, buttermilk, eggs, red food coloring, vanilla extract, and white vinegar until smooth. Pour the wet mixture into the dry ingredients and stir gently until just combined — do not overmix or the cake can become dense.
Step 3: Cooking
Pour the batter into the prepared pan and smooth the top with a spatula. Bake at 350°F (175°C) for 25–30 minutes, or until a toothpick inserted in the center comes out clean or with a few moist crumbs. The top should spring back lightly when touched.
Step 4: Finishing
Allow the cake to cool completely in the pan on a wire rack, about 45–60 minutes. Once cool, spread the cream cheese frosting evenly over the top. Cut into 12 squares and serve. Store any leftovers as directed below.
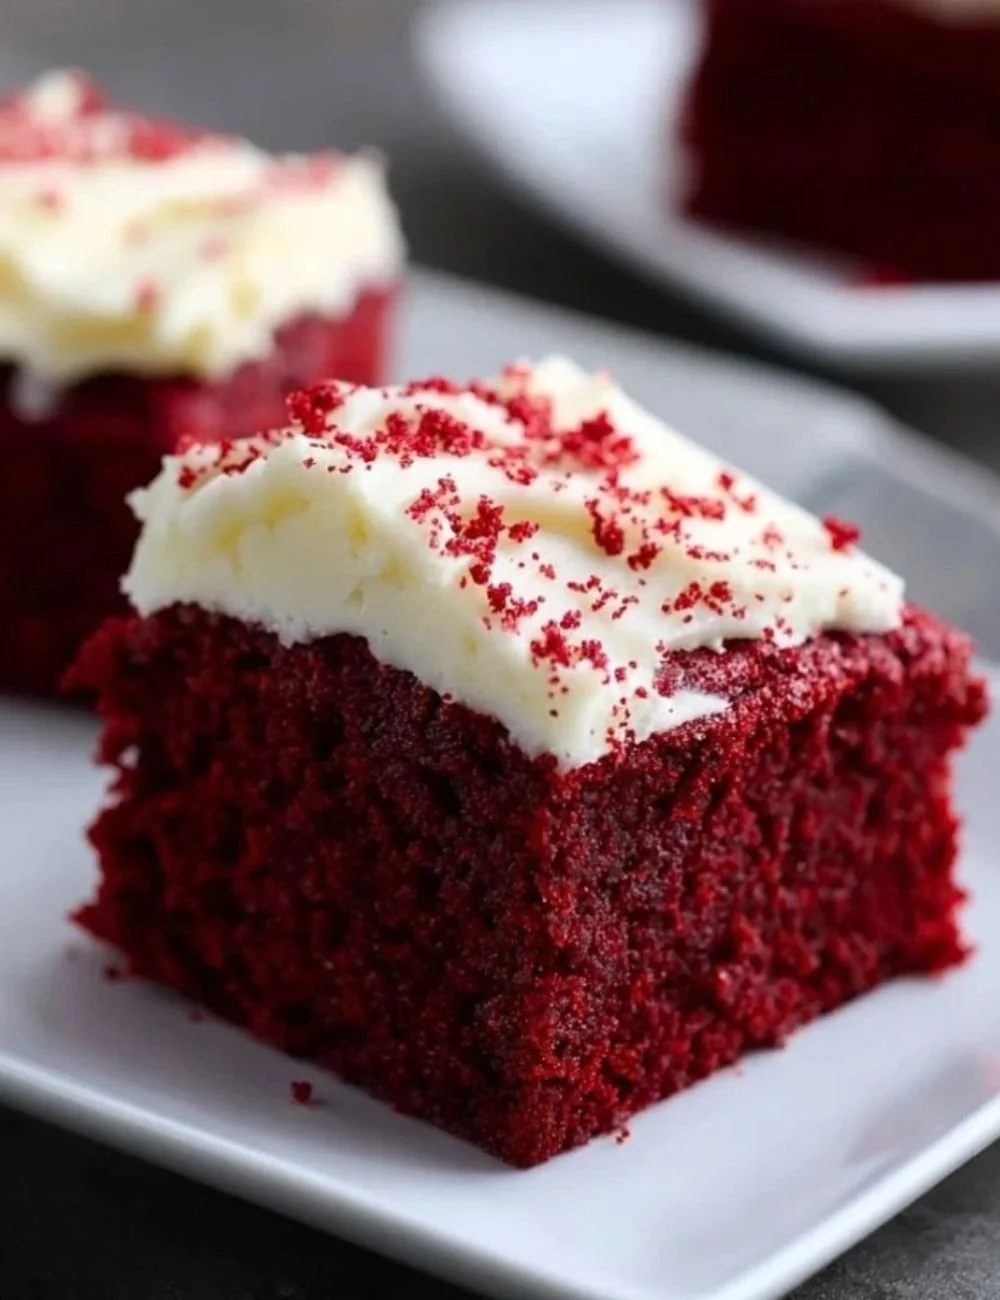
How to Serve The Best Red Velvet Snack Cake
Serve slices at room temperature so the frosting is soft and creamy. Garnish with a light dusting of cocoa or a few fresh berries for color contrast. This cake works well for school lunches, afternoon tea, potlucks, or as a casual dessert after dinner.
How to Store The Best Red Velvet Snack Cake
- At room temperature: Cover the pan tightly with plastic wrap or a cake keeper for up to 2 days.
- Refrigerated: Store in an airtight container for up to 5 days. Bring to room temperature before serving for best texture.
- Freezing: Wrap individual slices in plastic and place in a freezer bag for up to 2 months. Thaw overnight in the refrigerator and bring to room temperature before serving.
Expert Tips for Perfect The Best Red Velvet Snack Cake
- Use room-temperature buttermilk and eggs so they blend smoothly into the batter.
- Measure flour by spooning it into the cup and leveling with a knife to avoid a dry cake.
- Stir the batter only until combined; overmixing develops gluten and makes the cake tough.
- Test doneness with a toothpick — a couple of moist crumbs are fine; the cake will continue to set as it cools.
- If your frosting is too thick, thin it with 1–2 teaspoons of milk for easier spreading.
- For natural coloring, try freeze-dried beet powder dissolved in a little hot water instead of food coloring.
Delicious Variations
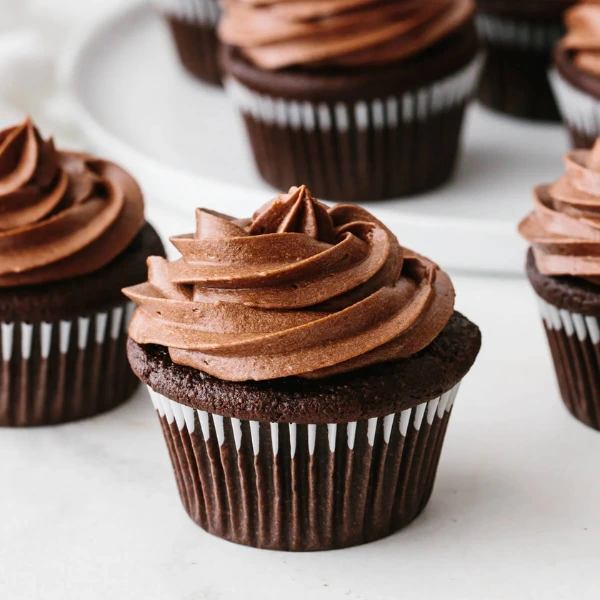
- Mini cupcake version: Bake batter in a lined muffin tin at 350°F (175°C) for 14–16 minutes.
- Chocolate cream cheese swirl: Fold a few tablespoons of melted chocolate into half the frosting and swirl on top.
- Nutty crunch: Sprinkle chopped toasted pecans over the frosting for extra texture.
- Lighter frosting: Use whipped cream cheese frosting (fold whipped cream into cream cheese) for a lighter topping.
- Cocoa intensify: Add an extra tablespoon of cocoa powder for a stronger chocolate note.
Frequently Asked Questions
Q: Can I use regular milk instead of buttermilk?
A: Yes. For 1 cup buttermilk, mix 1 cup milk with 1 tablespoon lemon juice or vinegar and let sit 5 minutes. This creates a similar acidity for tender crumb and reaction with baking soda.
Q: My cake came out dry. What went wrong?
A: Likely overbaking or overmixing. Check baking time with a toothpick and remove when a few moist crumbs remain. Also measure flour properly and avoid overmixing once wet and dry ingredients combine.
Q: Can I halve the recipe for a smaller pan?
A: Yes. Use an 8×8 or 9-inch round pan and reduce baking time to about 22–28 minutes; check doneness earlier.
Q: How do I make my frosting smoother and less tangy?
A: Soften cream cheese and beat until very smooth before adding powdered sugar. For less tang, reduce cream cheese slightly and add a bit more unsalted butter or powdered sugar to taste.
Q: Can I skip the food coloring?
A: You can, but the cake will be a deep cocoa-brown rather than red velvet. For natural color, use beet powder or juice, though it may alter moisture slightly.
Q: Is there a gluten-free option?
A: Substitute a trusted 1:1 gluten-free flour blend and add 1/4 tsp xanthan gum if the blend lacks it. Texture may vary; monitor baking time.
Q: Why is there vinegar in the recipe?
A: Vinegar reacts with baking soda to give a slight lift and helps keep the crumb tender. It also complements the tang of buttermilk for classic red velvet flavor.
Conclusion
This Red Velvet Snack Cake is quick, tender, and full of classic flavor. It’s easy enough for a weeknight bake and special enough for celebrations. The moist crumb, mild cocoa taste, and creamy frosting make it a crowd-pleaser. Give it a try — slice a warm piece, enjoy the cocoa aroma, and savor that tangy cream cheese finishing touch.
Print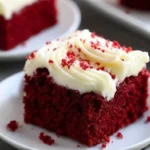
Red Velvet Snack Cake
- Total Time: 45 minutes
- Yield: 12 servings 1x
- Diet: Vegetarian
Description
A tender, moist red velvet snack cake topped with creamy cream cheese frosting, perfect for family gatherings or a sweet pick-me-up.
Ingredients
- 1 1/2 cups all-purpose flour
- 1 cup granulated sugar
- 1/2 cup unsweetened cocoa powder
- 1 tsp baking soda
- 1/2 tsp salt
- 1 cup vegetable oil
- 1 cup buttermilk, room temperature
- 2 large eggs
- 2 tbsp red food coloring
- 1 tsp vanilla extract
- 1 tsp white vinegar
- 1 cup cream cheese frosting (for topping)
Instructions
- Preheat the oven to 350°F (175°C). Grease and flour a 9×13 inch baking pan, or line it with parchment for easier removal.
- In a large bowl, whisk together the flour, sugar, cocoa powder, baking soda, and salt until evenly combined.
- In another bowl, whisk the vegetable oil, buttermilk, eggs, red food coloring, vanilla extract, and white vinegar until smooth.
- Pour the wet mixture into the dry ingredients and stir gently until just combined — do not overmix.
- Pour the batter into the prepared pan and smooth the top with a spatula.
- Bake at 350°F (175°C) for 25-30 minutes, or until a toothpick inserted in the center comes out clean.
- Allow the cake to cool completely in the pan on a wire rack, about 45-60 minutes.
- Once cool, spread the cream cheese frosting evenly over the top, cut into 12 squares and serve.
Notes
Serve slices at room temperature for best flavor. Cover leftovers with plastic wrap for up to 2 days at room temperature or refrigerate in an airtight container for up to 5 days.
- Prep Time: 15 minutes
- Cook Time: 30 minutes
- Category: Dessert
- Method: Baking
- Cuisine: American
Nutrition
- Serving Size: 1 slice
- Calories: 475
- Sugar: 25g
- Sodium: 250mg
- Fat: 26g
- Saturated Fat: 8g
- Unsaturated Fat: 15g
- Trans Fat: 0g
- Carbohydrates: 39g
- Fiber: 1.5g
- Protein: 4.5g
- Cholesterol: 70mg