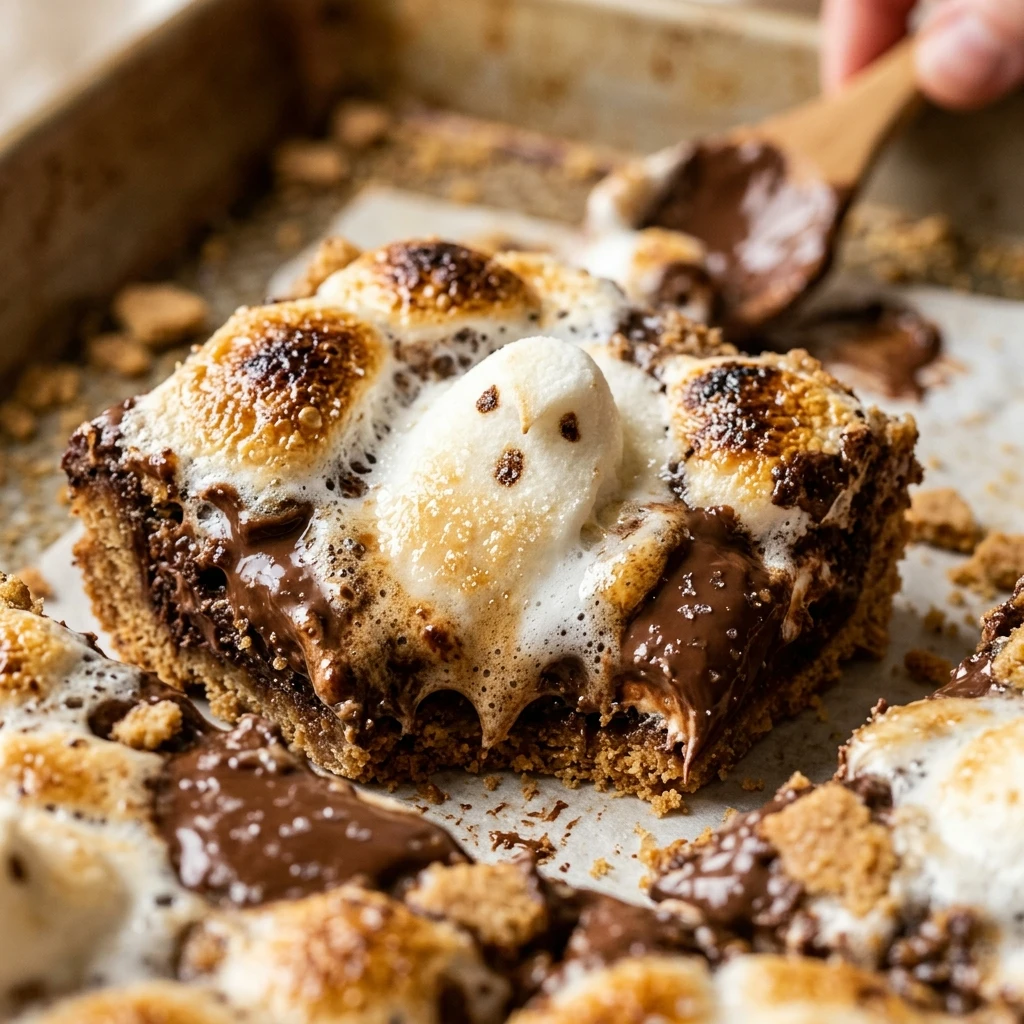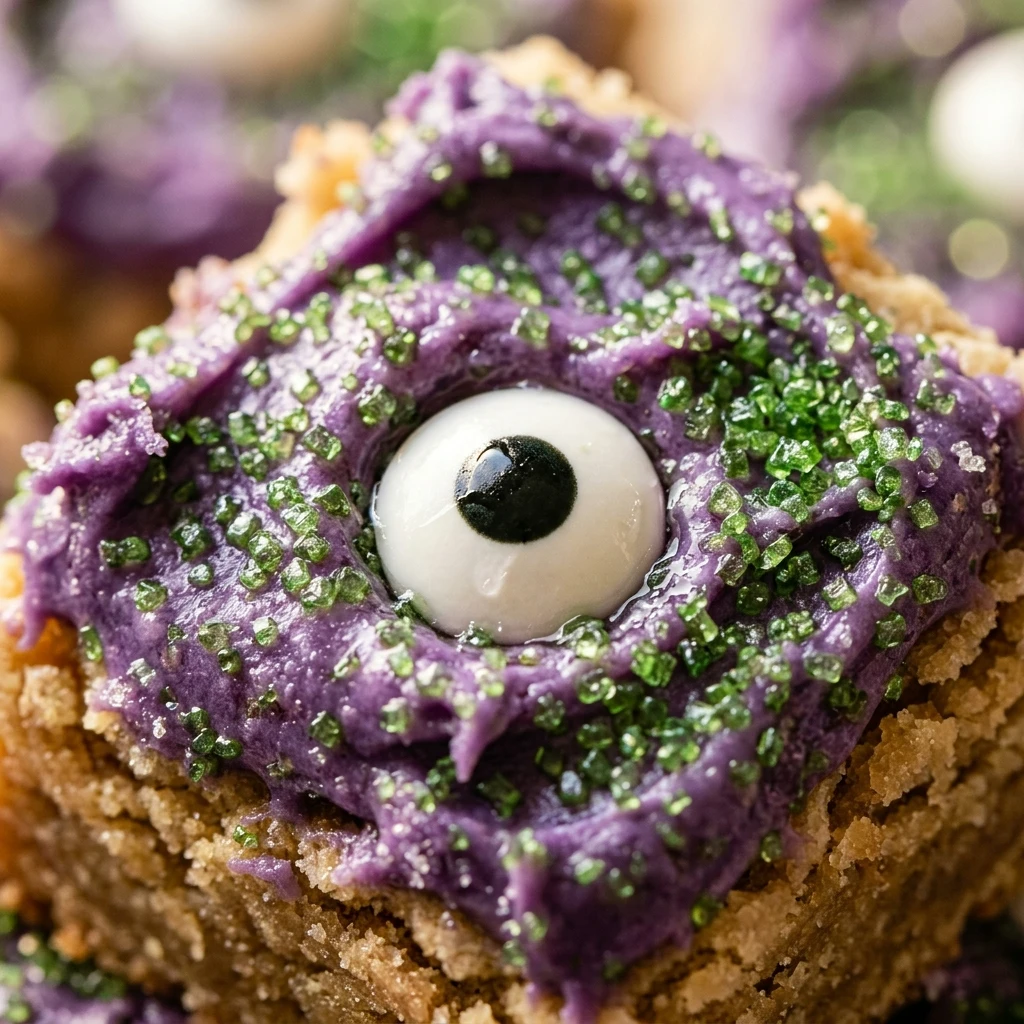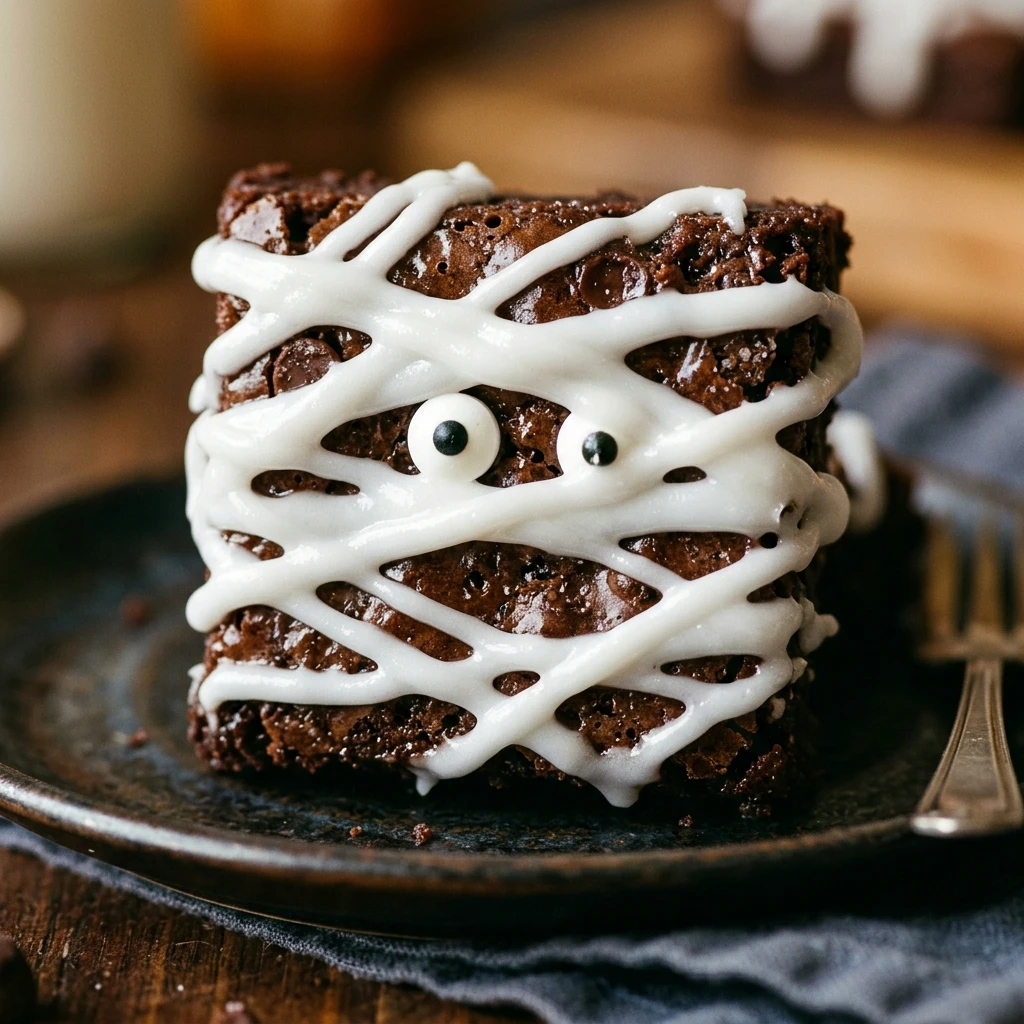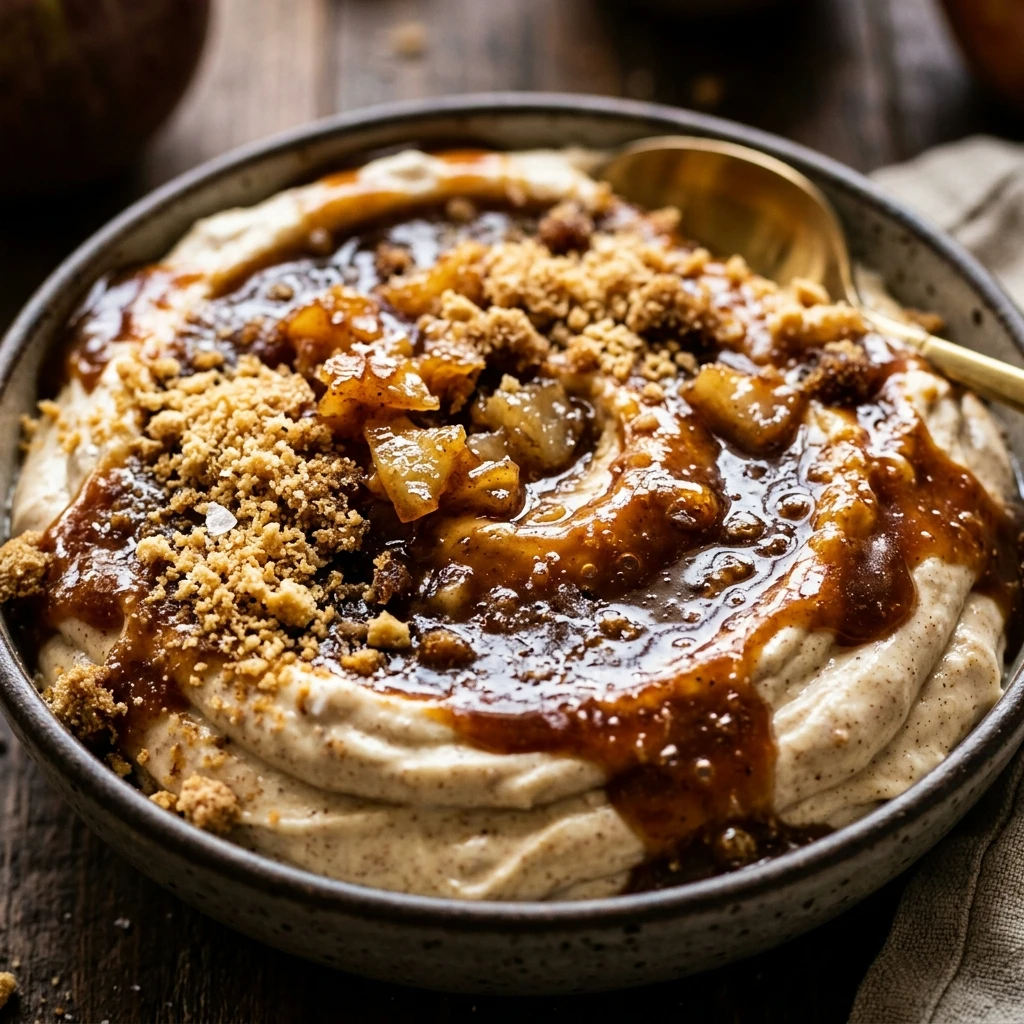
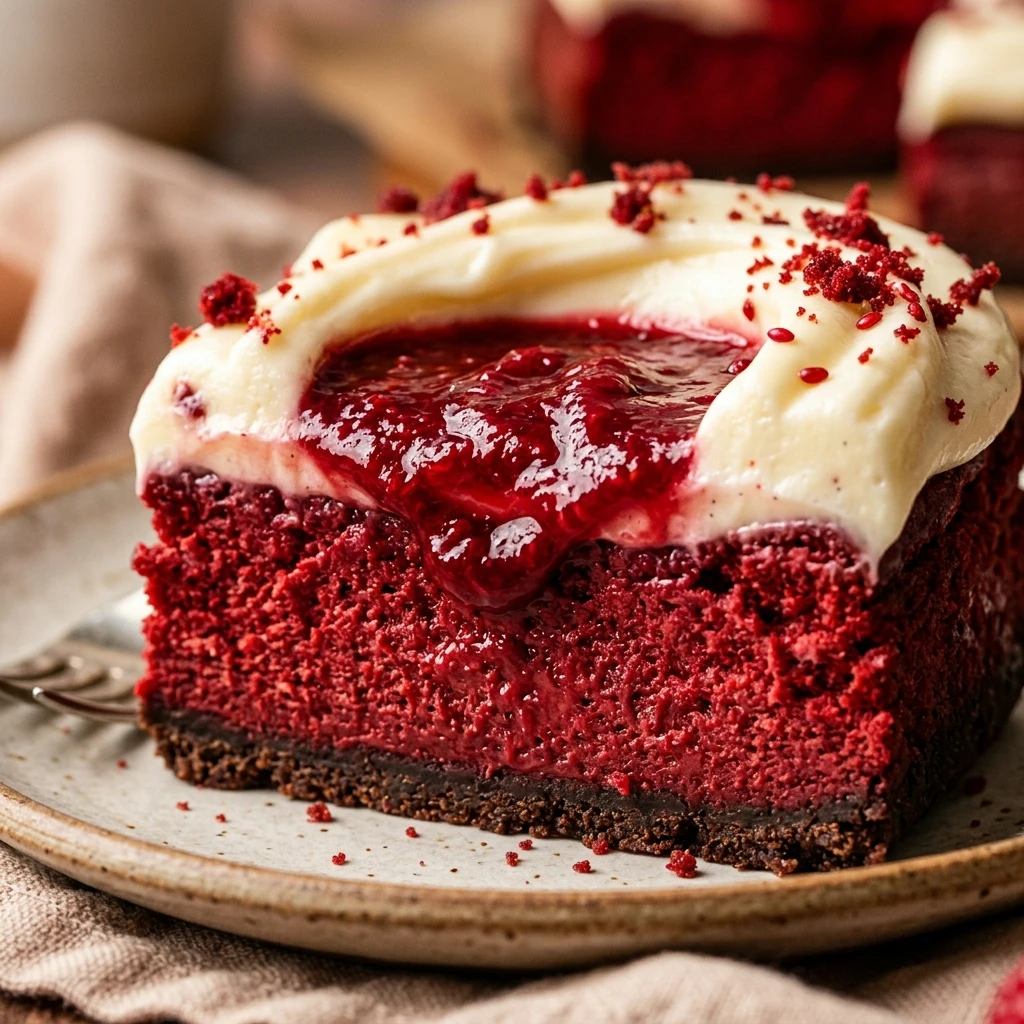
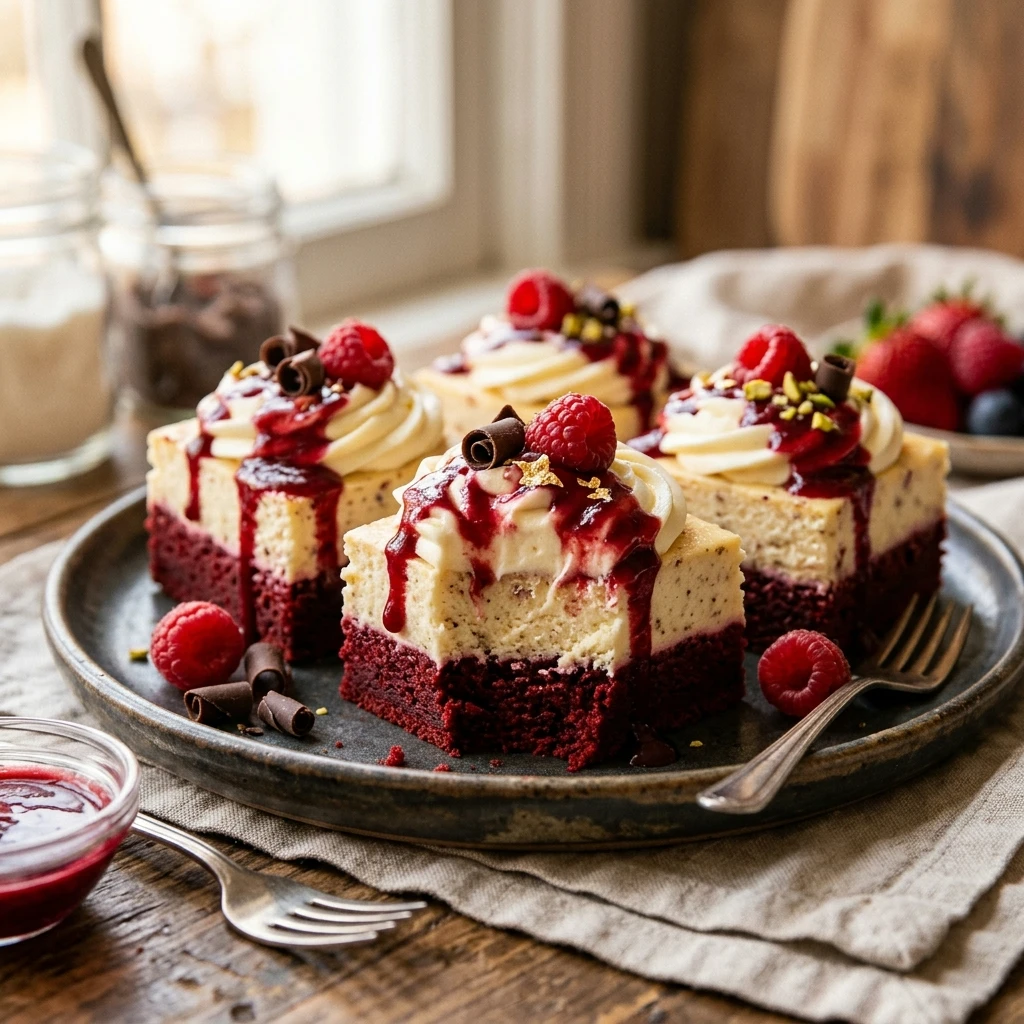
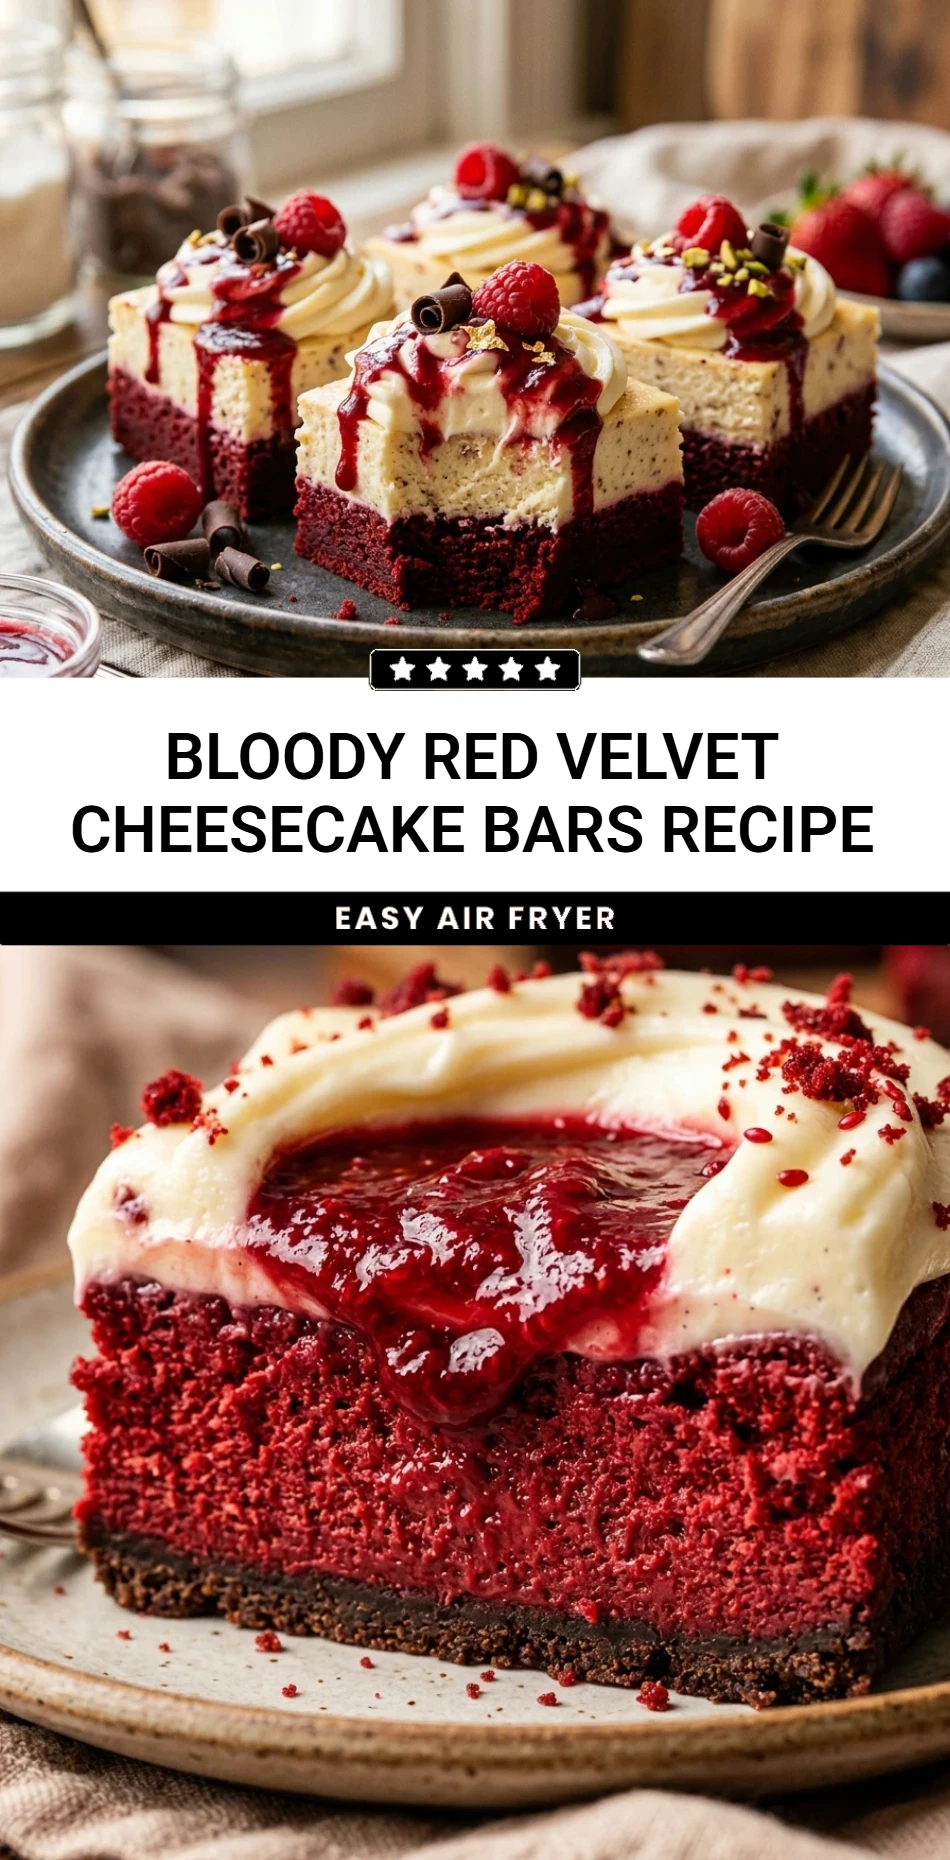
Get ready to sink your teeth into a dessert that is as dramatic as it is delicious. These Bloody Red Velvet Cheesecake Bars are the ultimate showstopper for your next Halloween bash, horror movie marathon, or gothic-themed dinner party. We are combining the rich, cocoa-infused flavor of classic red velvet with a silky, tangy cheesecake swirl. To top it all off, a vibrant raspberry “blood” drizzle provides a gruesome yet gourmet finish. They look terrifyingly realistic and taste absolutely heavenly, making them a guaranteed hit for anyone who loves a bit of theatrical flair in the kitchen.
Recipe Information
- Prep Time: 25 minutes
- Cook Time: 40 minutes
- Total Time: 1 hour 5 minutes
- Servings: 16 bars
- Difficulty: Medium
Nutrition values
- Calories: 345 kcal
- Protein: 5g
- Carbs: 39g
Why Make This Bloody Red Velvet Cheesecake Bars Recipe
You should make this recipe because it strikes the perfect balance between spooky aesthetics and professional-grade flavor. Unlike many themed desserts that prioritize looks over taste, these bars offer a deep, velvety chocolate undertone paired with high-quality cream cheese. The homemade raspberry sauce provides a natural tartness that cuts through the sweetness, ensuring every bite is balanced. Plus, the “bloody” effect is incredibly easy to achieve without needing advanced decorating skills. It is a fun, interactive baking project that delivers a high-impact visual result for any festive occasion.
Ingredients
For the Red Velvet Base:
- 1/2 cup unsalted butter, melted
- 1 cup granulated sugar
- 1 large egg
- 1 tsp vanilla extract
- 1/4 cup unsweetened cocoa powder
- 1/8 tsp salt
- 1 tbsp red food coloring (gel preferred)
- 1/2 tsp white distilled vinegar
- 3/4 cup all-purpose flour
For the Cheesecake Layer:
- 8 oz cream cheese, softened to room temperature
- 1/4 cup granulated sugar
- 1 large egg
- 1/2 tsp vanilla extract
For the Raspberry “Blood” Sauce:
- 1 cup fresh or frozen raspberries
- 2 tbsp granulated sugar
- 1 tsp lemon juice
- 1 tsp cornstarch mixed with 1 tsp water (optional for thickness)
Directions
Step 1: Preparation and Oven Setup
Preheat your oven to 350°F (175°C). Line an 8×8-inch baking pan with parchment paper, leaving an overhang on the sides for easy removal. Lightly grease any exposed pan surfaces with cooking spray or butter.
Step 2: Mix the Red Velvet Batter
In a medium bowl, whisk together the melted butter and 1 cup of sugar until well combined. Stir in the egg, vanilla extract, red food coloring, and vinegar. Sift in the cocoa powder, salt, and all-purpose flour. Fold the ingredients together with a spatula until just combined. Reserve about 1/4 cup of this batter for swirling later, and spread the rest evenly into the bottom of your prepared pan.
Step 3: Create the Cheesecake Mixture
In a separate bowl, beat the softened cream cheese and 1/4 cup of sugar with an electric mixer until smooth and creamy. Add the egg and vanilla extract, beating on low speed until just incorporated. Be careful not to overmix, as this can introduce too much air into the cheesecake.
Step 4: Layer and Swirl
Pour the cheesecake mixture over the red velvet base and spread it out to the edges. Drop small spoonfuls of the reserved red velvet batter over the top of the cheesecake layer. Use a toothpick or a butter knife to gently swirl the two batters together, creating a marbled effect. Bake for 30 to 35 minutes, or until the edges are set and the center only has a slight jiggle.
Step 5: Prepare the Blood Sauce and Chill
While the bars bake, place raspberries, sugar, and lemon juice in a small saucepan over medium heat. Simmer for 5-8 minutes until the berries break down. Strain through a fine-mesh sieve to remove seeds. If you want it thicker, stir in the cornstarch slurry and heat for another minute. Once the cheesecake bars have cooled completely, randomly splatter or drizzle the red sauce over the top to create the “bloody” effect. Chill in the refrigerator for at least 3 hours before slicing into squares.
Expert Tips for Perfect Bloody Red Velvet Cheesecake Bars Recipe
To get the most vibrant color, use gel food coloring instead of liquid drops; gel provides a deeper red without thinning the batter. Always ensure your cream cheese and eggs are at room temperature to prevent lumps in your cheesecake layer. For clean, sharp slices, wipe your knife with a warm, damp cloth between every single cut. If your raspberry sauce looks too bright, add a tiny drop of blue food coloring or a pinch of cocoa powder to the sauce to give it a darker, more realistic “oxidized” blood appearance.
Delicious Variations
- Dark Chocolate Horror: Substitute the red velvet base with a dark fudge brownie recipe for a “Black Widow” aesthetic.
- Strawberry Slime: Use strawberry puree instead of raspberry if you prefer a sweeter, less tart fruit profile.
- White Chocolate Splatter: Melt white chocolate with a bit of red oil-based dye to create “blood” shards that harden on top of the bars.
- Gluten-Free Version: Replace the all-purpose flour with a 1:1 gluten-free baking blend for guests with dietary restrictions.
Frequently Asked Questions
Can I make these bars a day in advance?
Yes, these bars actually taste better the next day. Preparing them 24 hours in advance allows the cheesecake layer to fully set and the flavors to meld. Keep them covered in the refrigerator until you are ready to serve.
How do I prevent the cheesecake from cracking?
Cracks usually happen due to overbeating the eggs or overbaking. Mix the cheesecake layer just until the ingredients are combined, and pull the bars out of the oven while the center is still slightly wobbly. They will firm up as they cool.
Do I have to use vinegar in the red velvet base?
The vinegar is a traditional ingredient in red velvet that reacts with the cocoa and buttermilk (or in this case, enhances the tang) to create a specific flavor profile. It also helps brighten the red color, so it is highly recommended.
Can I use store-bought jam instead of making the sauce?
You can use store-bought seedless raspberry jam. Simply heat it in the microwave for a few seconds to thin it out so it is easy to splatter. You may want to add a drop of red food coloring if the jam looks too pink.
How long do these stay fresh in the fridge?
When stored in an airtight container, these cheesecake bars will stay fresh and delicious for up to 5 days. For the best texture, keep them chilled until about 10 minutes before serving.
Conclusion
These Bloody Red Velvet Cheesecake Bars are the perfect blend of spooky and sweet. With their striking colors and decadent layers, they offer a professional bakery feel right from your own kitchen. Whether you are hosting a themed party or just want a dramatic dessert to share with friends, this recipe never fails to impress. Follow the steps, embrace the “messy” splatter of the sauce, and enjoy one of the most visually stunning treats you will ever bake!
Bloody Red Velvet Cheesecake Bars Recipe
- Total Time: 1 hour 5 minutes
- Diet: Vegetarian
Ingredients
- For the Red Velvet Base:
- 1/2 cup unsalted butter, melted
- 1 cup granulated sugar
- 1 large egg
- 1 tsp vanilla extract
- 1/4 cup unsweetened cocoa powder
- 1/8 tsp salt
- 1 tbsp red food coloring (gel preferred)
- 1/2 tsp white distilled vinegar
- 3/4 cup all-purpose flour
- For the Cheesecake Layer:
- 8 oz cream cheese, softened to room temperature
- 1/4 cup granulated sugar
- 1 large egg
- 1/2 tsp vanilla extract
- For the Raspberry “Blood” Sauce:
- 1 cup fresh or frozen raspberries
- 2 tbsp granulated sugar
- 1 tsp lemon juice
- 1 tsp cornstarch mixed with 1 tsp water (optional for thickness)
Instructions
- Step 1: Preparation and Oven Setup
Preheat your oven to 350°F (175°C). Line an 8×8-inch baking pan with parchment paper, leaving an overhang on the sides for easy removal. Lightly grease any exposed pan surfaces with cooking spray or butter. - Step 2: Mix the Red Velvet Batter
In a medium bowl, whisk together the melted butter and 1 cup of sugar until well combined. Stir in the egg, vanilla extract, red food coloring, and vinegar. Sift in the cocoa powder, salt, and all-purpose flour. Fold the ingredients together with a spatula until just combined. Reserve about 1/4 cup of this batter for swirling later, and spread the rest evenly into the bottom of your prepared pan. - Step 3: Create the Cheesecake Mixture
In a separate bowl, beat the softened cream cheese and 1/4 cup of sugar with an electric mixer until smooth and creamy. Add the egg and vanilla extract, beating on low speed until just incorporated. Be careful not to overmix, as this can introduce too much air into the cheesecake. - Step 4: Layer and Swirl
Pour the cheesecake mixture over the red velvet base and spread it out to the edges. Drop small spoonfuls of the reserved red velvet batter over the top of the cheesecake layer. Use a toothpick or a butter knife to gently swirl the two batters together, creating a marbled effect. Bake for 30 to 35 minutes, or until the edges are set and the center only has a slight jiggle. - Step 5: Prepare the Blood Sauce and Chill
While the bars bake, place raspberries, sugar, and lemon juice in a small saucepan over medium heat. Simmer for 5-8 minutes until the berries break down. Strain through a fine-mesh sieve to remove seeds. If you want it thicker, stir in the cornstarch slurry and heat for another minute. Once the cheesecake bars have cooled completely, randomly splatter or drizzle the red sauce over the top to create the “bloody” effect. Chill in the refrigerator for at least 3 hours before slicing into squares.
- Cook Time: 1 hour 5 minutes