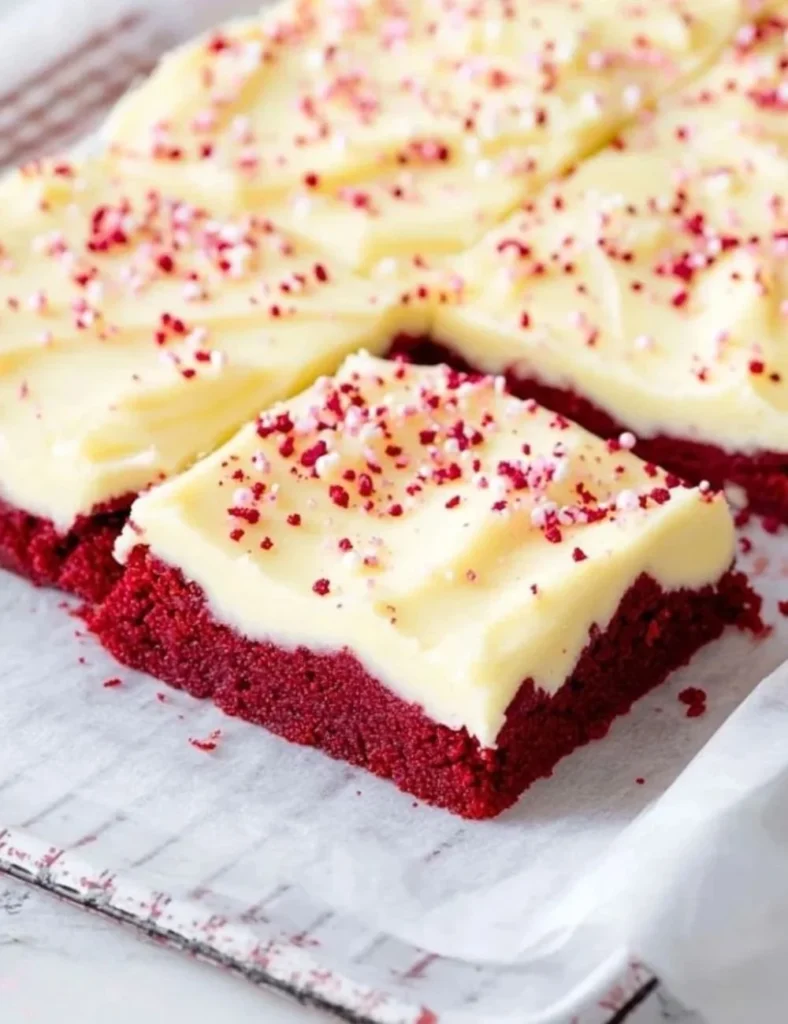
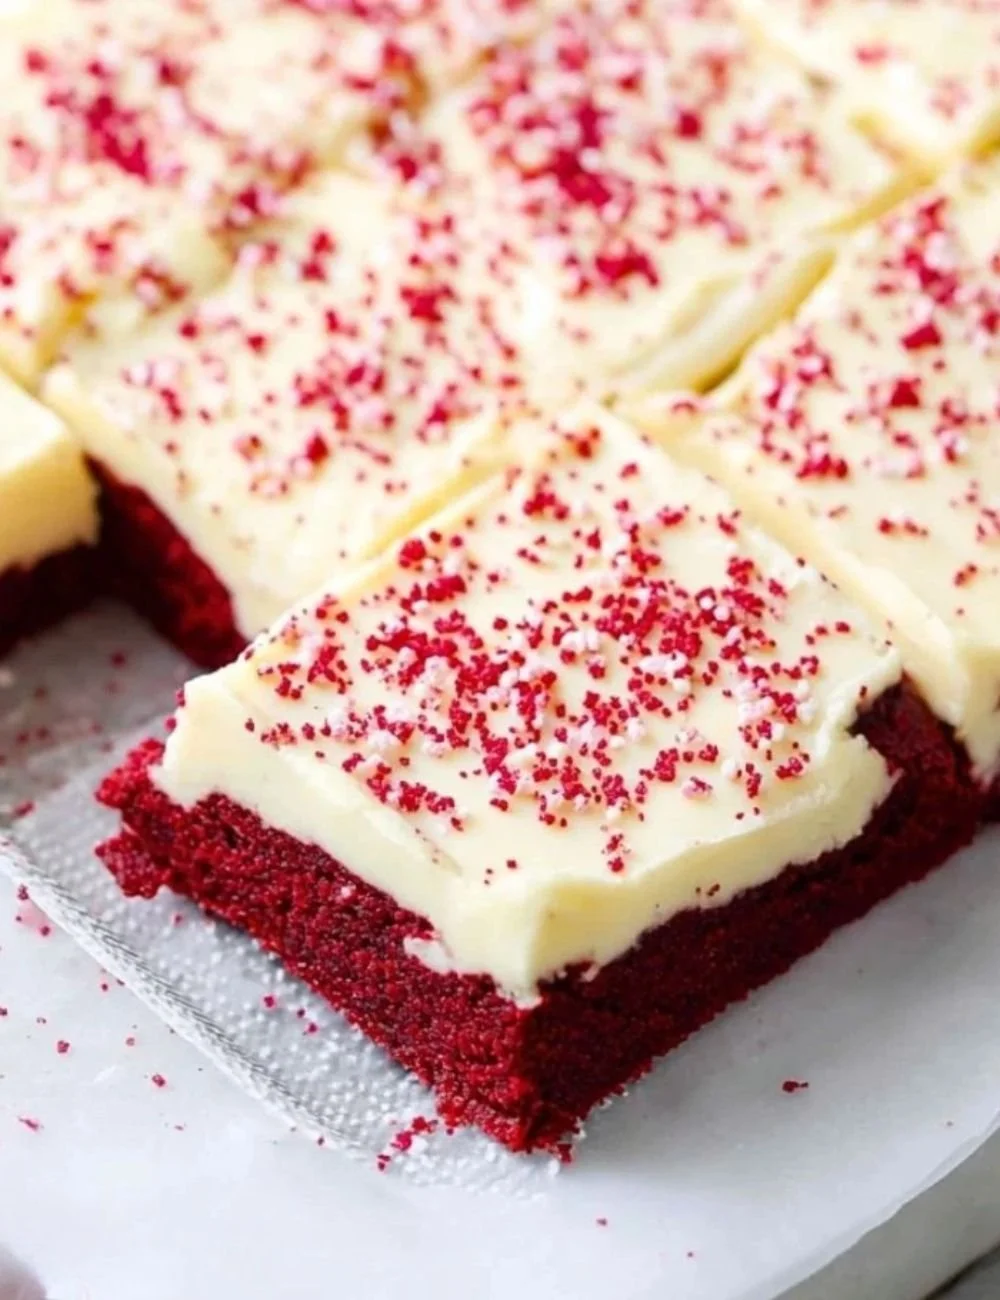
Red Velvet Cookie Bars are a delightful twist on the classic red velvet cake, transforming it into chewy, richly flavored cookie bars that everyone will love. With their stunning red color, white chocolate chips, and moist texture, these cookie bars are perfect for any occasion, whether it’s a family gathering, holiday celebration, or a sweet treat for yourself.
Recipe Information
- Prep Time: 15 minutes
- Cook Time: 25-30 minutes
- Total Time: 40-45 minutes
- Servings: 24 bars
- Difficulty Level: Easy
Nutrition Information
- Calories per serving: 200
- Protein: 2g
- Carbohydrates: 30g
- Fat: 9g
- Fiber: 1g
- Sugar: 15g
- Sodium: 150mg
Why Make This Red Velvet Cookie Bars
These Red Velvet Cookie Bars encapsulate the charm of traditional red velvet cake but in a more approachable and easier-to-eat form. Their rich flavor, combined with the sweetness of white chocolate chips, creates a delightful contrast that pleases the palate. They are visually stunning as well, making them a perfect centerpiece for dessert tables. Additionally, these bars are quick to prepare and cut, making them an ideal option when you’re short on time but still want to impress.
How to Make Red Velvet Cookie Bars
Creating these Red Velvet Cookie Bars is an easy and rewarding process. Here’s a simple breakdown to guide you through each step.
Ingredients:
- 2 1/2 cups all-purpose flour
- 1 tablespoon cocoa powder
- 1 teaspoon baking soda
- 1/2 teaspoon salt
- 1 cup unsalted butter, softened
- 1 cup granulated sugar
- 1 cup brown sugar, packed
- 2 large eggs
- 1 tablespoon red food coloring
- 1 teaspoon vanilla extract
- 1 cup white chocolate chips
Directions:
-
Step 1: Preparation
Preheat the oven to 350°F (175°C). Grease a 9×13 inch baking pan. This ensures your cookie bars won’t stick and makes for easy removal after baking.
-
Step 2: Mixing Dry Ingredients
In a bowl, whisk together the all-purpose flour, cocoa powder, baking soda, and salt. This step is crucial for ensuring that the leavening agents are evenly distributed throughout your cookie bars.
-
Step 3: Creaming the Mixture
In a separate bowl, cream together the softened butter, granulated sugar, and brown sugar until smooth. This should take about 2-3 minutes with a hand mixer or a stand mixer. Creaming incorporates air, giving your bars a light, tender texture.
-
Step 4: Incorporating Eggs and Flavor
Beat in the eggs, one at a time. Mix in the red food coloring and vanilla extract, ensuring everything is well combined. The vibrant red color will start to shine through!
-
Step 5: Combining Ingredients
Gradually add the dry ingredients to the wet mixture and mix until just combined. Be careful not to overmix, as this can toughen the bars.
-
Step 6: Adding White Chocolate
Fold in the white chocolate chips gently, allowing them to distribute evenly without overworking the dough.
-
Step 7: Spreading the Batter
Spread the batter evenly into the prepared baking pan. A spatula works great for getting an even layer.
-
Step 8: Baking
Bake in the preheated oven for 25-30 minutes, or until a toothpick inserted in the center comes out clean. Keep an eye on them for the best results!
-
Step 9: Cooling
Allow the bars to cool in the pan for at least 10-15 minutes before cutting into squares. This helps them set up and makes them easier to cut.
How to Serve Red Velvet Cookie Bars
These cookie bars are delightful on their own but pair wonderfully with a scoop of vanilla ice cream for an indulgent dessert. You can serve them as is or dust them with powdered sugar for an elegant touch. Consider adding a dollop of whipped cream or a drizzle of chocolate sauce for extra decadence.
How to Store Red Velvet Cookie Bars
To keep your Red Velvet Cookie Bars fresh, store them in an airtight container at room temperature for up to 4 days. If you need them to last longer, you can keep them in the refrigerator for up to a week. For even longer storage, these cookie bars freeze well—just be sure to wrap them tightly in plastic wrap or foil, followed by a zip-top bag, and they’ll last for up to 3 months.
Expert Tips for Perfect Red Velvet Cookie Bars
- For even more flavor, consider adding a teaspoon of almond extract in addition to vanilla.
- If you can’t find white chocolate chips, you could substitute them with semi-sweet chocolate chips or omit them entirely.
- Make sure your butter is softened but not melted; this will help achieve the right texture.
- Don’t forget the importance of cooling—the bars are much easier to cut when they are completely cool!
Delicious Variations
- Nutty Addition: Fold in 1/2 cup of chopped pecans or walnuts for a crunchy texture.
- Cheesecake Swirl: Add dollops of cream cheese batter on top before baking for a red velvet cheesecake twist.
- Chocolate Sandwich Bars: Layer two cookie bars with cream cheese frosting in between for a delicious treat!
Frequently Asked Questions
-
Can I use whole wheat flour instead of all-purpose flour?
Yes, but the texture will be denser. Consider a half and half mix of whole wheat and all-purpose flour for a lighter result. -
What can I substitute for red food coloring?
You can use beet juice or pomegranate juice, though it may alter the flavor slightly. -
Can I make these gluten-free?
Absolutely! Use a 1:1 gluten-free flour blend as a substitute for all-purpose flour. -
How do I know when they are done baking?
Use a toothpick; it should come out clean or with a few moist crumbs attached. -
Can these be made ahead of time?
Yes! You can prepare the batter a day in advance and store it in the refrigerator before baking.
Conclusion
Red Velvet Cookie Bars are a delightful treat that combines the rich flavor of red velvet cake with the simplicity and convenience of cookie bars. Their chewy texture, attractive color, and delectable taste will make them a highlight at any gathering. So why not give this easy recipe a try? Your friends and family will surely thank you, and you might just find a new favorite dessert to add to your repertoire!
PrintRed Velvet Cookie Bars
- Total Time: 45 minutes
- Yield: 24 bars 1x
- Diet: Vegetarian
Description
Delightful chewy cookie bars that transform classic red velvet cake into a visually stunning dessert with white chocolate chips.
Ingredients
- 2 1/2 cups all-purpose flour
- 1 tablespoon cocoa powder
- 1 teaspoon baking soda
- 1/2 teaspoon salt
- 1 cup unsalted butter, softened
- 1 cup granulated sugar
- 1 cup brown sugar, packed
- 2 large eggs
- 1 tablespoon red food coloring
- 1 teaspoon vanilla extract
- 1 cup white chocolate chips
Instructions
- Preheat the oven to 350°F (175°C). Grease a 9×13 inch baking pan.
- Whisk together the all-purpose flour, cocoa powder, baking soda, and salt in a bowl.
- Cream together the softened butter, granulated sugar, and brown sugar until smooth.
- Beat in the eggs, one at a time. Mix in the red food coloring and vanilla extract.
- Gradually add the dry ingredients to the wet mixture and mix until just combined.
- Fold in the white chocolate chips gently.
- Spread the batter evenly into the prepared baking pan.
- Bake for 25-30 minutes, or until a toothpick comes out clean.
- Allow to cool in the pan for 10-15 minutes before cutting into squares.
Notes
For more flavor, add almond extract. Substitute white chocolate chips with semi-sweet chocolate chips if desired.
- Prep Time: 15 minutes
- Cook Time: 30 minutes
- Category: Dessert
- Method: Baking
- Cuisine: American
Nutrition
- Serving Size: 1 bar
- Calories: 200
- Sugar: 15g
- Sodium: 150mg
- Fat: 9g
- Saturated Fat: 4g
- Unsaturated Fat: 3g
- Trans Fat: 0g
- Carbohydrates: 30g
- Fiber: 1g
- Protein: 2g
- Cholesterol: 30mg