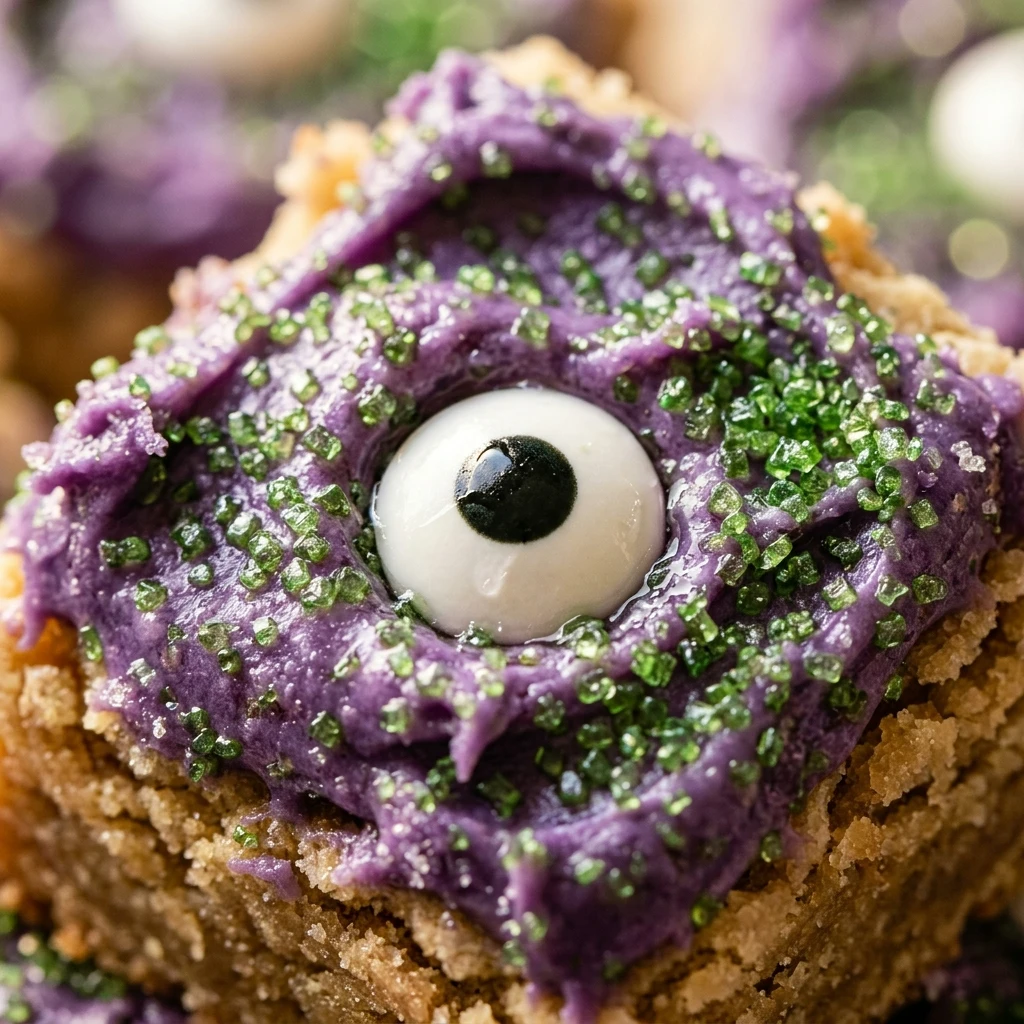
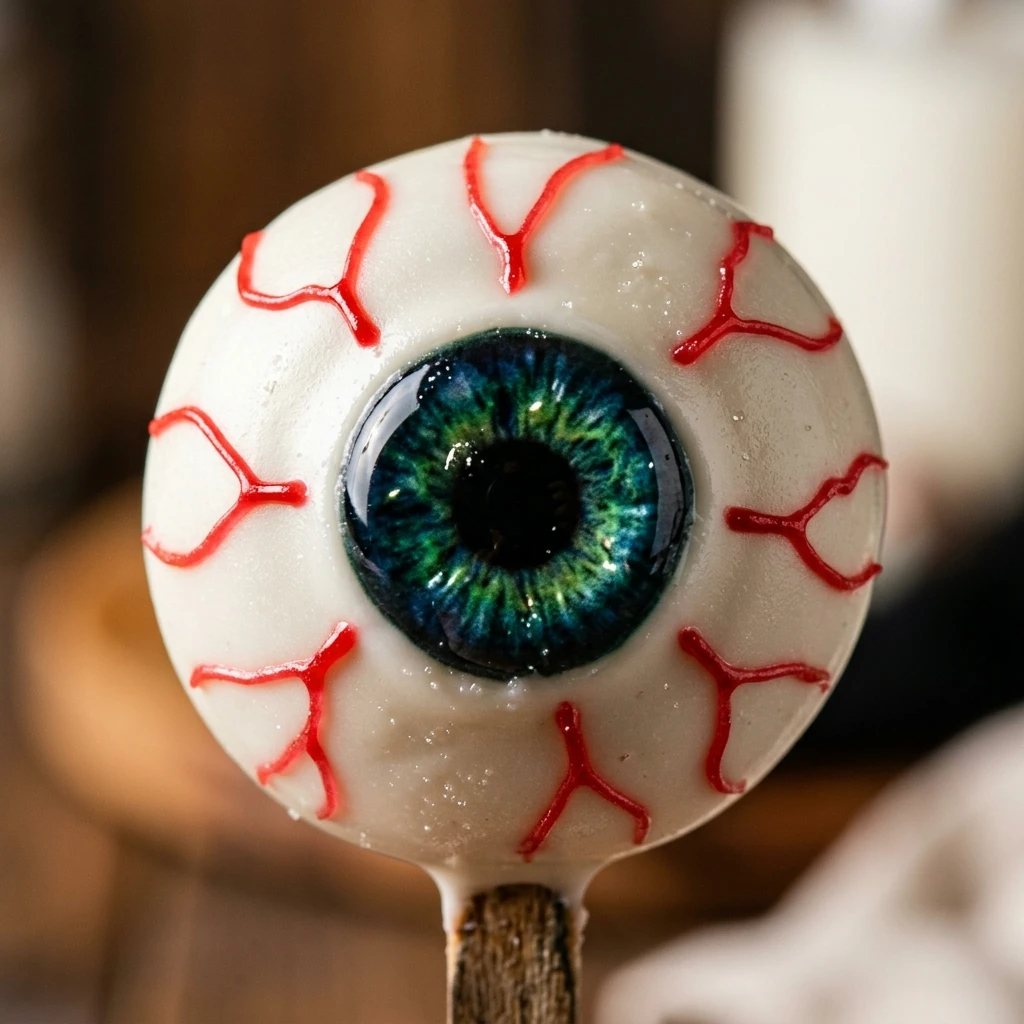
Get ready to add a dash of macabre charm to your Halloween dessert table! These Spooky Eyeball Cake Pops are the ultimate combination of eerie aesthetics and decadent flavor. Whether you are hosting a haunted house party or looking for a fun kitchen project with the kids, these treats are guaranteed to turn heads—literally. They look complex, but with a few simple tricks, you can master the art of the edible eyeball and impress everyone with your spooky baking skills. Let’s dive into this creepy-cool recipe that tastes just as good as it looks!
Recipe Information
- Prep Time: 45 minutes
- Cook Time: 30 minutes
- Total Time: 1 hour 15 minutes
- Servings: 24 cake pops
- Difficulty: Medium
Nutrition values
- Calories: 185 kcal
- Protein: 2g
- Carbs: 28g
Why Make This Spooky Eyeball Cake Pops Recipe
Halloween is all about the “wow” factor, and these cake pops deliver exactly that. Unlike a standard cupcake, these eyeballs offer a bite-sized explosion of moist cake and rich frosting, all encased in a crisp chocolate shell. They are incredibly portable, making them perfect for parties where guests are mingling. Plus, the decoration process allows for endless creativity. You can make them look realistic, cartoony, or downright terrifying. It is a fantastic way to transform a simple boxed cake mix into a gourmet-looking holiday centerpiece.
Ingredients
- 1 box (15.25 oz) vanilla or chocolate cake mix (plus ingredients required on the box)
- 1/2 cup vanilla frosting
- 24 ounces white candy melts or white chocolate wafers
- 24 lollipop sticks
- Blue, green, or brown candy melts (for the iris)
- Black decorating gel or black edible ink marker (for the pupil)
- Red edible ink marker or red food coloring with a fine brush
- 1 tablespoon coconut oil or vegetable shortening (optional, for thinning chocolate)
- Styrofoam block or cake pop stand
Directions
Step 1: Bake and Crumble the Cake
Bake the cake according to the instructions on the box. Once finished, let the cake cool completely. After it has cooled, remove any browned edges from the cake. Crumble the remaining cake into a large mixing bowl using your hands or a fork until it resembles fine crumbs. Ensure there are no large chunks left behind for a smooth texture.
Step 2: Mix and Roll into Balls
Add the vanilla frosting to the cake crumbs. Use a spatula or your hands to mix until the frosting is fully incorporated and the mixture holds together like dough. Scoop out about one tablespoon of the mixture and roll it between your palms to create a smooth, round ball. Place the balls on a parchment-lined baking sheet and refrigerate for at least 30 minutes to firm up.
Step 3: Dip and Coat
Melt the white candy melts in a microwave-safe bowl in 30-second intervals, stirring in between until smooth. Dip the tip of a lollipop stick into the melted chocolate and insert it halfway into a chilled cake ball. Then, dip the entire ball into the white chocolate, tilting the bowl to cover it completely. Gently tap the stick on the edge of the bowl to remove excess chocolate. Place the stick into a styrofoam block to let the coating set.
Step 4: Decorate the Iris and Pupil
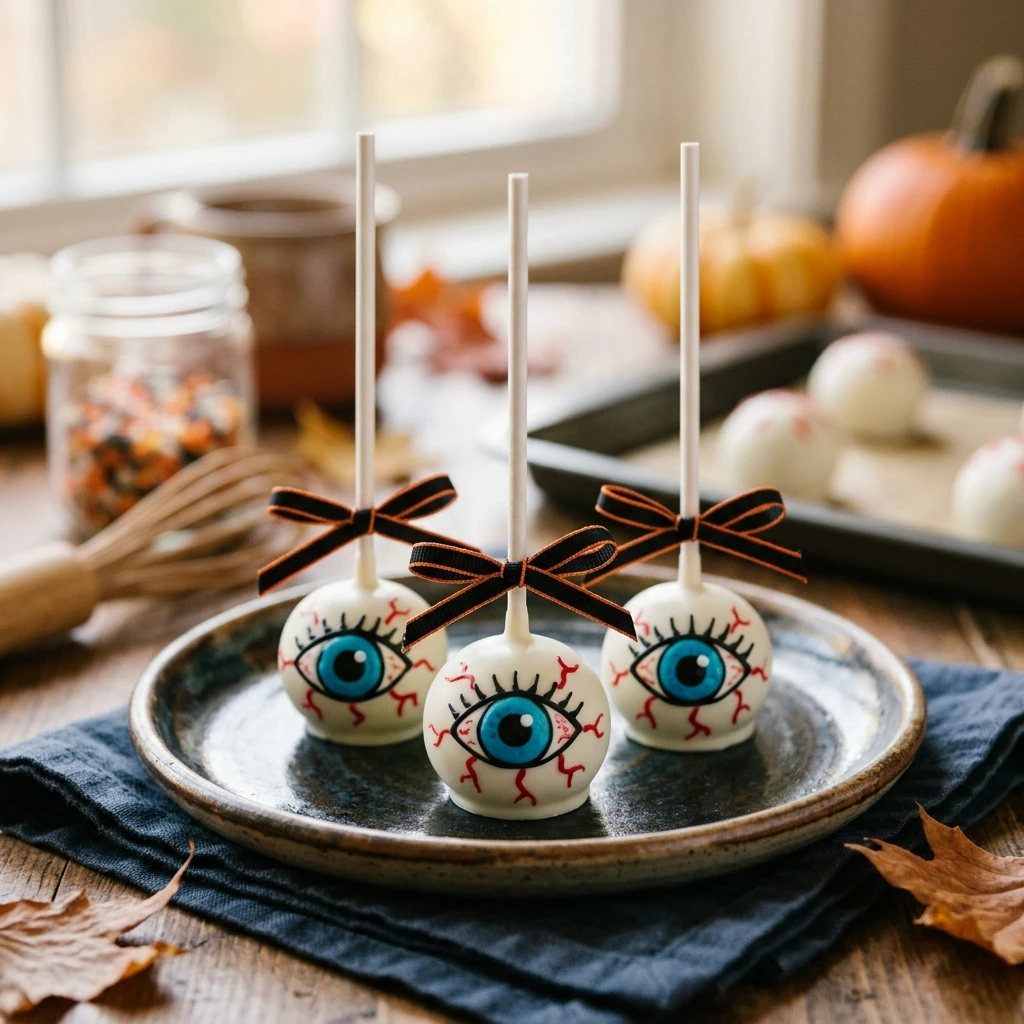
Once the white coating is completely dry, melt a small amount of your chosen “eye color” candy melts (blue, green, or brown). Use a small spoon or a piping bag to add a small circle to the front of each cake pop. This forms the iris. Once the iris is dry, use a black edible marker or a dot of black decorating gel to create the pupil in the center of the colored circle.
Step 5: Add Bloodshot Details
To give your eyeballs that truly “spooky” look, use a red edible ink marker or a fine-tipped brush dipped in red food coloring. Draw thin, squiggly lines starting from the back of the cake pop and moving toward the iris. These “veins” make the eyeballs look bloodshot and realistic. Let the decorations dry completely before serving.
Expert Tips for Perfect Spooky Eyeball Cake Pops Recipe
The secret to a smooth cake pop is the consistency of the chocolate. If your white chocolate is too thick, stir in a teaspoon of coconut oil or shortening to thin it out. This ensures a professional, streak-free finish. Always make sure your cake balls are chilled but not frozen before dipping; if they are too cold, the chocolate coating might crack as it expands. Lastly, use a deep, narrow bowl for dipping to ensure you can submerge the entire cake pop in one go.
Delicious Variations
- Red Velvet Eyes: Use a red velvet cake mix for a “bloody” surprise when someone takes a bite.
- Zombie Eyes: Use light green candy melts for the base instead of white for a decayed, undead look.
- Glowing Eyes: Use neon food coloring for the irises to make them pop under party lights.
- Peanut Butter Centers: Substitute the vanilla frosting with creamy peanut butter for a salty-sweet flavor profile.
Frequently Asked Questions
How should I store these cake pops?
Store the finished cake pops in an airtight container in the refrigerator for up to 5 days. If you need to stack them, place parchment paper between the layers to prevent the decorations from smudging.
Can I make these in advance?
Yes! You can roll the cake balls and store them in the freezer for up to a month. Just thaw them slightly in the fridge before dipping them in chocolate.
Why is my chocolate coating cracking?
Cracking usually happens when the cake ball is too cold and the chocolate is too hot. The temperature difference causes rapid expansion and contraction. Let the cake balls sit at room temperature for a few minutes before dipping.
What if I don’t have a styrofoam block?
You can use a cardboard box with small holes poked in it, or even a colander turned upside down, to hold the cake pops while they dry.
Can I use real chocolate instead of candy melts?
You can use white chocolate chips, but they often require tempering to set firmly. Candy melts are easier for beginners because they are designed to harden quickly with a glossy finish.
Conclusion
These Spooky Eyeball Cake Pops are the perfect blend of creepy and creative. They are sure to be the star of your Halloween celebrations, providing a delicious treat that doubles as a conversation starter. With their moist centers and detailed decorations, they prove that spooky food can also be incredibly gourmet. Follow these steps, get creative with your colors, and enjoy the most “eye-catching” dessert of the season!

Spooky Eyeball Cake Pops Recipe
- Total Time: 1 hour 15 minutes
- Diet: Vegetarian
Ingredients
- 1 box (15.25 oz) vanilla or chocolate cake mix (plus ingredients required on the box)
- 1/2 cup vanilla frosting
- 24 ounces white candy melts or white chocolate wafers
- 24 lollipop sticks
- Blue, green, or brown candy melts (for the iris)
- Black decorating gel or black edible ink marker (for the pupil)
- Red edible ink marker or red food coloring with a fine brush
- 1 tablespoon coconut oil or vegetable shortening (optional, for thinning chocolate)
- Styrofoam block or cake pop stand
Instructions
- Bake the cake according to the instructions on the box. Once finished, let the cake cool completely. After it has cooled, remove any browned edges from the cake. Crumble the remaining cake into a large mixing bowl using your hands or a fork until it resembles fine crumbs. Ensure there are no large chunks left behind for a smooth texture.
- Add the vanilla frosting to the cake crumbs. Use a spatula or your hands to mix until the frosting is fully incorporated and the mixture holds together like dough. Scoop out about one tablespoon of the mixture and roll it between your palms to create a smooth, round ball. Place the balls on a parchment-lined baking sheet and refrigerate for at least 30 minutes to firm up.
- Melt the white candy melts in a microwave-safe bowl in 30-second intervals, stirring in between until smooth. Dip the tip of a lollipop stick into the melted chocolate and insert it halfway into a chilled cake ball. Then, dip the entire ball into the white chocolate, tilting the bowl to cover it completely. Gently tap the stick on the edge of the bowl to remove excess chocolate. Place the stick into a styrofoam block to let the coating set.
- Once the white coating is completely dry, melt a small amount of your chosen “eye color” candy melts (blue, green, or brown). Use a small spoon or a piping bag to add a small circle to the front of each cake pop. This forms the iris. Once the iris is dry, use a black edible marker or a dot of black decorating gel to create the pupil in the center of the colored circle.
- To give your eyeballs that truly “spooky” look, use a red edible ink marker or a fine-tipped brush dipped in red food coloring. Draw thin, squiggly lines starting from the back of the cake pop and moving toward the iris. These “veins” make the eyeballs look bloodshot and realistic. Let the decorations dry completely before serving.
- Cook Time: 1 hour 15 minutes