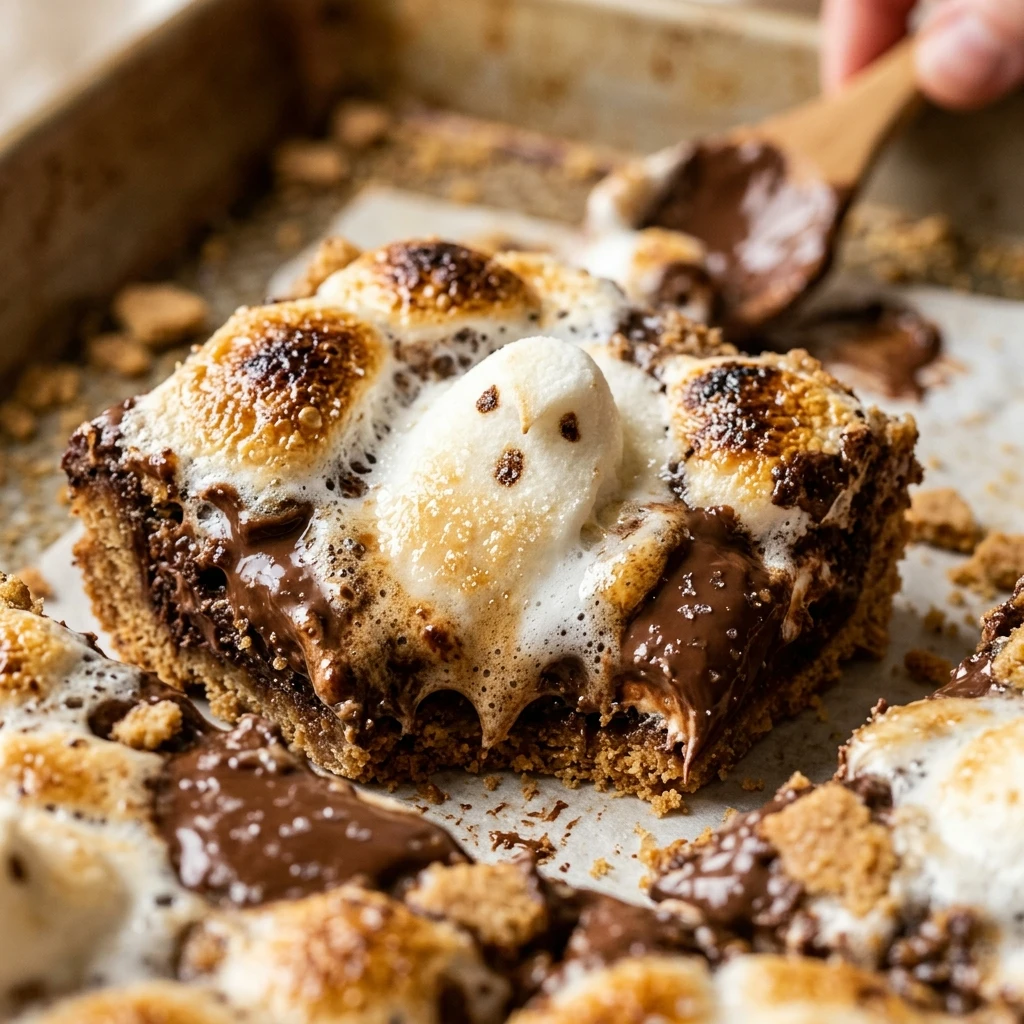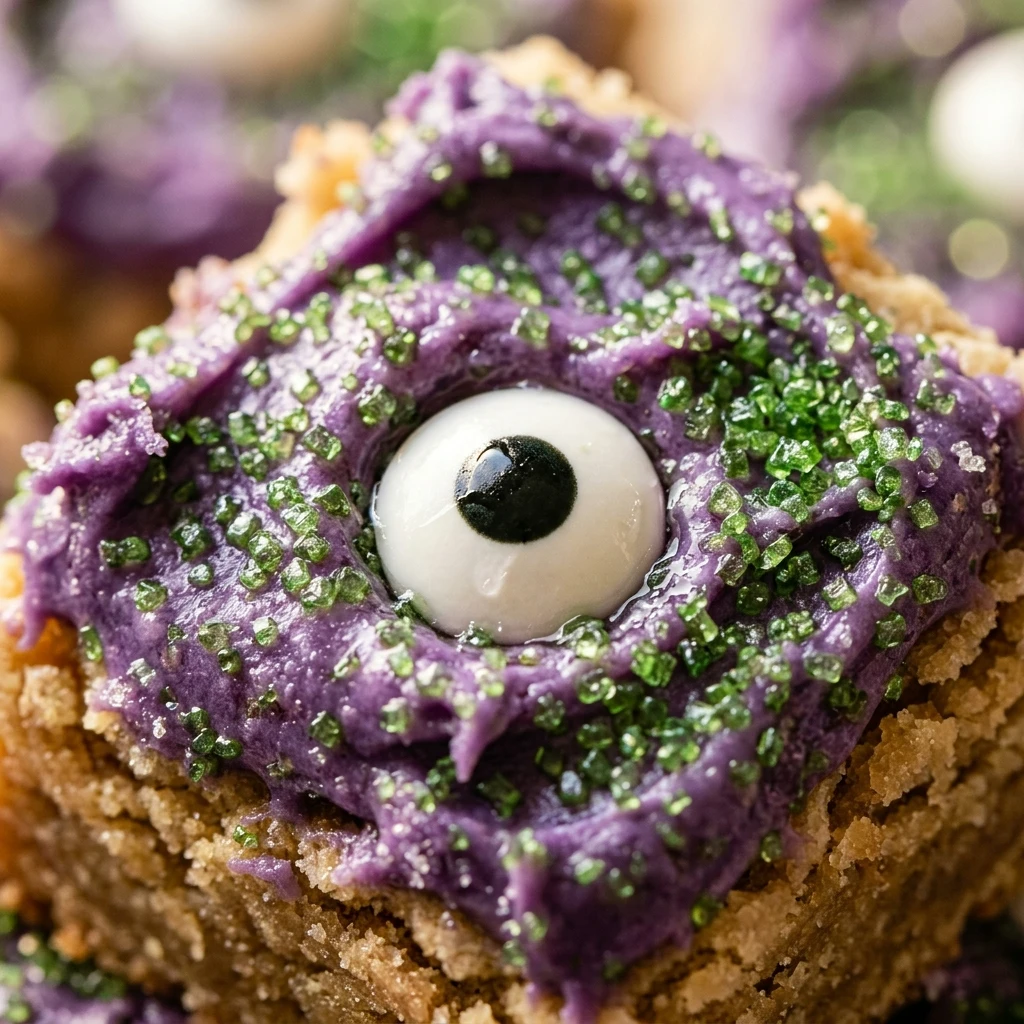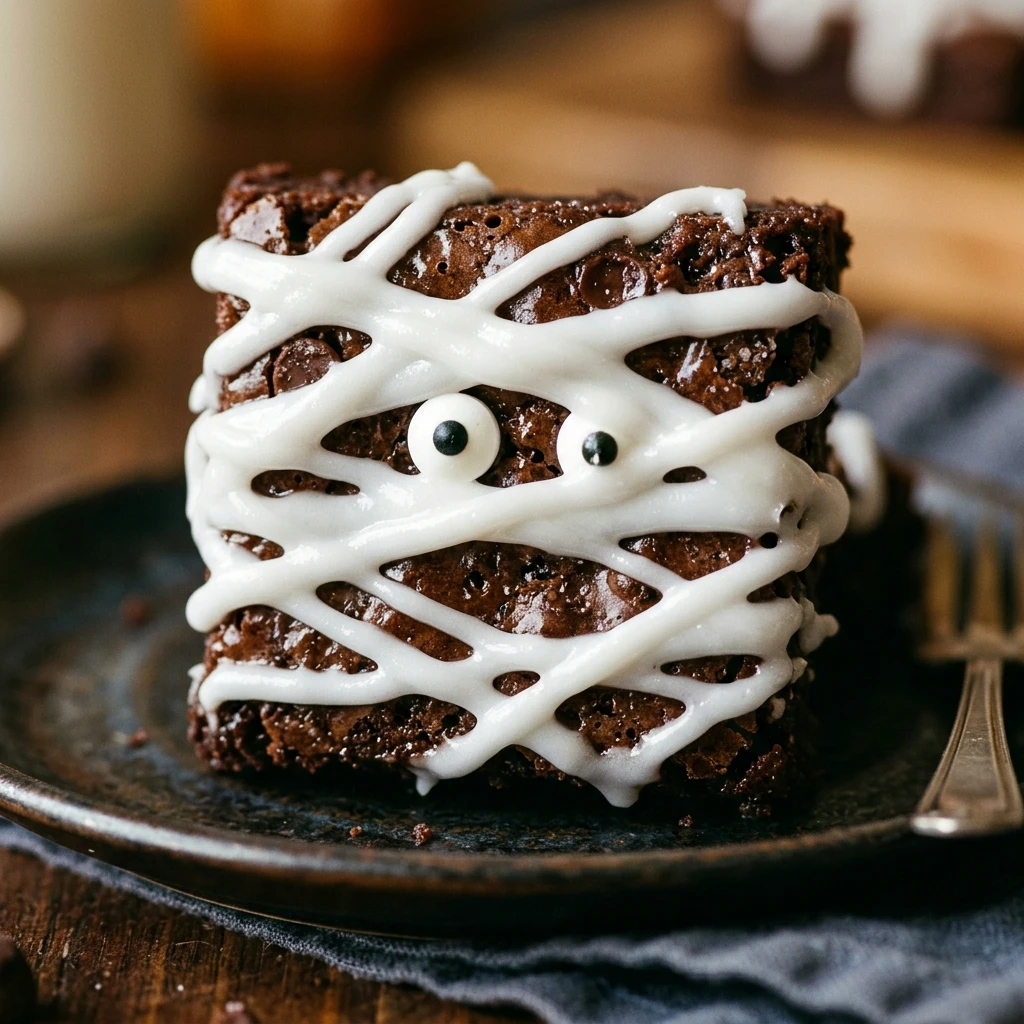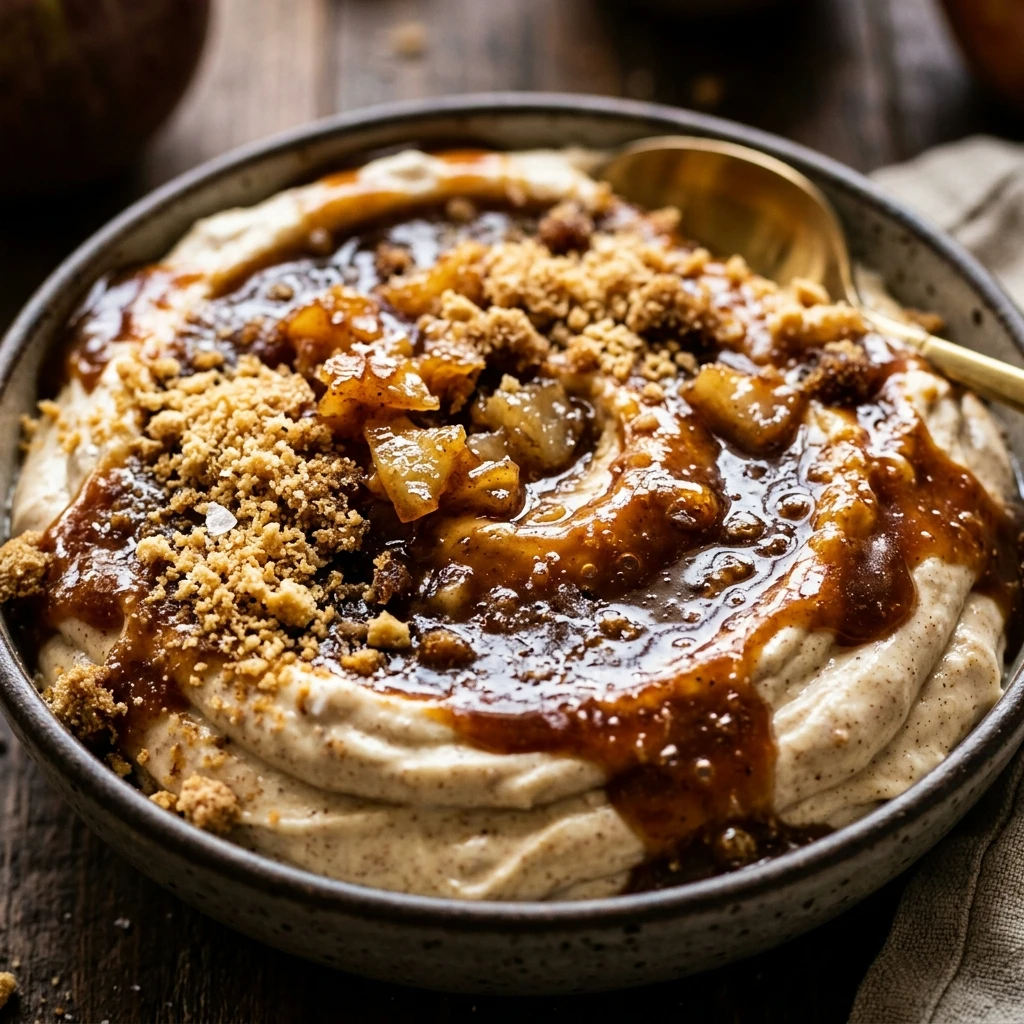
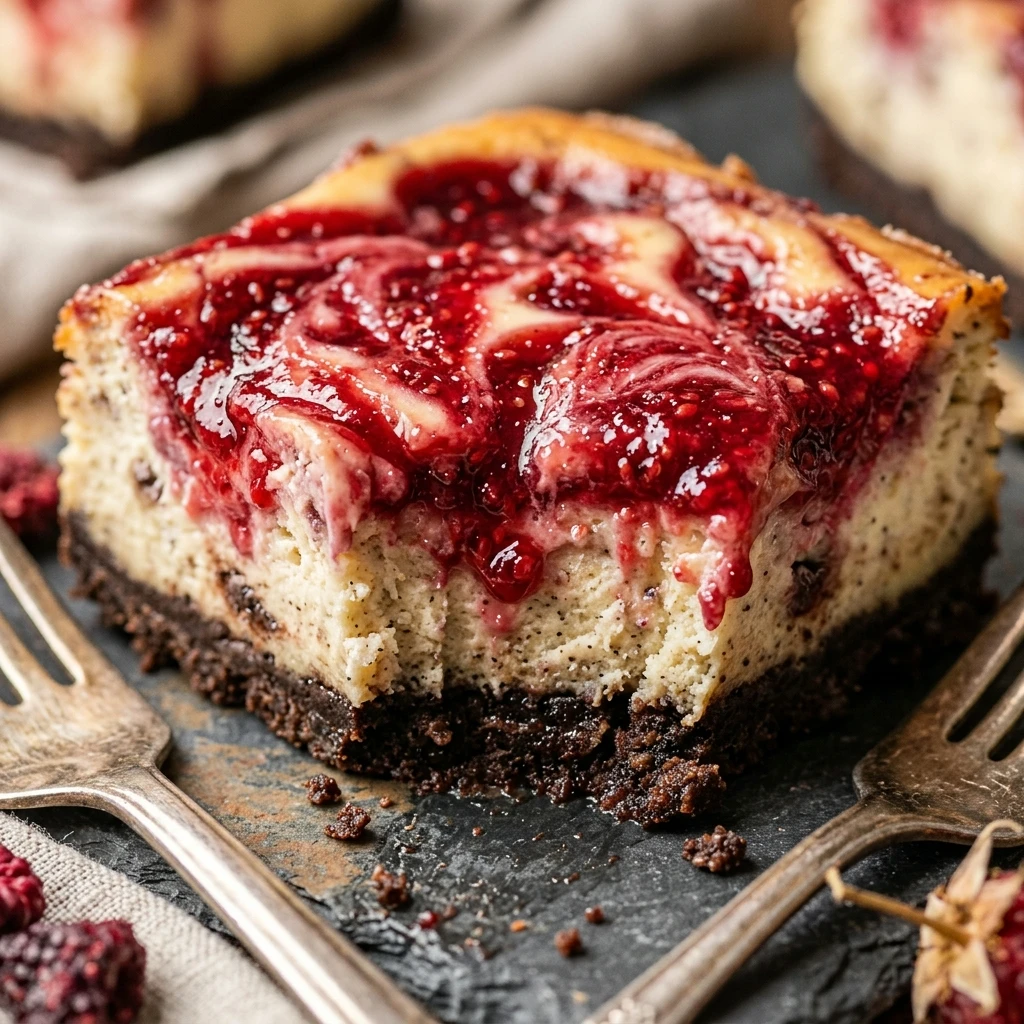
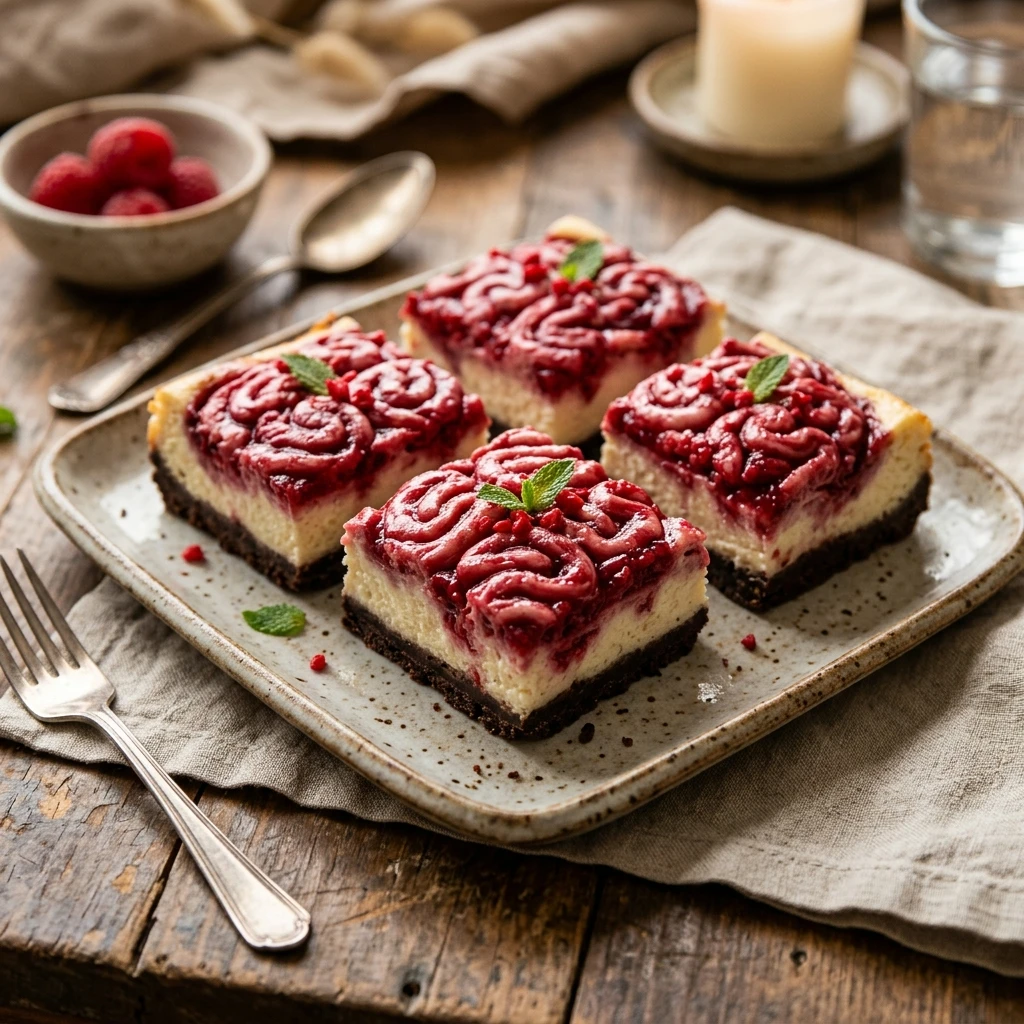
Halloween is the perfect time to get weird in the kitchen, and nothing says spooky quite like a dessert that looks like it came straight out of a horror movie. These Zombie Brain Raspberry Cheesecake Bars combine a buttery graham cracker crust with a velvety cheesecake filling, topped with a “bloody” raspberry swirl and intricate brain-like piping. They are creepy enough to impress your guests but delicious enough that they will be begging for seconds. Whether you are hosting a costume party or just want a festive treat for the kids, these bars are the ultimate October showstopper.
Recipe Information
- Prep Time: 30 minutes
- Cook Time: 40 minutes
- Total Time: 70 minutes (plus chilling)
- Servings: 12 bars
- Difficulty: Medium
Nutrition values
- Calories: 345 kcal
- Protein: 5g
- Carbs: 38g
Why Make This Zombie Brain Raspberry Cheesecake Bars
These bars are the perfect balance of kitschy fun and sophisticated flavor. The tartness of the raspberry cuts through the richness of the cream cheese, creating a dessert that tastes as good as it looks. Unlike a full-sized cheesecake, these bars are portable and easy to serve at a party. The “zombie brain” decoration allows you to practice your piping skills without needing to be perfect—after all, brains are supposed to look a little messy! It is a creative, interactive baking project that brings the spirit of Halloween to life.
Ingredients
- 1.5 cups graham cracker crumbs
- 1/4 cup granulated sugar
- 6 tbsp unsalted butter, melted
- 16 oz cream cheese, softened
- 1/2 cup granulated sugar (for filling)
- 2 large eggs, room temperature
- 1 tsp vanilla extract
- 1/4 cup sour cream
- 1/2 cup raspberry jam or seedless raspberry puree
- Red food coloring (optional, for extra “blood” effect)
- 1 cup pink-tinted buttercream frosting (for piping brains)
Directions
Step 1: Prepare the Crust
Preheat your oven to 325°F (160°C). Line an 8×8 inch square baking pan with parchment paper, leaving an overhang on the sides for easy removal. In a medium bowl, combine the graham cracker crumbs, 1/4 cup sugar, and melted butter. Stir until the mixture resembles wet sand. Press the mixture firmly into the bottom of the prepared pan in an even layer. Bake the crust for 10 minutes, then remove it from the oven and let it cool slightly while you prepare the filling.
Step 2: Mix the Cheesecake Filling
In a large bowl, beat the softened cream cheese and 1/2 cup sugar together using a hand mixer or stand mixer until smooth and creamy. Add the eggs one at a time, beating on low speed just until combined. Stir in the vanilla extract and sour cream. Avoid over-mixing at this stage to prevent air bubbles from forming, which can cause the cheesecake to crack. Pour the cheesecake batter over the pre-baked crust and spread it evenly with a spatula.
Step 3: Add the Raspberry Swirl
If your raspberry jam is thick, microwave it for 10-15 seconds until it is slightly fluid. Add a drop of red food coloring if you want a more vibrant “gory” look. Drop small spoonfuls of the raspberry jam onto the top of the cheesecake batter. Use a toothpick or a knife to gently swirl the jam into the cheesecake, creating a marbled effect. Bake for 30–35 minutes, or until the edges are set but the center still has a slight jiggle. Let the bars cool to room temperature, then refrigerate for at least 4 hours.
Step 4: Prepare the Brain Frosting
Once the cheesecake bars are completely chilled and firm, lift them out of the pan using the parchment paper overhang. Cut them into 12 even rectangles. Fit a piping bag with a small round tip and fill it with your pink-tinted buttercream. The frosting should be stiff enough to hold its shape but soft enough to pipe smoothly. If the frosting is too soft, chill it in the fridge for 10 minutes before starting.
Step 5: Pipe the Zombie Brains
To create the brain look, pipe a straight line down the center of each bar to represent the division between the two hemispheres of the brain. On either side of that center line, pipe squiggly, winding lines back and forth to mimic the folds of a brain (the cerebral cortex). Do not worry about being too neat; a little irregularity makes the “brains” look more realistic. For an extra creepy touch, drizzle a tiny bit of leftover raspberry jam over the piped frosting before serving.
Expert Tips for Perfect Zombie Brain Raspberry Cheesecake Bars
Always use room temperature ingredients for the cheesecake filling. Cold cream cheese results in a lumpy batter, and cold eggs can cause the mixture to curdle. When piping the brains, keep a steady pressure on the piping bag to ensure the “brain folds” look consistent. If you want a cleaner cut when slicing the bars, dip your knife in hot water and wipe it clean between every single cut. This prevents the raspberry swirl and cheesecake from smudging across the sides of the bars.
Delicious Variations
For a darker twist, use chocolate sandwich cookie crumbs (like Oreos) instead of graham crackers for a “dirt” colored crust. You can also swap the raspberry jam for strawberry or cherry preserves if you prefer a different fruit flavor. If you want a “toxic” zombie version, tint the cheesecake batter light green with food coloring and use bright green frosting for the brains. For a gluten-free version, simply use gluten-free graham cracker crumbs, as the rest of the ingredients are naturally gluten-free.
Frequently Asked Questions
How should I store these cheesecake bars?
Keep the bars in an airtight container in the refrigerator for up to 5 days. Because of the cream cheese and frosting, they should not be left at room temperature for more than two hours.
Can I freeze these bars?
Yes, you can freeze the bars before you add the buttercream frosting. Wrap them tightly in plastic wrap and foil; they will last for up to 3 months. Thaw them in the fridge overnight before adding the piped brain decoration.
What if I don’t have a piping bag?
You can use a heavy-duty plastic freezer bag. Fill the bag with frosting and snip a very small corner off to create a makeshift piping tip. It works surprisingly well for the squiggly brain texture!
Why did my cheesecake bars crack on top?
Cracking usually happens because of over-mixing the eggs or over-baking the bars. Mix the eggs on the lowest speed possible and pull the bars out of the oven while the center is still slightly wobbly.
Can I use fresh raspberries instead of jam?
You can, but you should cook them down with a little sugar and strain the seeds first. Fresh raspberries contain a lot of moisture, which can make the cheesecake soggy if they aren’t turned into a thick puree first.
Conclusion
These Zombie Brain Raspberry Cheesecake Bars are the ultimate combination of spooky aesthetics and delicious flavors. They are guaranteed to be the center of attention at any Halloween gathering. By following these steps, you will create a treat that is as visually stunning as it is tasty. Don’t be afraid to get messy with the piping—the more “brains” you have, the better! Happy haunting and happy baking!

Zombie Brain Raspberry Cheesecake Bars
- Total Time: 1 hour 10 minutes
- Diet: Vegetarian
Ingredients
- 1.5 cups graham cracker crumbs
- 1/4 cup granulated sugar
- 6 tbsp unsalted butter, melted
- 16 oz cream cheese, softened
- 1/2 cup granulated sugar (for filling)
- 2 large eggs, room temperature
- 1 tsp vanilla extract
- 1/4 cup sour cream
- 1/2 cup raspberry jam or seedless raspberry puree
- Red food coloring (optional, for extra “blood” effect)
- 1 cup pink-tinted buttercream frosting (for piping brains)
Instructions
- Preheat your oven to 325°F (160°C). Line an 8×8 inch square baking pan with parchment paper, leaving an overhang on the sides for easy removal. In a medium bowl, combine the graham cracker crumbs, 1/4 cup sugar, and melted butter. Stir until the mixture resembles wet sand. Press the mixture firmly into the bottom of the prepared pan in an even layer. Bake the crust for 10 minutes, then remove it from the oven and let it cool slightly while you prepare the filling.
- In a large bowl, beat the softened cream cheese and 1/2 cup sugar together using a hand mixer or stand mixer until smooth and creamy. Add the eggs one at a time, beating on low speed just until combined. Stir in the vanilla extract and sour cream. Avoid over-mixing at this stage to prevent air bubbles from forming, which can cause the cheesecake to crack. Pour the cheesecake batter over the pre-baked crust and spread it evenly with a spatula.
- If your raspberry jam is thick, microwave it for 10-15 seconds until it is slightly fluid. Add a drop of red food coloring if you want a more vibrant “gory” look. Drop small spoonfuls of the raspberry jam onto the top of the cheesecake batter. Use a toothpick or a knife to gently swirl the jam into the cheesecake, creating a marbled effect. Bake for 30–35 minutes, or until the edges are set but the center still has a slight jiggle. Let the bars cool to room temperature, then refrigerate for at least 4 hours.
- Once the cheesecake bars are completely chilled and firm, lift them out of the pan using the parchment paper overhang. Cut them into 12 even rectangles. Fit a piping bag with a small round tip and fill it with your pink-tinted buttercream. The frosting should be stiff enough to hold its shape but soft enough to pipe smoothly. If the frosting is too soft, chill it in the fridge for 10 minutes before starting.
- To create the brain look, pipe a straight line down the center of each bar to represent the division between the two hemispheres of the brain. On either side of that center line, pipe squiggly, winding lines back and forth to mimic the folds of a brain (the cerebral cortex). Do not worry about being too neat; a little irregularity makes the “brains” look more realistic. For an extra creepy touch, drizzle a tiny bit of leftover raspberry jam over the piped frosting before serving.
- Cook Time: 70 minutes (plus chilling)