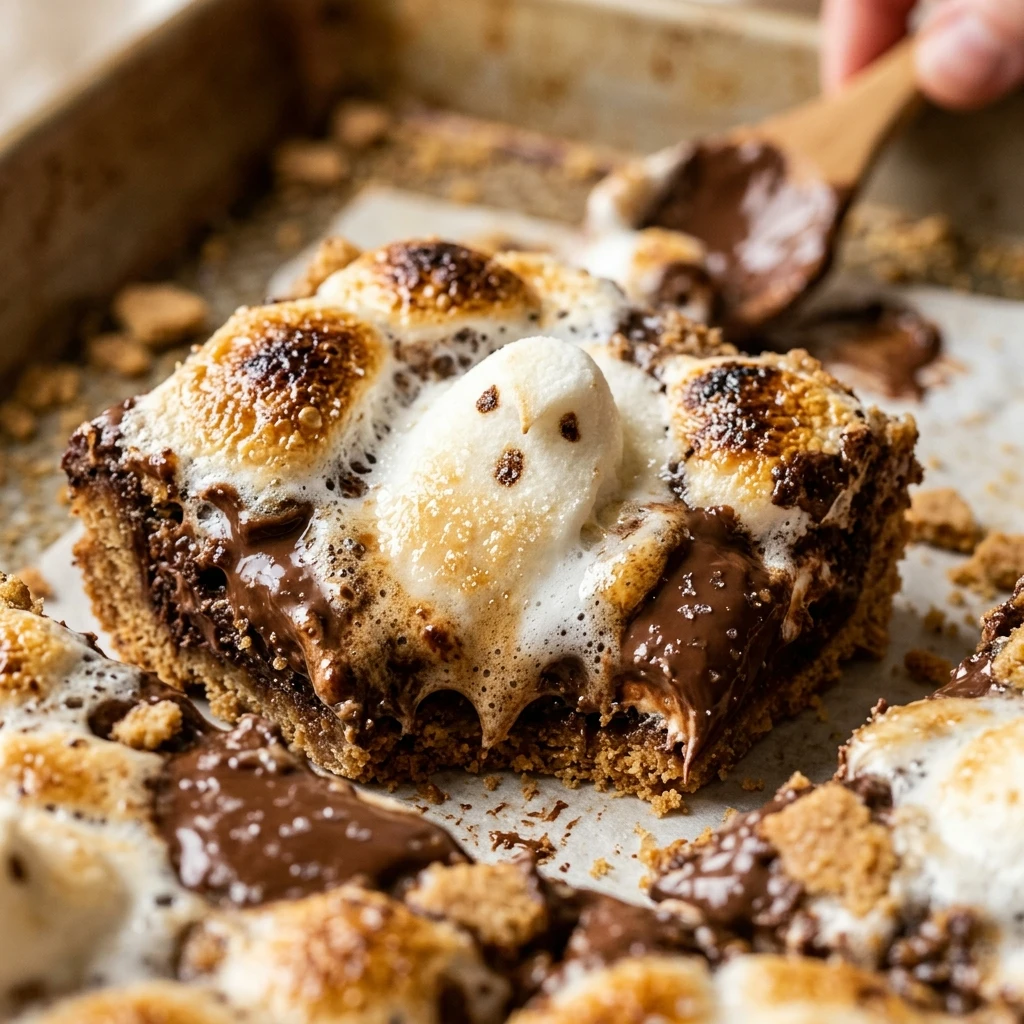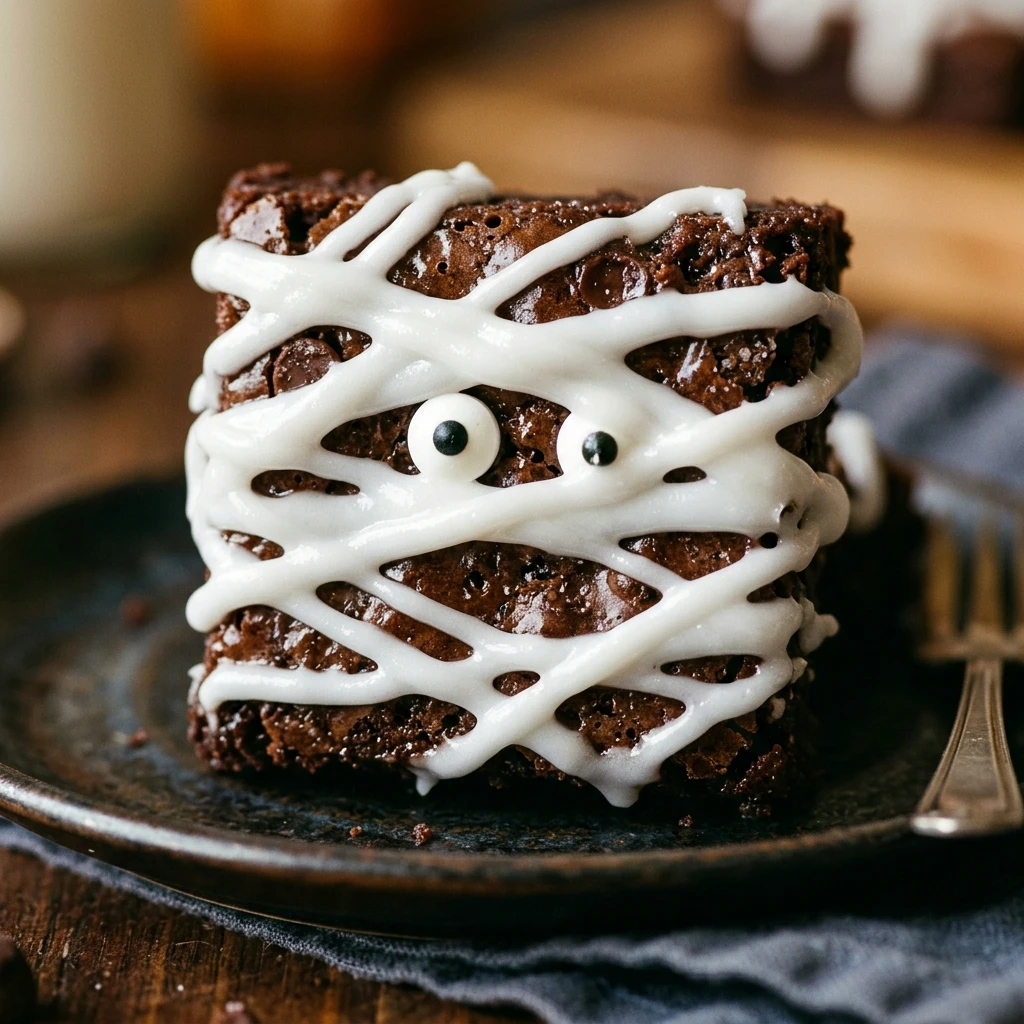

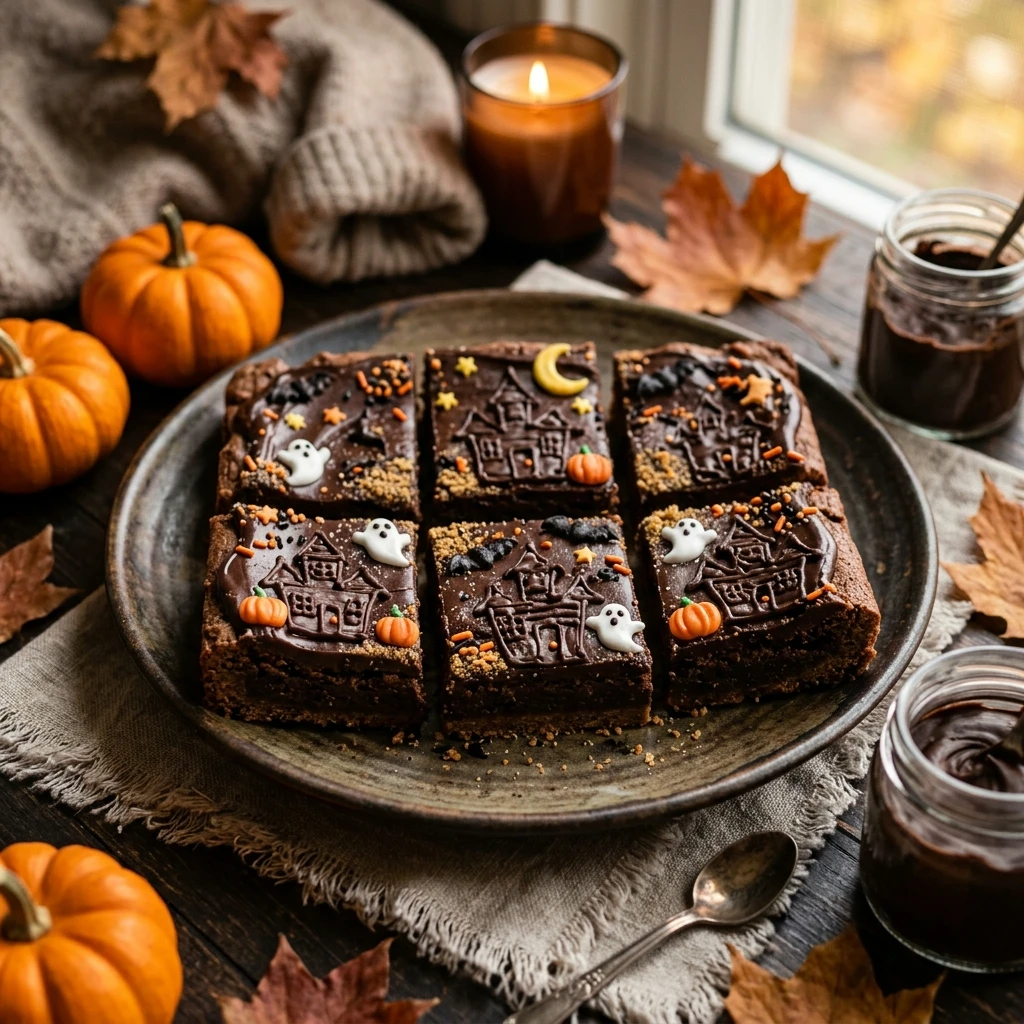
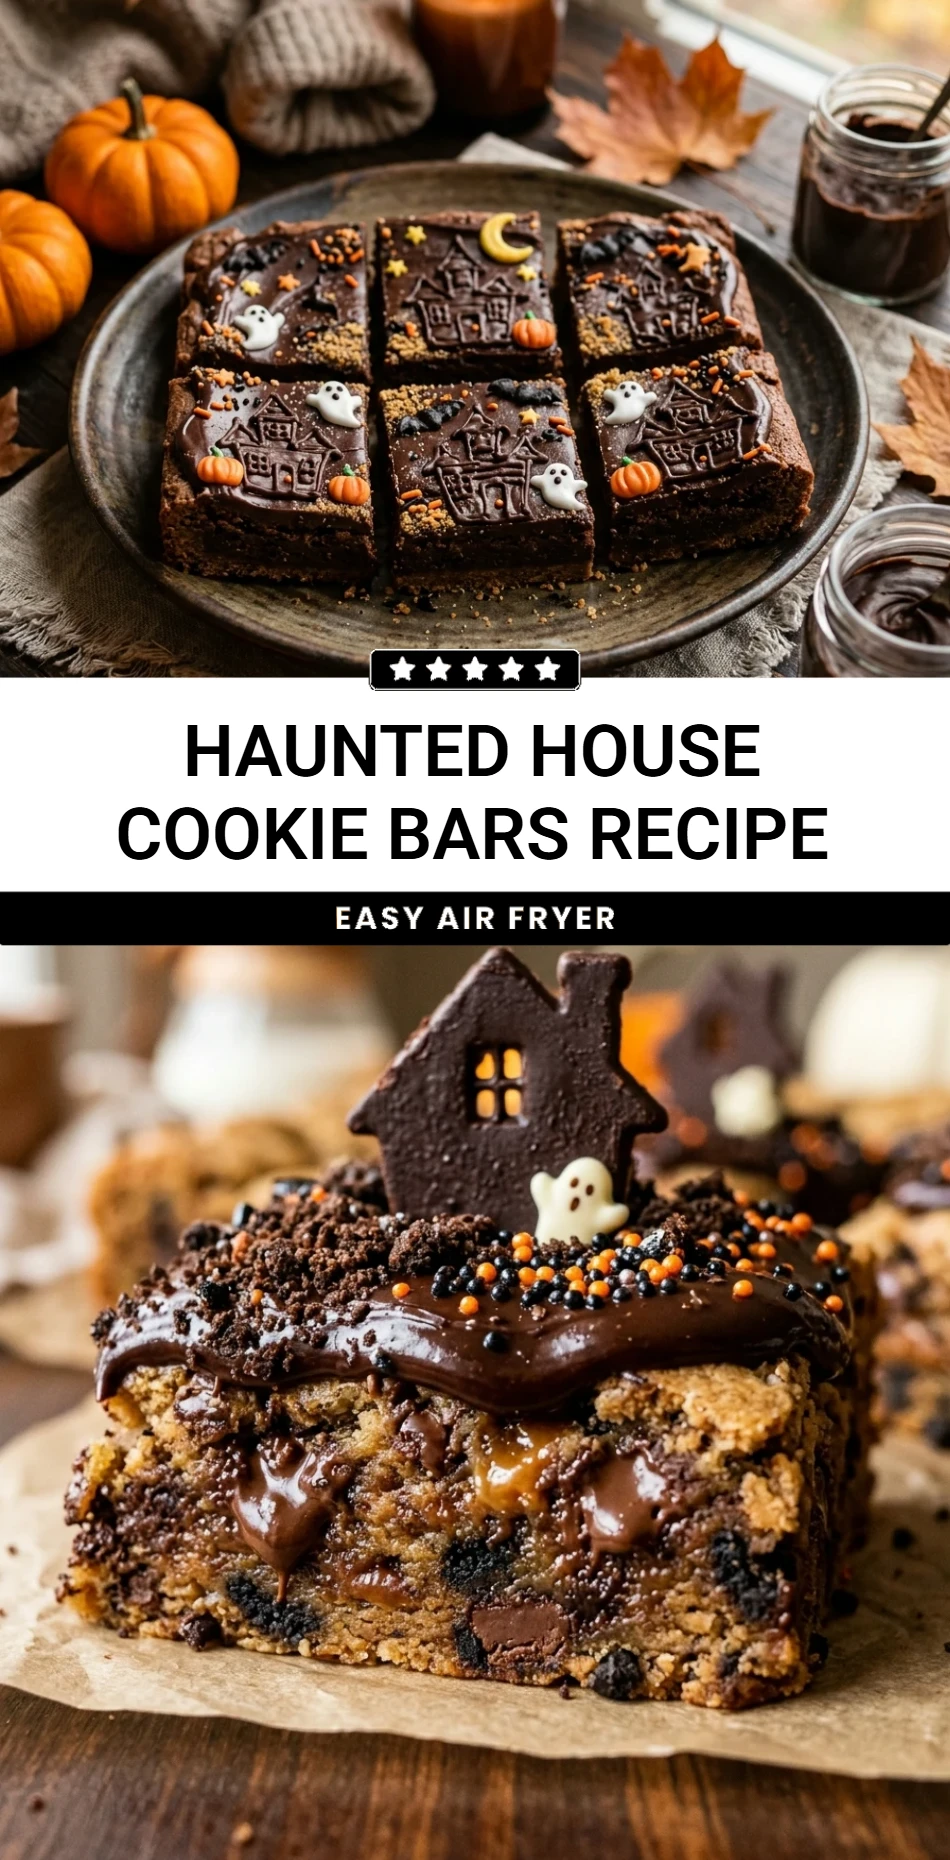
Spooky season is finally here, and nothing says Halloween quite like a batch of Haunted House Cookie Bars. These treats combine a buttery shortbread base with rich chocolate and whimsical decorations that will delight both kids and adults. They are much easier to assemble than a 3D gingerbread house but offer all the same creative fun. Whether you are hosting a costume party or looking for a festive weekend activity with the family, these bars are the perfect way to bring a little magic into your kitchen. Get ready to bake up a spooky scene that tastes even better than it looks!
Recipe Information
- Prep Time: 30 minutes
- Cook Time: 25 minutes
- Total Time: 55 minutes
- Servings: 16 bars
- Difficulty: Medium
Nutrition values
- Calories: 310 kcal
- Protein: 3g
- Carbs: 42g
Why Make This Haunted House Cookie Bars Recipe
This recipe is a game-changer for Halloween celebrations. Unlike traditional cookies that require multiple trays, these bars bake all at once in a single pan. The thick, sturdy base acts as a perfect canvas for your edible “haunted” artwork. You can customize the decorations using whatever spooky candy you have on hand, making every batch unique. They are portable, easy to slice, and hold up well during transport to school events or office parties. Plus, the combination of sweet icing and salty-sweet cookie is absolutely irresistible.
Ingredients
- 1 cup unsalted butter, softened
- 3/4 cup granulated sugar
- 1 teaspoon vanilla extract
- 2 1/4 cups all-purpose flour
- 1/2 teaspoon salt
- 1 cup dark chocolate chips (melted for the “house” silhouettes)
- Purple and orange royal icing or buttercream
- Candy eyes, ghost-shaped sprinkles, and candy corn
- Black decorating gel
Directions
Step 1: Preparation and Preheating
Preheat your oven to 350°F (175°C). Line a 9×9-inch baking pan with parchment paper, leaving an overhang on the sides for easy removal. Spray the parchment lightly with non-stick cooking spray to ensure the bars release perfectly after cooling.
Step 2: Mixing the Cookie Base
In a large bowl, cream together the softened butter and granulated sugar until the mixture is light and fluffy. Stir in the vanilla extract. Gradually add the flour and salt, mixing on low speed until a crumbly dough forms. Press the dough firmly and evenly into the bottom of the prepared baking pan using your fingers or the back of a spoon.
Step 3: Baking the Bars
Place the pan in the center of the oven and bake for 22 to 25 minutes, or until the edges are lightly golden brown. Remove the pan from the oven and let the cookie base cool completely in the pan. This is crucial, as decorating a warm cookie will cause your “haunted houses” to melt into a spooky mess.
Step 4: Creating the Haunted House Silhouettes
Melt the dark chocolate chips in the microwave in 30-second intervals, stirring until smooth. Transfer the chocolate to a piping bag with a small round tip. Once the cookie slab is cool, pipe several “haunted house” shapes across the surface. Think jagged roofs, crooked chimneys, and spooky towers. Allow the chocolate to set firmly at room temperature or in the fridge for 10 minutes.
Step 5: Decorating the Spooky Scene
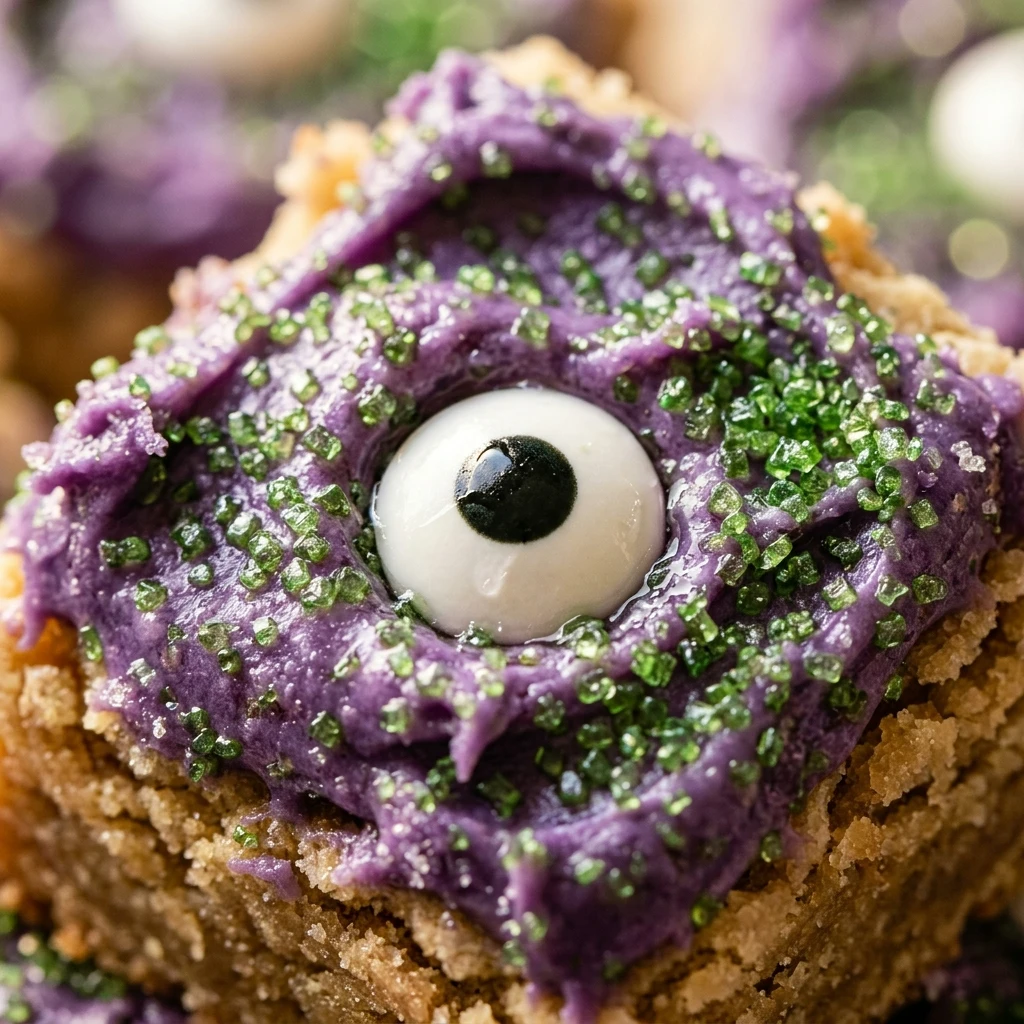
Fill in the gaps between the chocolate houses with purple or orange icing to represent a sunset or a spooky sky. Use the black decorating gel to add window and door details to your houses. Place candy eyes in the “sky” like staring owls or monsters, and scatter ghost sprinkles around the houses. Once the decorations are set, lift the slab out of the pan using the parchment paper and cut into 16 squares.
Expert Tips for Perfect Haunted House Cookie Bars Recipe
For the cleanest cuts, chill the decorated bars in the refrigerator for 20 minutes before slicing. Use a sharp, warm knife and wipe it clean between every single cut. If you want a more vibrant look, use gel food coloring for your icing instead of liquid drops; it provides deeper colors without thinning the consistency. If your cookie dough feels too soft before baking, pop the pan in the freezer for 10 minutes to help the bars maintain a crisp edge. Always ensure your chocolate is completely set before you start adding the surrounding icing colors to prevent bleeding.
Delicious Variations
You can easily swap the shortbread base for a chewy blondie or a dark chocolate brownie for an extra rich treat. For a “Graveyard” variation, use crushed Oreo cookies on top of the icing to look like dirt and add tombstone-shaped cookies. If you prefer a nuttier flavor, mix half a cup of peanut butter into the cookie dough. For a gluten-free version, replace the all-purpose flour with a 1:1 gluten-free baking blend. You can also use white chocolate tinted with green food coloring to create a “slime” effect dripping down the sides of your haunted houses.
Frequently Asked Questions
Can I make these cookie bars in advance?
Yes, you can bake the cookie base up to two days in advance. Keep it wrapped tightly at room temperature and decorate it on the day you plan to serve it for the freshest look.
What is the best way to store leftovers?
Store the bars in an airtight container at room temperature for up to 3 days. If your kitchen is very warm, keep them in the refrigerator so the chocolate and icing do not soften.
Can I use store-bought cookie dough?
Absolutely! You can use two rolls of refrigerated sugar cookie dough. Just be sure to bake it according to the package instructions for a 9×9 pan and let it cool completely before decorating.
How do I stop my icing from running?
Ensure your icing is a “stiff peak” consistency for piping the silhouettes and a “medium” consistency for flooding the sky. Adding more powdered sugar will thicken any icing that seems too runny.
Can I freeze Haunted House Cookie Bars?
It is best to freeze the un-decorated cookie base. Wrapped in plastic and foil, it lasts up to 3 months. I do not recommend freezing them once decorated, as the icing and candy eyes may sweat or bleed when thawing.
Conclusion
Haunted House Cookie Bars are a fantastic way to celebrate the Halloween season with a touch of creativity and a lot of flavor. They offer the perfect balance of a crunchy, buttery base and sweet, festive toppings. By following these simple steps and tips, you will have a show-stopping dessert that looks like it came from a professional bakery. Don’t be afraid to get messy and let your imagination run wild with the decorations. Happy baking, and have a hauntingly delicious Halloween!
Haunted House Cookie Bars Recipe
- Total Time: 55 minutes
- Diet: Vegetarian
Ingredients
- 1 cup unsalted butter, softened
- 3/4 cup granulated sugar
- 1 teaspoon vanilla extract
- 2 1/4 cups all-purpose flour
- 1/2 teaspoon salt
- 1 cup dark chocolate chips (melted for the “house” silhouettes)
- Purple and orange royal icing or buttercream
- Candy eyes, ghost-shaped sprinkles, and candy corn
- Black decorating gel
Instructions
- Preheat your oven to 350°F (175°C). Line a 9×9-inch baking pan with parchment paper, leaving an overhang on the sides for easy removal. Spray the parchment lightly with non-stick cooking spray to ensure the bars release perfectly after cooling.
- In a large bowl, cream together the softened butter and granulated sugar until the mixture is light and fluffy. Stir in the vanilla extract. Gradually add the flour and salt, mixing on low speed until a crumbly dough forms. Press the dough firmly and evenly into the bottom of the prepared baking pan using your fingers or the back of a spoon.
- Place the pan in the center of the oven and bake for 22 to 25 minutes, or until the edges are lightly golden brown. Remove the pan from the oven and let the cookie base cool completely in the pan. This is crucial, as decorating a warm cookie will cause your “haunted houses” to melt into a spooky mess.
- Melt the dark chocolate chips in the microwave in 30-second intervals, stirring until smooth. Transfer the chocolate to a piping bag with a small round tip. Once the cookie slab is cool, pipe several “haunted house” shapes across the surface. Think jagged roofs, crooked chimneys, and spooky towers. Allow the chocolate to set firmly at room temperature or in the fridge for 10 minutes.
- Fill in the gaps between the chocolate houses with purple or orange icing to represent a sunset or a spooky sky. Use the black decorating gel to add window and door details to your houses. Place candy eyes in the “sky” like staring owls or monsters, and scatter ghost sprinkles around the houses. Once the decorations are set, lift the slab out of the pan using the parchment paper and cut into 16 squares.
- Cook Time: 55 minutes