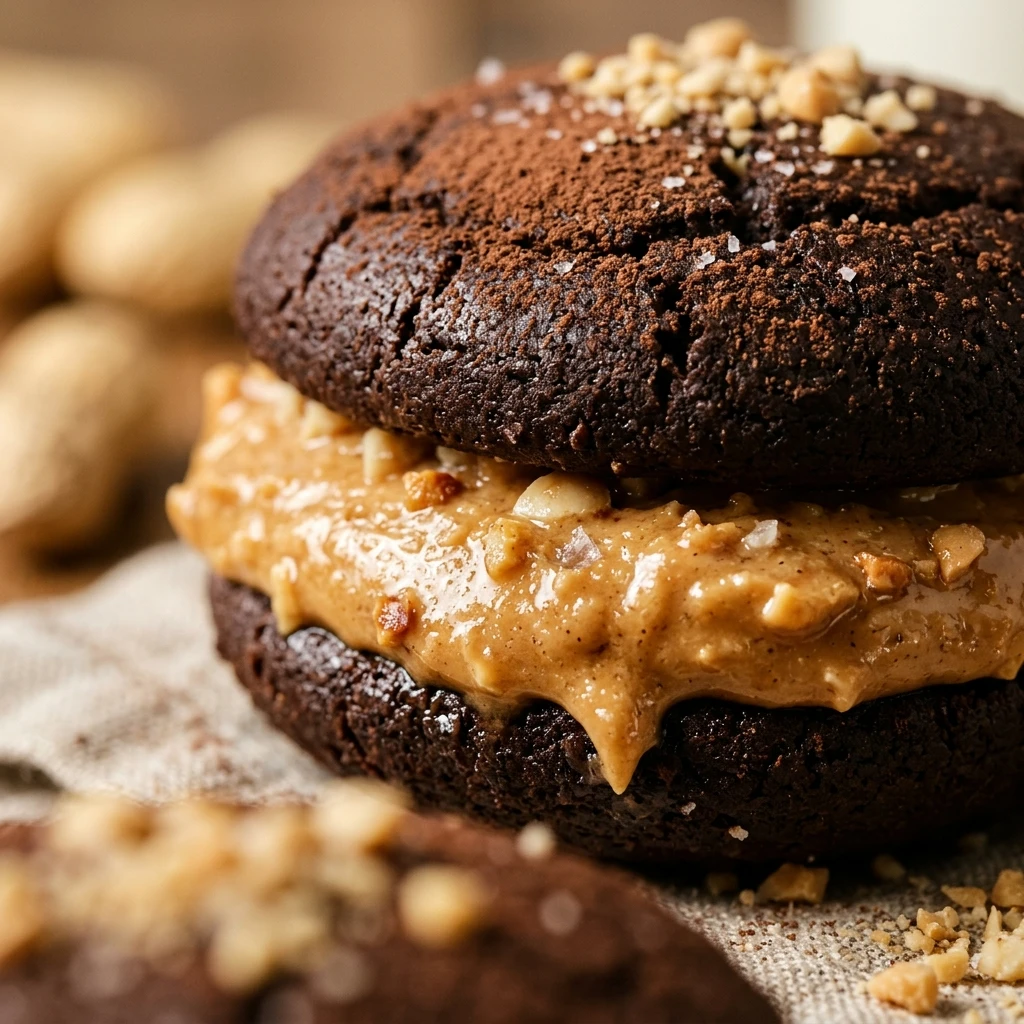
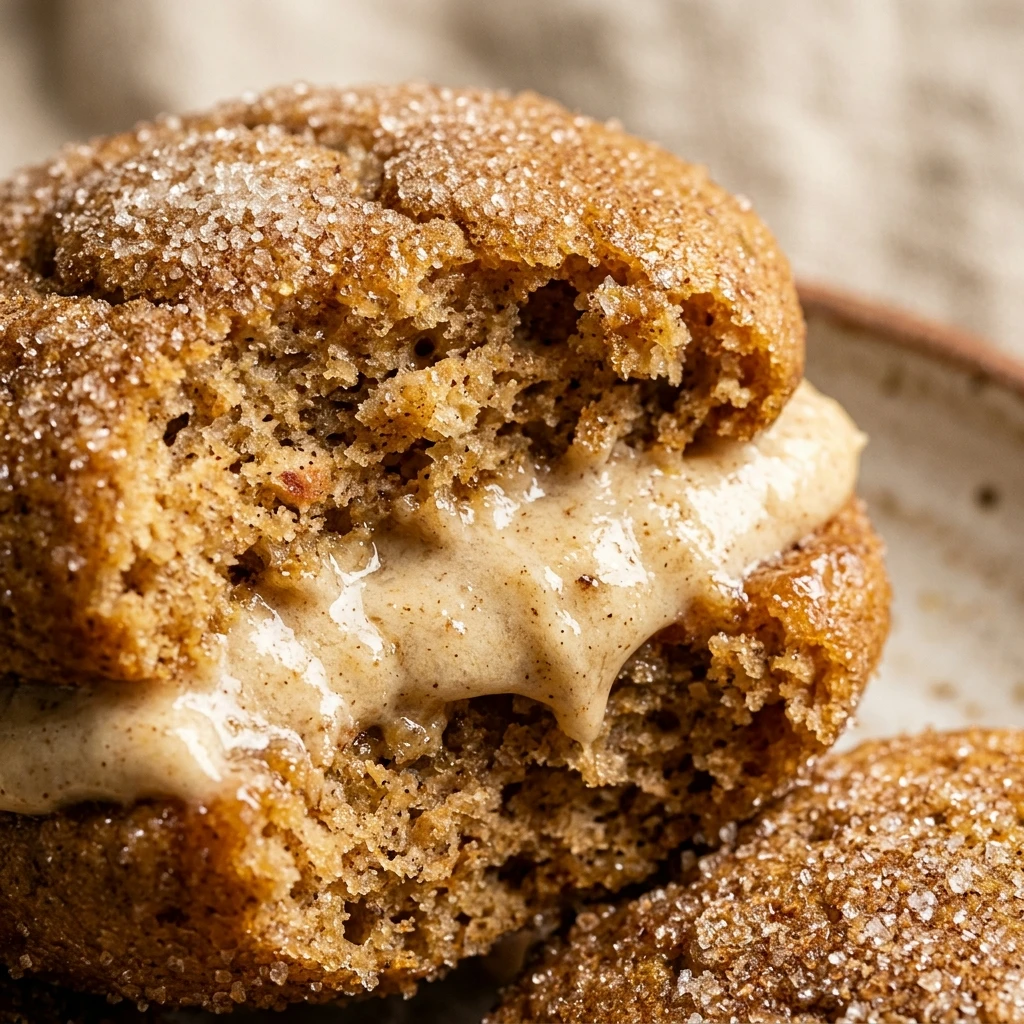
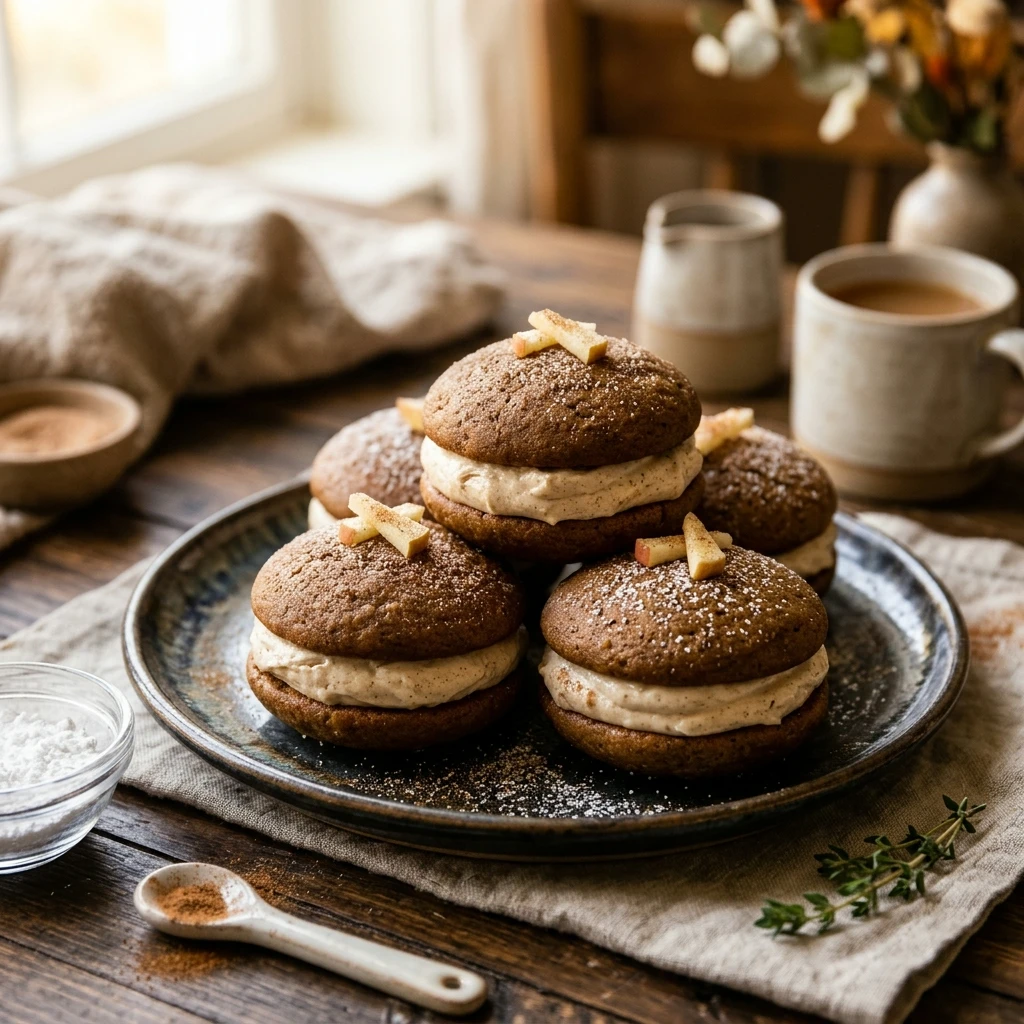
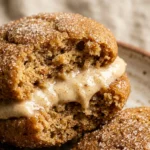
When the crisp autumn air arrives, nothing captures the season quite like the concentrated flavor of spiced apple cider. These Apple Cider Whoopie Pies with Maple Filling take everything you love about a classic New England fall festival and wrap it into a soft, pillowy cookie sandwich. Imagine two tender, cake-like rounds infused with reduced apple cider and warm spices, held together by a cloud of silky maple buttercream. They are portable, nostalgic, and absolutely addictive. Whether you are hosting a backyard bonfire or just want a cozy weekend project, these treats deliver the ultimate flavor of fall in every bite.
Recipe Information
- Prep Time: 40 minutes
- Cook Time: 12 minutes
- Total Time: 52 minutes
- Servings: 15 whoopie pies
- Difficulty: Medium
Nutrition values
- Calories: 365 kcal
- Protein: 3g
- Carbs: 54g
Why Make This Apple Cider Whoopie Pies with Maple Filling
You should make this recipe because it uses a secret technique to maximize flavor: reducing the apple cider. By boiling down the cider, you intensify the apple notes without adding too much liquid to the batter. This ensures the cakes stay fluffy rather than soggy. Additionally, the pairing of earthy maple syrup with spicy cinnamon and nutmeg creates a sophisticated flavor profile that stands out from standard sugar cookies. These whoopie pies also store incredibly well, making them a fantastic make-ahead option for parties or gift-giving.
Ingredients
For the Apple Cider Cakes:
- 1 ½ cups apple cider (reduced to ½ cup)
- 3 ½ cups all-purpose flour
- 1 ½ teaspoons baking powder
- 1 teaspoon baking soda
- 1 tablespoon ground cinnamon
- ½ teaspoon ground nutmeg
- ½ teaspoon salt
- 1 cup unsalted butter, softened
- 1 cup packed light brown sugar
- ½ cup granulated sugar
- 2 large eggs, room temperature
- 1 teaspoon vanilla extract
For the Maple Filling:
- 1 cup unsalted butter, softened
- 3 cups powdered sugar
- 3 tablespoons pure maple syrup
- 1 teaspoon maple extract (optional for extra punch)
- Pinch of salt
Directions
Step 1: Reduce the Apple Cider
Pour the apple cider into a small saucepan over medium-high heat. Bring it to a boil and let it simmer until it reduces to exactly ½ cup. This should take about 15 to 20 minutes. Pour the concentrated liquid into a glass and let it cool completely before using it in the batter.
Step 2: Prepare the Oven and Baking Sheets
Preheat your oven to 350°F (175°C). Line two large baking sheets with parchment paper or silicone baking mats. This prevents the sticky cake batter from clinging to the pan and ensures even browning on the bottoms of your whoopie pies.
Step 3: Whisk the Dry Ingredients
In a medium mixing bowl, whisk together the all-purpose flour, baking powder, baking soda, cinnamon, nutmeg, and salt. Ensure the spices are evenly distributed through the flour so every bite has that warm, autumnal glow.
Step 4: Cream the Butter and Sugars
Using a stand mixer or hand mixer, cream the softened butter with the brown sugar and granulated sugar. Beat on medium-high speed for about 3 minutes until the mixture looks light and fluffy. Scrape down the sides of the bowl to ensure everything is incorporated.
Step 5: Add Wet Ingredients
Add the eggs one at a time, beating well after each addition. Mix in the vanilla extract and the cooled, reduced apple cider. Don’t worry if the mixture looks slightly curdled at this stage; the flour will bring it all together in the next step.
Step 6: Combine and Scoop
Turn the mixer to low speed and gradually add the dry ingredients to the wet mixture. Mix just until no streaks of flour remain. Use a large cookie scoop to drop rounded tablespoons of batter onto the prepared baking sheets, spacing them 2 inches apart. Bake for 10-12 minutes or until the tops spring back when lightly touched. Let them cool completely on a wire rack.
Step 7: Prepare the Maple Filling
In a clean bowl, beat the softened butter until smooth. Gradually add the powdered sugar, one cup at a time, while mixing on low. Increase the speed and add the maple syrup, maple extract, and salt. Whip the frosting for 2-3 minutes until it reaches a pipeable, fluffy consistency.
Step 8: Assemble the Whoopie Pies
Pair up the cooled cakes by size. Pipe a generous swirl of maple filling onto the flat side of one cake, then gently press the flat side of a second cake on top to create a sandwich. Repeat until all pies are assembled.
Expert Tips for Perfect Apple Cider Whoopie Pies with Maple Filling
To get the best results, always use pure maple syrup rather than “pancake syrup,” which is mostly corn syrup. The real stuff provides a depth of flavor that can’t be replicated. If your batter feels too soft, chill it in the fridge for 15 minutes before scooping; this helps the cakes hold their domed shape. Finally, make sure the reduced cider is cold before adding it to the butter mixture, otherwise, it will melt the fat and ruin the texture of the cake.
Delicious Variations
- Salted Caramel Swirl: Drizzle a little salted caramel sauce over the maple filling before closing the sandwich.
- Crunchy Pecan: Roll the edges of the assembled whoopie pies in finely chopped toasted pecans for added texture.
- Apple Pie Center: Place a teaspoon of thick apple pie filling in the center of the maple frosting for a surprise fruit burst.
- Spiced Sugar Coating: Brush the tops of the baked cakes with melted butter and dip them in cinnamon sugar before assembling.
Frequently Asked Questions
How should I store these whoopie pies?
Store the assembled whoopie pies in an airtight container. They stay fresh at room temperature for up to 2 days, but they are best kept in the refrigerator for up to 5 days because of the butter-based filling.
Can I freeze apple cider whoopie pies?
Yes! You can freeze them for up to 3 months. Wrap each pie individually in plastic wrap and place them in a freezer-safe bag. Thaw them in the refrigerator overnight before serving.
Do I have to reduce the apple cider?
While you can use regular cider, your pies will lack a strong apple flavor. Reducing the cider concentrates the natural sugars and flavor compounds, which is what gives these treats their signature taste.
Why are my whoopie pies flat?
Flat cakes usually happen if the butter was too melted or if the oven wasn’t fully preheated. Make sure your butter is room temperature (softened but still holding shape) and use a kitchen thermometer to verify your oven temp.
Can I use apple juice instead of cider?
You can use apple juice in a pinch, but apple cider is unfiltered and has a more complex, robust flavor. If you use juice, consider adding an extra half-teaspoon of cinnamon to compensate for the milder taste.
Conclusion
Apple Cider Whoopie Pies with Maple Filling are the ultimate celebration of autumn flavors. With their soft, spiced cake shells and decadent maple centers, they provide a comforting experience that is hard to beat. They look beautiful on a dessert platter and taste even better the next day once the flavors have had time to meld. Give this recipe a try and watch them disappear at your next seasonal gathering!

Apple Cider Whoopie Pies with Maple Filling
- Total Time: 52 minutes
- Diet: Vegetarian
Ingredients
- 1 ½ cups apple cider (reduced to ½ cup)
- 3 ½ cups all-purpose flour
- 1 ½ teaspoons baking powder
- 1 teaspoon baking soda
- 1 tablespoon ground cinnamon
- ½ teaspoon ground nutmeg
- ½ teaspoon salt
- 1 cup unsalted butter, softened
- 1 cup packed light brown sugar
- ½ cup granulated sugar
- 2 large eggs, room temperature
- 1 teaspoon vanilla extract
- 1 cup unsalted butter, softened
- 3 cups powdered sugar
- 3 tablespoons pure maple syrup
- 1 teaspoon maple extract (optional for extra punch)
- Pinch of salt
Instructions
- Pour the apple cider into a small saucepan over medium-high heat. Bring it to a boil and let it simmer until it reduces to exactly ½ cup. This should take about 15 to 20 minutes. Pour the concentrated liquid into a glass and let it cool completely before using it in the batter.
- Preheat your oven to 350°F (175°C). Line two large baking sheets with parchment paper or silicone baking mats. This prevents the sticky cake batter from clinging to the pan and ensures even browning on the bottoms of your whoopie pies.
- In a medium mixing bowl, whisk together the all-purpose flour, baking powder, baking soda, cinnamon, nutmeg, and salt. Ensure the spices are evenly distributed through the flour so every bite has that warm, autumnal glow.
- Using a stand mixer or hand mixer, cream the softened butter with the brown sugar and granulated sugar. Beat on medium-high speed for about 3 minutes until the mixture looks light and fluffy. Scrape down the sides of the bowl to ensure everything is incorporated.
- Add the eggs one at a time, beating well after each addition. Mix in the vanilla extract and the cooled, reduced apple cider. Don’t worry if the mixture looks slightly curdled at this stage; the flour will bring it all together in the next step.
- Turn the mixer to low speed and gradually add the dry ingredients to the wet mixture. Mix just until no streaks of flour remain. Use a large cookie scoop to drop rounded tablespoons of batter onto the prepared baking sheets, spacing them 2 inches apart. Bake for 10-12 minutes or until the tops spring back when lightly touched. Let them cool completely on a wire rack.
- In a clean bowl, beat the softened butter until smooth. Gradually add the powdered sugar, one cup at a time, while mixing on low. Increase the speed and add the maple syrup, maple extract, and salt. Whip the frosting for 2-3 minutes until it reaches a pipeable, fluffy consistency.
- Pair up the cooled cakes by size. Pipe a generous swirl of maple filling onto the flat side of one cake, then gently press the flat side of a second cake on top to create a sandwich. Repeat until all pies are assembled.
- Cook Time: 52 minutes