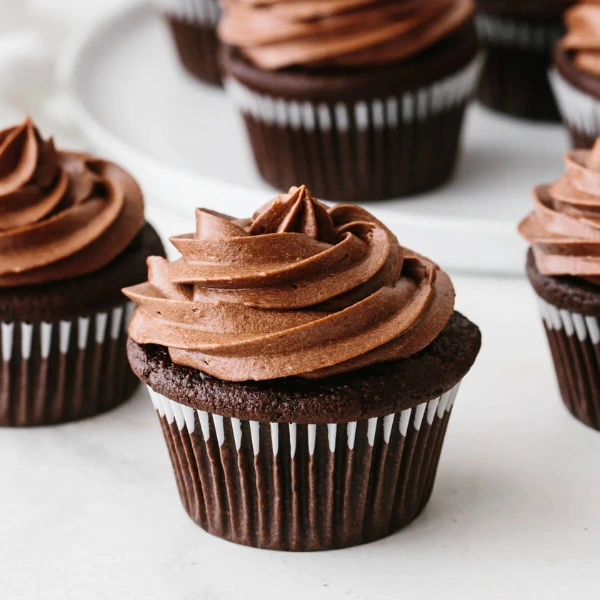
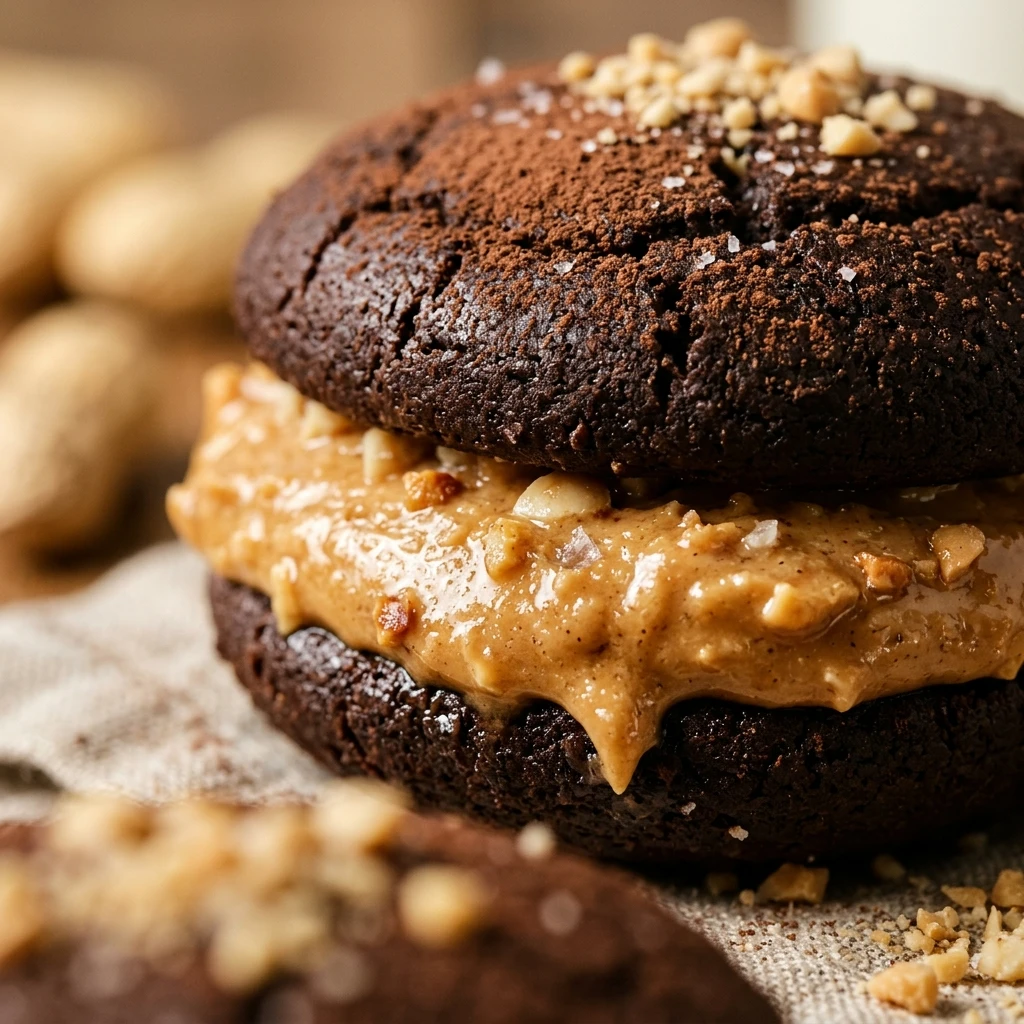
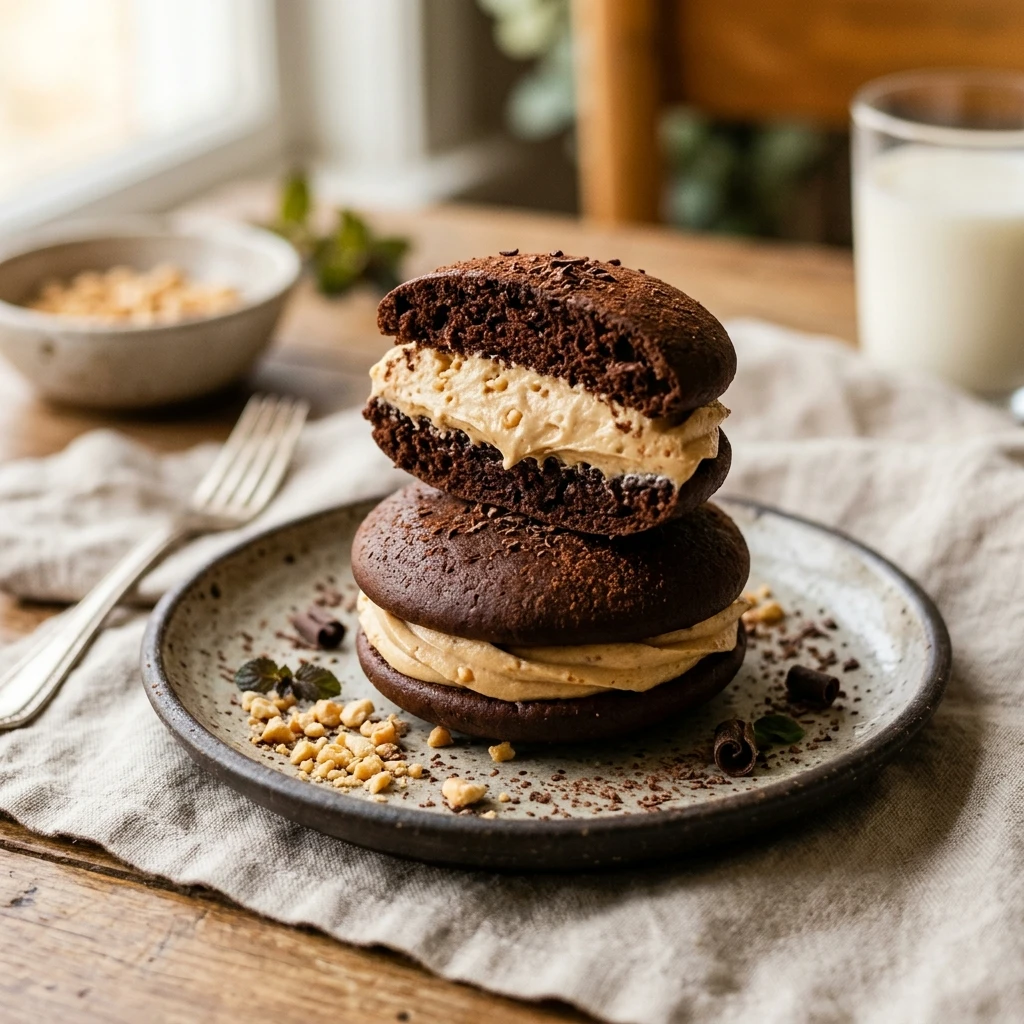
Imagine biting into a soft, cake-like chocolate cookie that sandwiches a thick layer of creamy, salty-sweet peanut butter frosting. These Chocolate Peanut Butter Whoopie Pies are the ultimate comfort food treat, bringing together the nostalgic charm of a classic New England dessert with the world’s most iconic flavor duo. Whether you are packing them for a school lunch surprise or serving them at a backyard barbecue, these handheld treats are guaranteed to vanish in minutes. They are perfectly portable, incredibly moist, and offer that satisfying hit of cocoa and nuttiness in every single bite.
Recipe Information
- Prep Time: 25 minutes
- Cook Time: 12 minutes
- Total Time: 37 minutes
- Servings: 12 assembled pies
- Difficulty: Medium
Nutrition values
- Calories: 385 kcal
- Protein: 6g
- Carbs: 48g
Why Make This Chocolate Peanut Butter Whoopie Pies
This recipe transforms the standard cookie experience into something much more decadent. Unlike a crispy cookie, the “cakes” in a whoopie pie are light, airy, and tender. When paired with a rich peanut butter buttercream, you get a dessert that feels like a gourmet snack cake. It is the perfect project for bakers who want a impressive result without the stress of frosting a multi-layered cake. Plus, the contrast between the dark cocoa and the golden peanut butter filling looks stunning on any dessert platter.
Ingredients
For the Chocolate Cakes:
- 2 cups all-purpose flour
- 1/2 cup unsweetened cocoa powder (Dutch-processed preferred)
- 1 1/4 teaspoons baking soda
- 1 teaspoon salt
- 1/2 cup unsalted butter, softened
- 1 cup packed light brown sugar
- 1 large egg, room temperature
- 1 teaspoon vanilla extract
- 1 cup buttermilk, room temperature
For the Peanut Butter Filling:
- 1/2 cup unsalted butter, softened
- 3/4 cup creamy peanut butter
- 1 1/2 cups powdered sugar
- 2 tablespoons heavy cream
- 1 teaspoon vanilla extract
- Pinch of salt
Directions
Step 1: Prepare the Batter
Preheat your oven to 350°F (175°C) and line two large baking sheets with parchment paper. In a medium bowl, whisk together the flour, cocoa powder, baking soda, and salt until well combined. In a separate large bowl, beat the softened butter and brown sugar together using a hand mixer or stand mixer until the mixture is light and fluffy. Add the egg and vanilla extract, beating again until fully incorporated. Gradually add the dry ingredients and the buttermilk to the butter mixture, alternating between the two and starting/ending with the dry ingredients. Mix just until the flour streaks disappear; do not overmix.
Step 2: Bake the Cocoa Cakes
Use a medium cookie scoop or a tablespoon to drop mounds of batter onto the prepared baking sheets, spacing them about 2 inches apart to allow for spreading. Aim for about 24 mounds total to create 12 pies. Bake for 10 to 12 minutes, or until the tops spring back when lightly touched. Remove the sheets from the oven and let the cakes cool on the pan for 5 minutes before transferring them to a wire rack to cool completely. Ensure they are totally cold before you attempt to fill them.
Step 3: Whip the Peanut Butter Filling
In a clean mixing bowl, beat the softened butter and creamy peanut butter together until the mixture is smooth and uniform. Sift in the powdered sugar one cup at a time, beating on low speed initially to avoid a sugar cloud. Once the sugar is incorporated, add the heavy cream, vanilla, and a pinch of salt. Increase the mixer speed to high and whip for 2 to 3 minutes until the filling is light, airy, and holds its shape.
Step 4: Assemble the Whoopie Pies
Pair up the cooled chocolate cakes by size. Flip one cake over so the flat side faces up. Use a piping bag or a spoon to apply a generous amount of peanut butter filling to the center of the flat side. Place the second cake on top, flat side down, and press gently until the filling reaches the edges. Repeat with the remaining cakes. Serve immediately or store for later.
Expert Tips for Perfect Chocolate Peanut Butter Whoopie Pies
To get the best results, always use room temperature ingredients; this ensures the batter emulsifies properly and the cakes rise evenly. If you don’t have buttermilk, you can make a quick substitute by adding one tablespoon of lemon juice or white vinegar to a cup of regular milk and letting it sit for five minutes. Use a cookie scoop for the batter to ensure all your cakes are the same size, which makes assembly much easier. Finally, let the cakes cool completely on a wire rack; if they are even slightly warm, the peanut butter filling will melt and slide right off.
Delicious Variations
You can easily customize these treats to suit your cravings. For an extra crunch, swap the creamy peanut butter for chunky peanut butter in the filling. If you love a “salty-sweet” profile, roll the edges of the assembled pies in crushed honey-roasted peanuts or a sprinkle of sea salt. For a triple-threat chocolate experience, fold mini chocolate chips into the peanut butter filling before piping. You can also substitute the peanut butter filling for a marshmallow fluff cream if you want to stick to the traditional New England style.
Frequently Asked Questions
How should I store these whoopie pies?
Store the assembled whoopie pies in an airtight container at room temperature for up to two days. If you need to keep them longer, place them in the refrigerator for up to five days. Since the filling contains dairy, refrigeration helps maintain freshness in warmer climates.
Can I freeze whoopie pies?
Yes, these freeze beautifully. Wrap each individual whoopie pie tightly in plastic wrap and then place them all in a freezer-safe zip-top bag. They will stay fresh for up to three months. Thaw them at room temperature for about an hour before eating.
Why did my chocolate cakes turn out flat?
Flat cakes are usually the result of expired baking soda or overmixing the batter. Ensure your leavening agents are fresh and stop mixing as soon as the flour is incorporated to keep the air bubbles intact.
Can I use natural peanut butter for the filling?
It is best to use standard “no-stir” creamy peanut butter for the filling. Natural peanut butters that separate can make the frosting oily or grainy, which may cause the whoopie pies to fall apart.
Can I make the batter in advance?
It is best to bake the cakes immediately after mixing the batter. The baking soda starts reacting with the buttermilk right away, and if the batter sits too long, the cakes won’t rise as well in the oven.
Conclusion
Chocolate Peanut Butter Whoopie Pies are a timeless treat that brings joy to both kids and adults. With their soft, cocoa-rich exterior and the velvety peanut butter center, they are the perfect solution for any sweet tooth. This recipe is straightforward enough for a casual weekend bake but delicious enough for a special celebration. Give them a try, and don’t be surprised when your friends and family start asking for the recipe!


Chocolate Peanut Butter Whoopie Pies
- Total Time: 37 minutes
- Diet: Vegetarian
Ingredients
- For the Chocolate Cakes:
- 2 cups all-purpose flour
- 1/2 cup unsweetened cocoa powder (Dutch-processed preferred)
- 1 1/4 teaspoons baking soda
- 1 teaspoon salt
- 1/2 cup unsalted butter, softened
- 1 cup packed light brown sugar
- 1 large egg, room temperature
- 1 teaspoon vanilla extract
- 1 cup buttermilk, room temperature
- For the Peanut Butter Filling:
- 1/2 cup unsalted butter, softened
- 3/4 cup creamy peanut butter
- 1 1/2 cups powdered sugar
- 2 tablespoons heavy cream
- 1 teaspoon vanilla extract
- Pinch of salt
Instructions
- Step 1: Prepare the Batter. Preheat your oven to 350°F (175°C) and line two large baking sheets with parchment paper. In a medium bowl, whisk together the flour, cocoa powder, baking soda, and salt until well combined. In a separate large bowl, beat the softened butter and brown sugar together using a hand mixer or stand mixer until the mixture is light and fluffy. Add the egg and vanilla extract, beating again until fully incorporated. Gradually add the dry ingredients and the buttermilk to the butter mixture, alternating between the two and starting/ending with the dry ingredients. Mix just until the flour streaks disappear; do not overmix.
- Step 2: Bake the Cocoa Cakes. Use a medium cookie scoop or a tablespoon to drop mounds of batter onto the prepared baking sheets, spacing them about 2 inches apart to allow for spreading. Aim for about 24 mounds total to create 12 pies. Bake for 10 to 12 minutes, or until the tops spring back when lightly touched. Remove the sheets from the oven and let the cakes cool on the pan for 5 minutes before transferring them to a wire rack to cool completely. Ensure they are totally cold before you attempt to fill them.
- Step 3: Whip the Peanut Butter Filling. In a clean mixing bowl, beat the softened butter and creamy peanut butter together until the mixture is smooth and uniform. Sift in the powdered sugar one cup at a time, beating on low speed initially to avoid a sugar cloud. Once the sugar is incorporated, add the heavy cream, vanilla, and a pinch of salt. Increase the mixer speed to high and whip for 2 to 3 minutes until the filling is light, airy, and holds its shape.
- Step 4: Assemble the Whoopie Pies. Pair up the cooled chocolate cakes by size. Flip one cake over so the flat side faces up. Use a piping bag or a spoon to apply a generous amount of peanut butter filling to the center of the flat side. Place the second cake on top, flat side down, and press gently until the filling reaches the edges. Repeat with the remaining cakes. Serve immediately or store for later.
- Cook Time: 37 minutes